| Author |
 Replies: 73 / Views: 17,020 Replies: 73 / Views: 17,020 |
|
|
|
Valued Member
 Russian Federation
172 Posts |
andywoj00
I've used just 4x microscope objective (one and only) to shot as d-letter mark and full Moon.
All difference is the working distance and the lenght of extension tube which can place this objective from the camera sensor from ~5mm (Moon) to ~200mm (maximum magnification 4:1)
What kind of tools you used between objective and the camera sensor? May be it is too thick to give you larger field of view?
If not then may be this Nicon optics can't work with so short extension tube at all.
As for my noname Chinese objective the working distance for big coin would be around 300 mm and extension around 10-15 mm.
White dots can be visible if you use oversharpening or overcontrast or have not much light during taking shots.
What programm do you use with it?
And put some shots here for my curiosity and 100% crop to see white dots please.
Edited by Justwalking
02/18/2017 5:00 pm
|
|
Valued Member
United States
441 Posts |
I've been using AMCap to do the capture. About the only thing I can see using this USB camera for at this point is extreme closeups on coins as I only have the Nikon M5,.10 NA objective, a B&L 10X 16mm,0.25NA objective and bellows/enlarger lenses. I think the sensor size is just too small to take full coin shots with the equipment I have, so I'll just continue to use my Canon setup for this. The max height I can go with the stand I use for this USB camera is about 330mm, the distance from the face of the camera with no lens or tubes to the stage where the coin sits. If I start adding adapters, tubes, helicoids, and the lens, my working distance is really reduced, hence no full coin shots with the small sensor. Another wierd thing is that if there is no lense on the camera, there appears to be a yellowish tint in the center of the screen. If I use with a RMS objective, see picture of .25 wash mm, it is really obvious and I have to clean it up with post software. The D mm is one I cleaned up a bit on a Lincoln Cent. Thoughts from anyone where this yellowish tint is coming from? 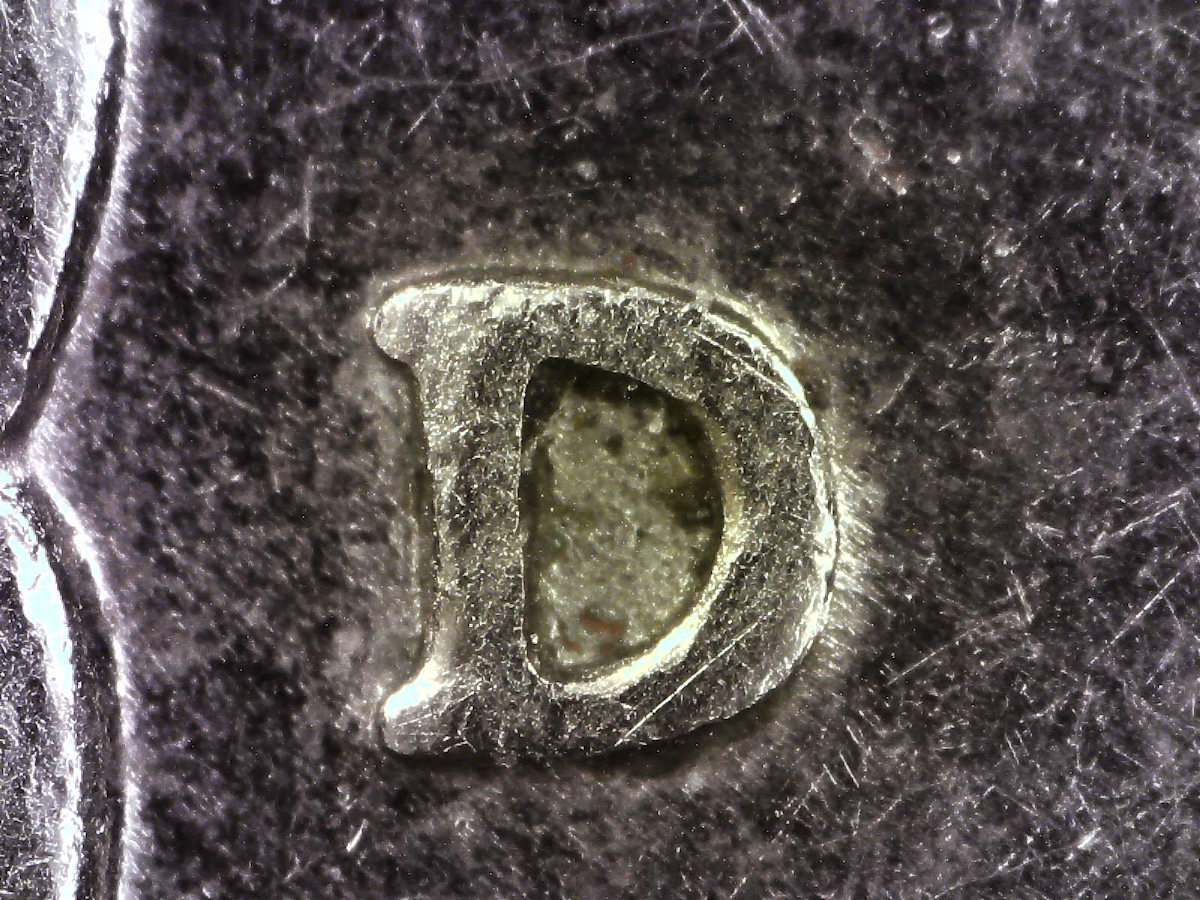 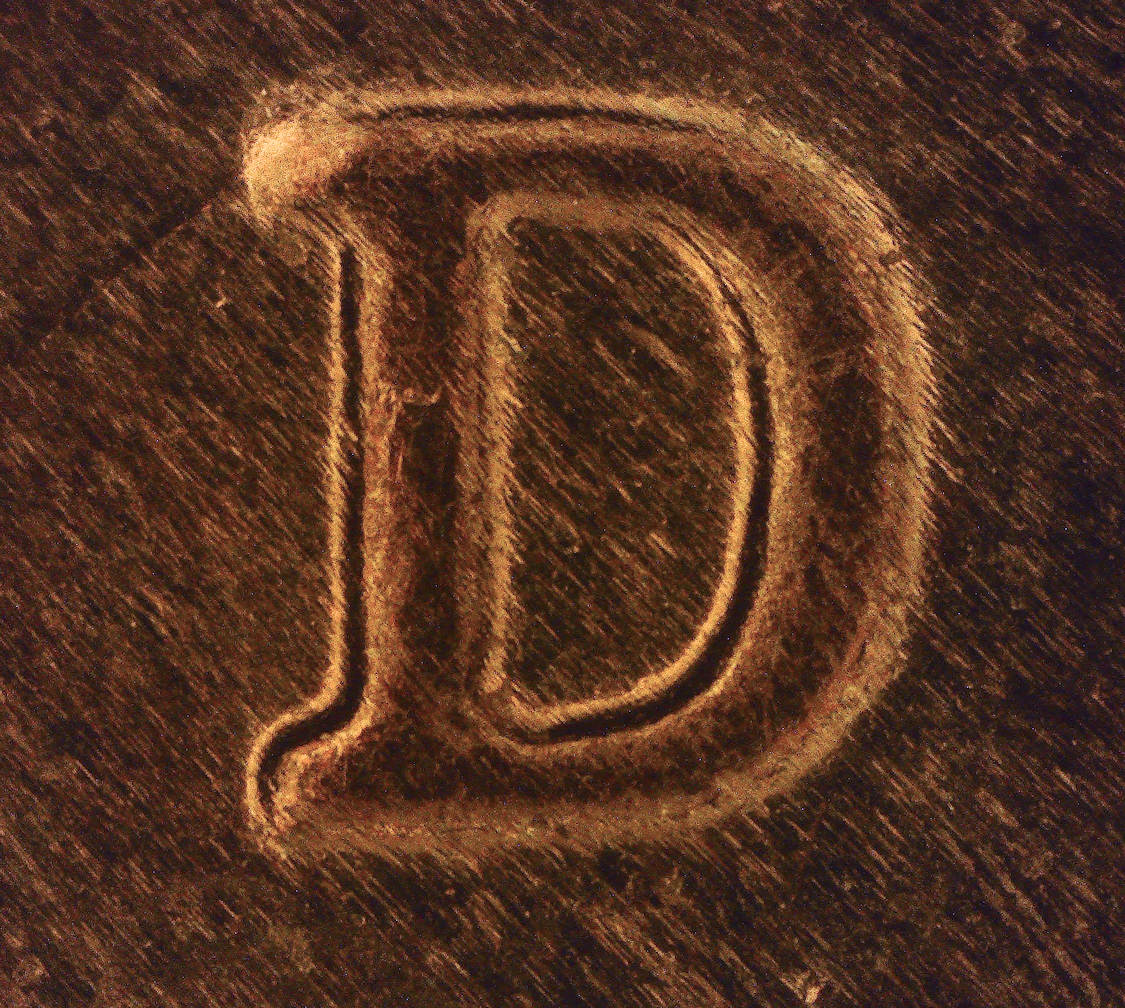 |
|
Valued Member
Russian Federation
172 Posts |
I think you need to use very thin extension ring to attach camera to objective, no more than 10-15 mm to take wider field of view of whole big coin, then working distance of 300 mm must be enough.
Try to find MyCam programm (freeware) where you can take more control of shooting process.
Your white dots looks like agressive lighting on metall. Try to use something soft skin and not reflecting to check.
I have read about this yellowish effect but forgot the reason already ).
You can try to put UV-cut filter before the sensor and it becomes less visible.
BTW both pic are pretty good for such magnification. Congrats.
Edited by Justwalking
02/18/2017 6:36 pm
|
|
Pillar of the Community
 United States
4038 Posts |
The central discoloration may be due to internal reflections off the surfaces of extension tubes, etc. You can get rid of it by making a small "tube" of flocking or other light absorptive material and putting it down into your tube/lens arrangement. If you remove the camera, and look down the extensions to the lens, you might see the reflections that are causing the problem so you will know where to flock.
Contact me for photographic equipment or visit my home page at: http://macrocoins.com |
|
Valued Member
United States
441 Posts |
Quote:
The central discoloration may be due to internal reflections off the surfaces of extension tubes, etc. You can get rid of it by making a small "tube" of flocking or other light absorptive material and putting it down into your tube/lens arrangement. If you remove the camera, and look down the extensions to the lens, you might see the reflections that are causing the problem so you will know where to flock. Ray.... No luck with the flocking. Used the material in the RMS objective as well as the cmount-M42 adapter. I still get the yellowish tint. The manuf sent me another unit as they thought the PCB may be bad. The second unit does the same thing with any RMS objective I have along with the lenses that came with the unit. I have some other adapters coming. I'll see what happens with them. May be some anomaly with this type of unit/sensor. I'll just have to live with it and try to clean it up in post or get the WB set before taking a pic then clean it up later. Additionally, some of the coins I was toying with would either be a bit blurry on the right or left side of the screen with this camera. I found that if I reverse the AmScope 4X Plan Achromatic Objective Lens I have been using for this project, the overall sharpness of the shot spreads out to the edges a bit more than when the objective is threaded in normally. Everything was plumb/level camera-wise. What would cause this? Appreciate any info that anyone can provide. 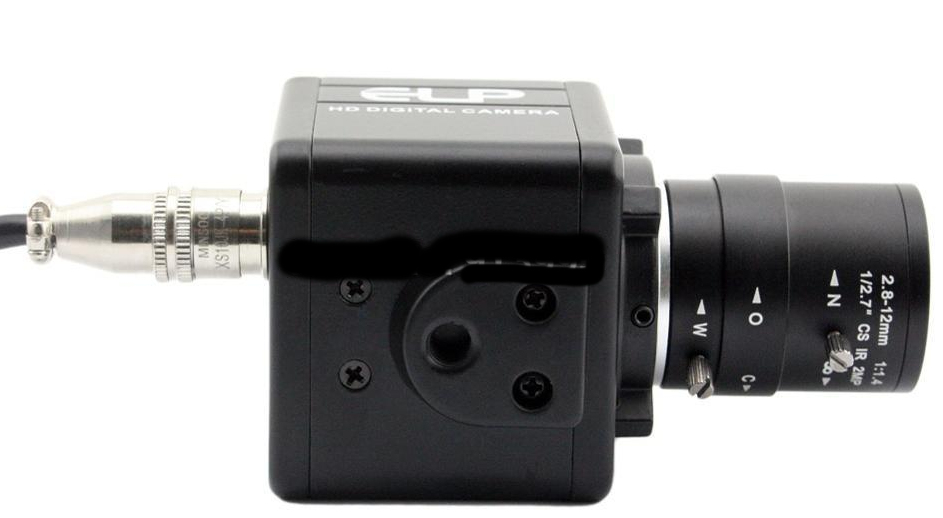 Edited by andywoj00
03/02/2017 5:06 pm
|
|
Valued Member
Russian Federation
172 Posts |
My coins in this topic was also bit blurry on the right side. I found that camera was not straight perpendicular to the coins. It can resolve by rotation.  Also it is possible that PCB with sensor inside camera box is not parallel to the coin. There 4 bolts on the corners of PCB. Need to check. |
|
Pillar of the Community
Canada
2784 Posts |
one of the problems with these little cameras. the lens mounting ring is very weak. I have purchased one of these camera. you have to be careful not to tighten. the lens to tight. the whole mount will move on the camera base. I have tried. this camera on the microscope itself. its really very sharp. but it really crops your picture. this is do to sensor size. it does work very well thou. I have some connectors coming. I want to try some different lens.
|
|
Valued Member
Russian Federation
172 Posts |
Yes, Rocky. It crops. But due to small dimension of it's sensor pixels you can take more detail or same level of detalisation with much less real magnification of whole system. Pixel pitch of imx179 is only 1,4um. It is really pros for macro or zoom As example from clarkvision.com  The 7D, with the smallest pixels and lowest signal-to-noise ratio delivers the best image despite having the lowest signal-to-noise ratios per pixel of the 4 cameras. The 7D, with the smallest pixels and lowest signal-to-noise ratio delivers the best image despite having the lowest signal-to-noise ratios per pixel of the 4 cameras. Edited by Justwalking
03/03/2017 4:53 pm
|
|
Valued Member
Russian Federation
172 Posts |
I'm dissapointed with 160/- X10 microscope lens with my camera. Maximum WD is about only 17mm with lens inserted to sensor as close as possible. It works only for big magnification and can't view whole coins.
The passport WD is 8.1mm.
|
|
Valued Member
Russian Federation
172 Posts |
With attached industrial C-mount 75mm lens from 2 feets from coin  And at angle without stacking 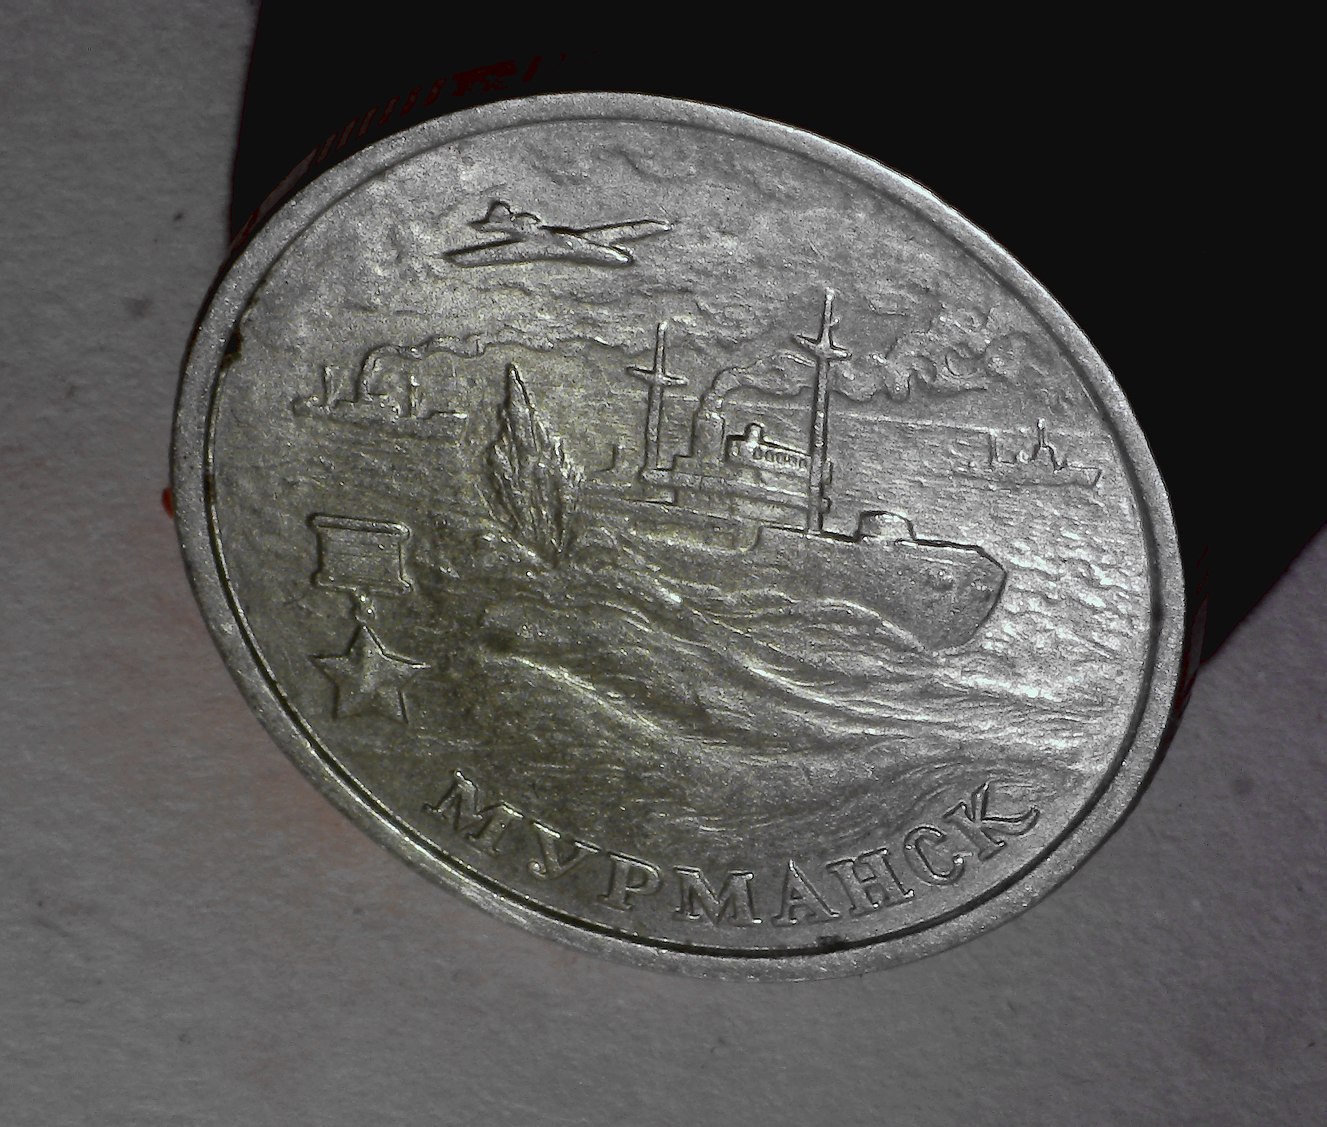 |
|
Valued Member
Russian Federation
172 Posts |
I found that my noname Chinese microscope objective can increase working distance if works inverted. 120 mm working distance and coin was shot from small angle for best light from window  here is link for larger size pic https://postimg.org/image/o8bgmx9u3/Edited by Justwalking
04/04/2017 07:28 am
|
|
Valued Member
Russian Federation
172 Posts |
I put self-made shim (from plastic card) with 4mm hole in center before inverted microscope objective and DOF significantly raised It's from 45mm distance 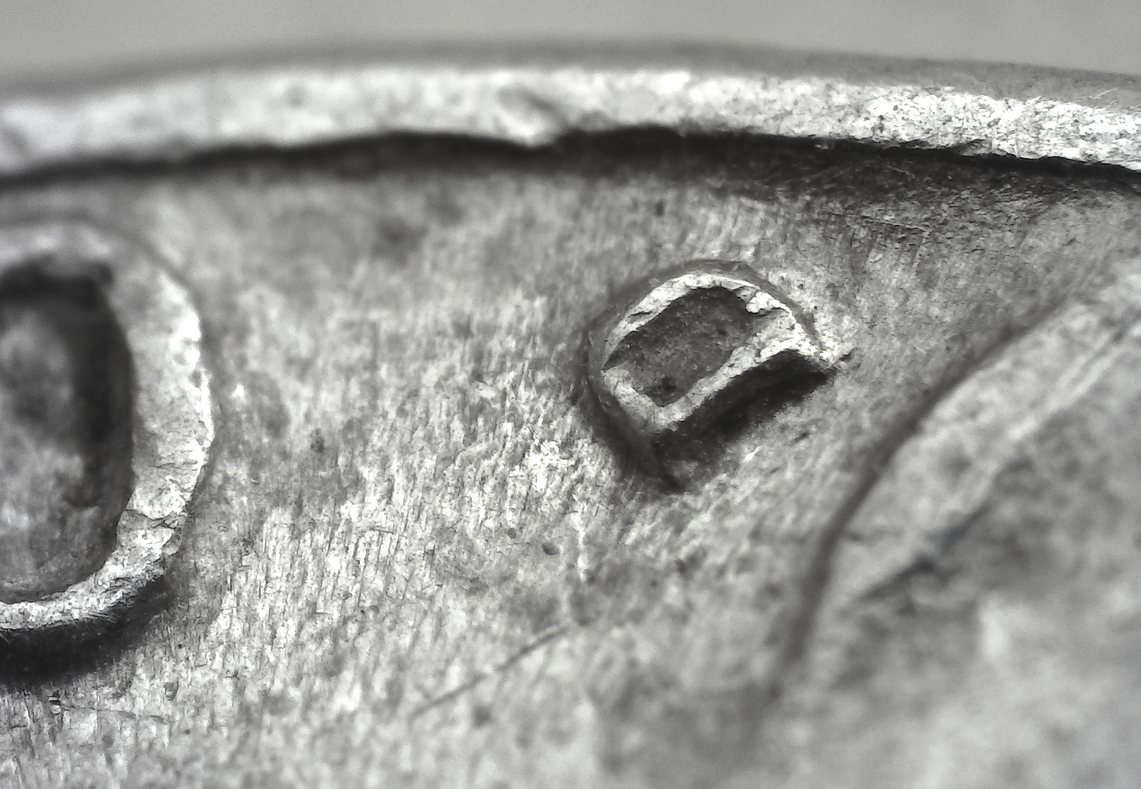 |
|
Valued Member
Russian Federation
172 Posts |
And with 2mm hole in shim it is possible to shot without stacking at 30 degree angle from 220mm distance. The coin is 22mm diameter. Don't know if such angle of view wanted for coins collector though.   Edited by Justwalking
04/06/2017 1:52 pm
|
|
Valued Member
Russian Federation
172 Posts |
Another one experiment with only window light. The coin is about 45 degree to camera and working distance is 100 mm. Now there 2 microscope 4X finite objectives in line one after another. 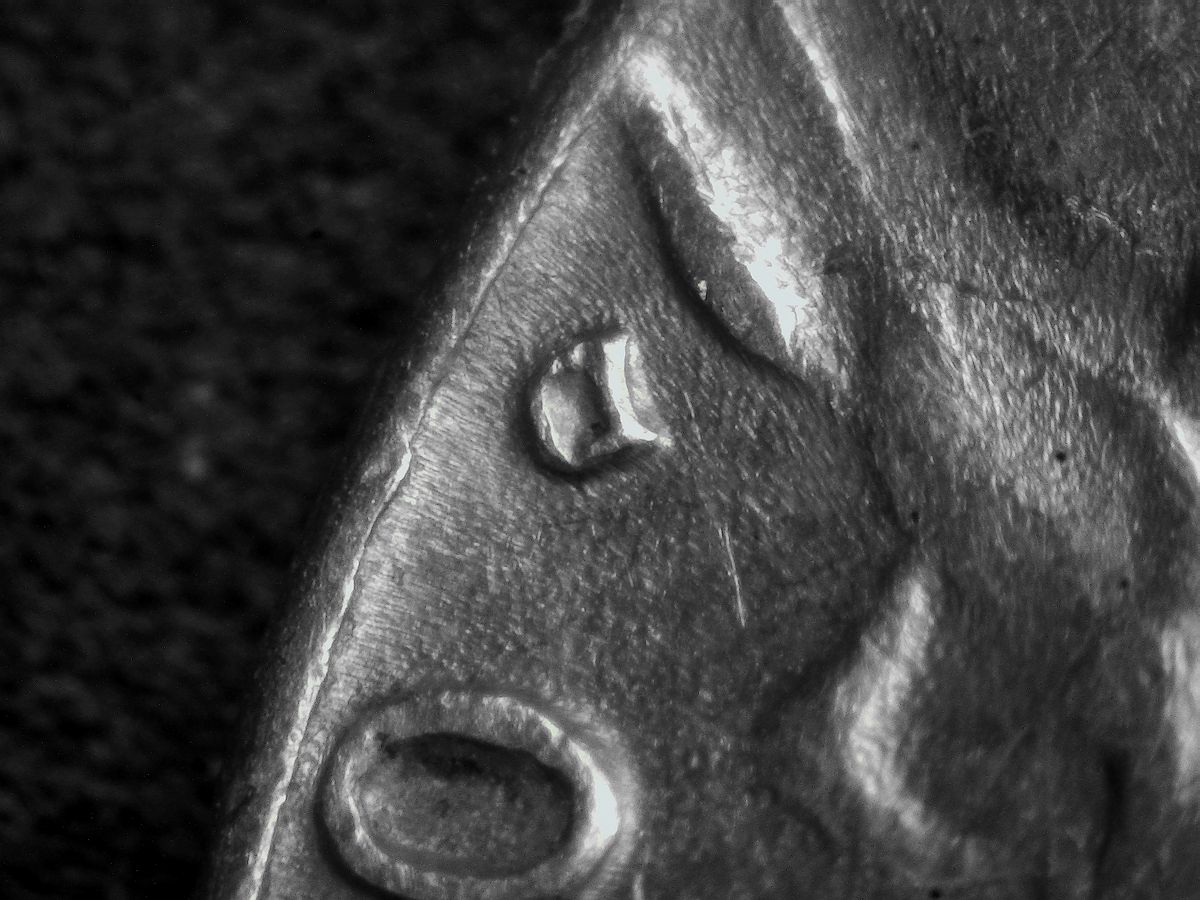 |
|
Valued Member
Russian Federation
172 Posts |
Even more DoF with pair finite 10X and 4X microscope's lens from 210 mm working distance. From bottom lens to the sensor the construction is 145 mm long.  Edited by Justwalking
04/13/2017 4:53 pm
|
| |
Replies: 73 / Views: 17,020 |


