| Author |
 Replies: 37 / Views: 7,681 Replies: 37 / Views: 7,681 |
Page 3 of 3
|
|
|
|
Pillar of the Community
 United States
4038 Posts |
AK...you are right, my concept was incorrect. I was actually thinking these had an asymmetric characteristic, but they do not. My concept was to use 70% reflective glass to minimize the amount of light passing through the glass that must be absorbed by the system to keep it from re-reflecting up to the sensor. However, now it's not clear to me if there is any general benefit either direction, since even though less light passes through, more of what comes from the "dark" side is reflected up. I'll need to think more about this...Ray
|
|
Pillar of the Community
 Canada
2784 Posts |
|
|
Pillar of the Community
United States
4038 Posts |
rocky...the 2nd image is what I usually see from axial lighting tests I've done.
|
|
Pillar of the Community
Canada
2784 Posts |
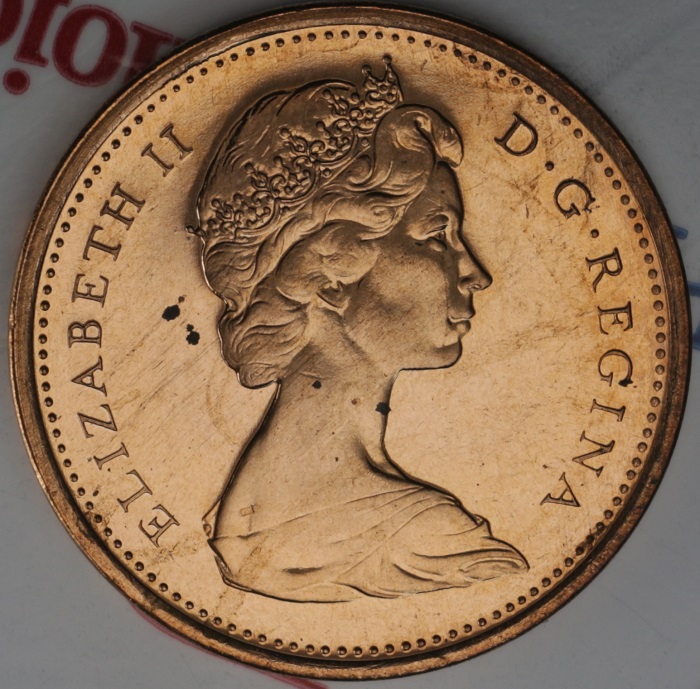
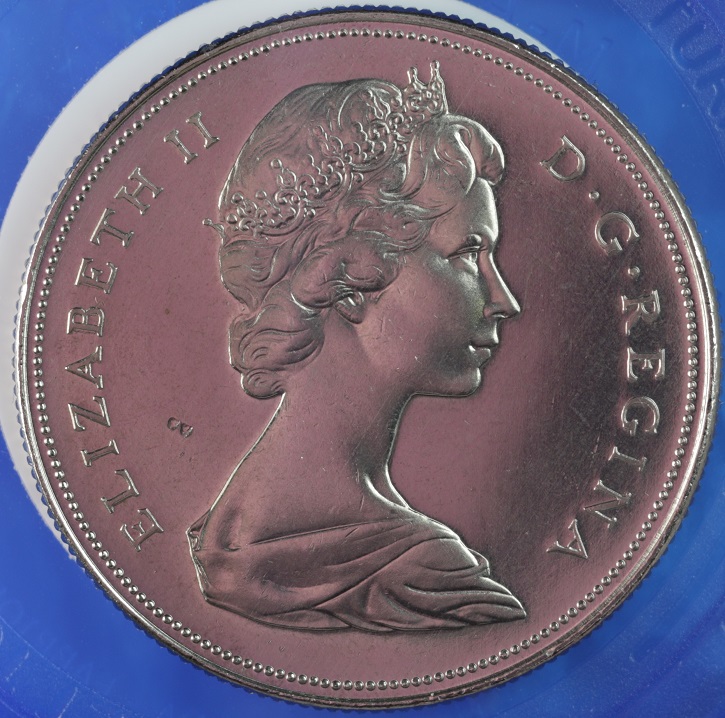
i understand ray I see you have to cut all outside light. this is wonderful glass it works. ray the people who sold me. the replacement lens for my microscope objectives. I have a piece of optical glass coming in from them today. the glass is 1 mm thick. I will see if I like that better. but so far. I like the old picture frame glass better. here is 2 images with the only light on the glass and coin from a lamp. 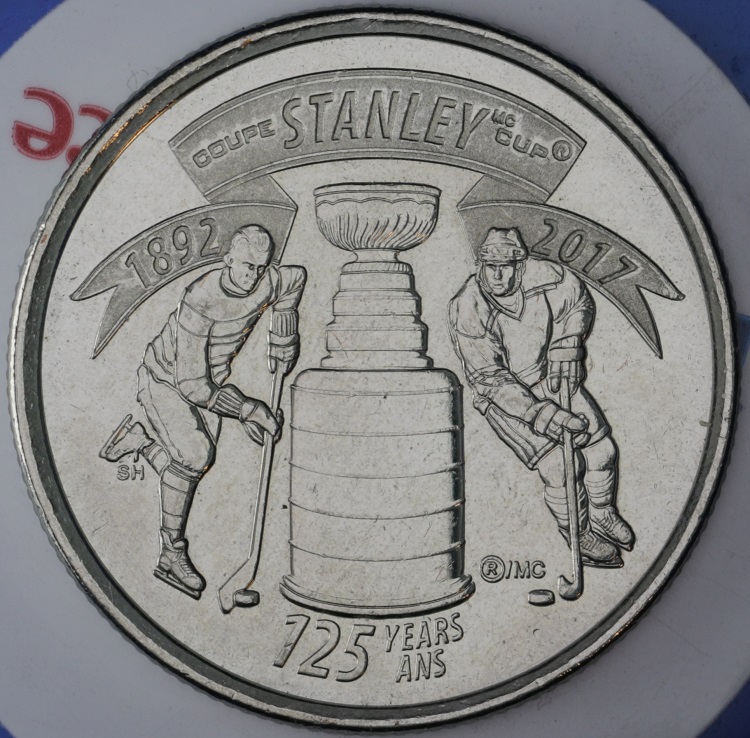 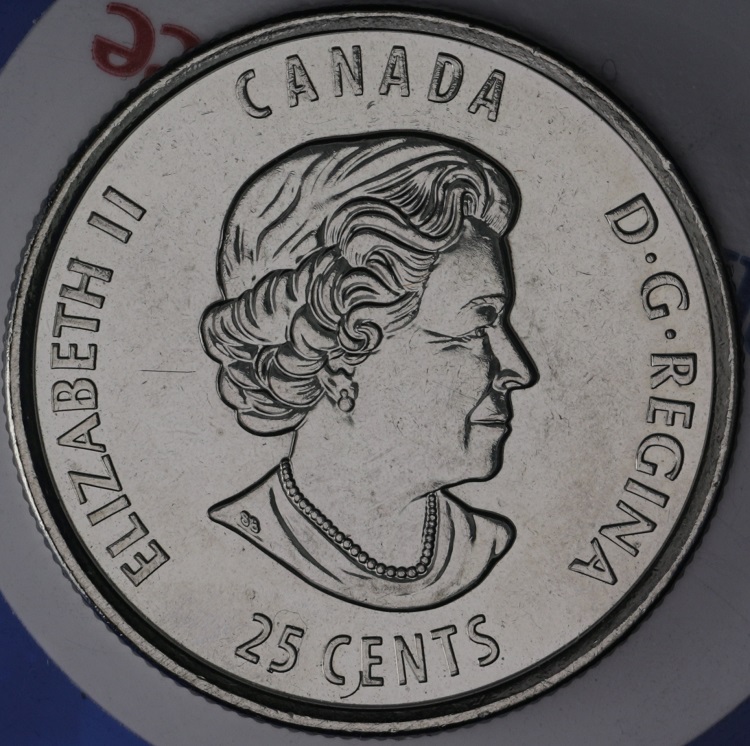 |
|
Pillar of the Community
2087 Posts |
The following photograph illustrates why I rarely use axial lighting now. The lighting in this case was a 40 LED microscope ring light. The ring light was fitted to a Minolta CE-Rokkor 80mm F.F5.6 ( reversed) via the following adapters: 28mm -42mm step up ring, M42 -m39 adapter. This set up sees the light being projected in a manner that gives the appearance of axial lighting, but absent the distortion producing glass. Just a caution about the photograph. It is a Jpeg produced from a 16 bit Tiff file. The Jpeg was reduced substantively( more than 90%), as a result the image no where near the quality of the original. I use a 4k calibrated( monthly) monitor and the difference between the original and this image is shocking meaning this image is of embarrassingly poor quality. If any one wants to see a slightly reduced Jpeg ( the tiff is too large for Photobucket) PM me and I will try to send you a Link to photobucket( this forum no longer allows photo-bucket images to be posted) Edit: I uploaded the full tiff image to my google drive. Use this link if you wish to download ( file size is too large for previewing on line) it however, take note the file size is 241mb. The link: https://drive.google.com/file/d/0B0...?usp=sharing Edited by austrokiwi
07/21/2017 12:18 pm
|
|
Valued Member
United States
110 Posts |
kiwi:
Is there a typo error in this post?
Is it a 24.1 Mb or a 241 Mb Tiff file?
|
|
Pillar of the Community
2087 Posts |
241MB. Its not a typo. the sony A7rII produces 128mb Raw (14 bit)files. When I edit them in capture one pro I convert them to 16 bit Tiff files. Usually they are also 128MB however, the image is a stack produced by zerene stacker, and The only save option ( I don't like Jpeg) for tiff is 8 bit or 16 bit. I used the 16bit which resulted in the image being 241MB. 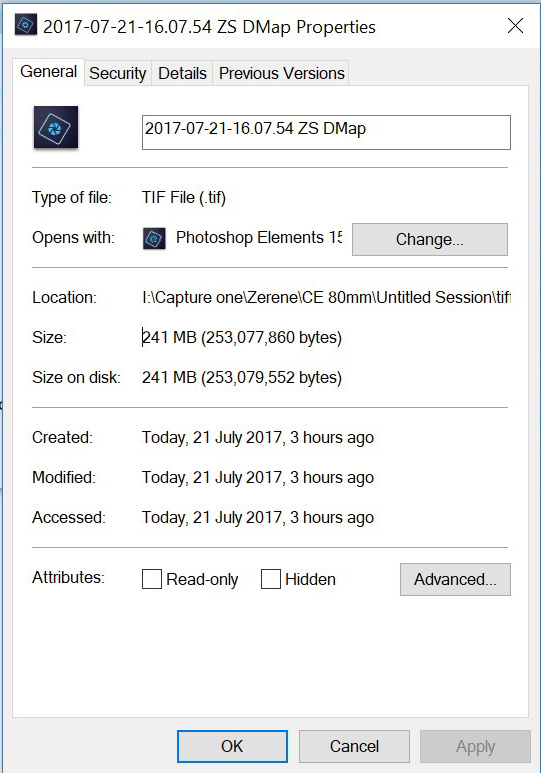 Edited by austrokiwi
07/21/2017 2:04 pm
|
|
Valued Member
United States
110 Posts |
Wow!
I'd like to see the image, but the largest TIFF file that I has successfully transported on my Email server is 22 Mb.
|
|
Valued Member
Netherlands
74 Posts |
Austrokiwi, that's an amazing photo. I've never managed to get that level of detail, I obviously still have a long way to go... (then again, I also don't have a 40 MP camera) :)
|
|
Valued Member
United States
110 Posts |
wiki:
That is an amazing image!
It's going to take you awhile to tag all those molecules!
|
|
Pillar of the Community
Canada
2784 Posts |
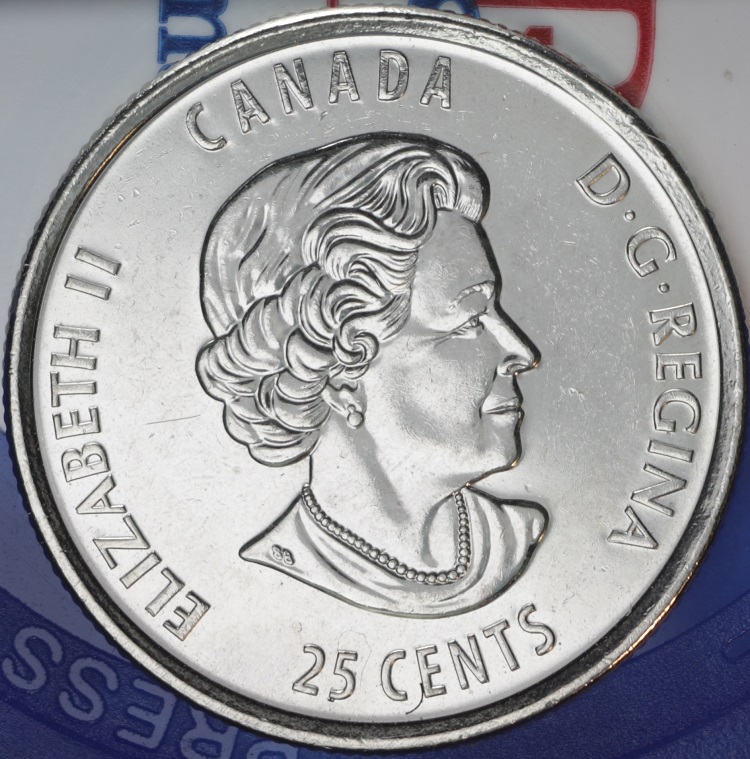
wow AK great photo. AK here is 2 images with a homemade ring light. actually this is a car head light. Cobb angel eye. here is the photos no editing single photo no stacking. I know stacking improves the photo greatly. but I am lazy its only 44 Celsius with the humdex at 8 o'clock this evening. 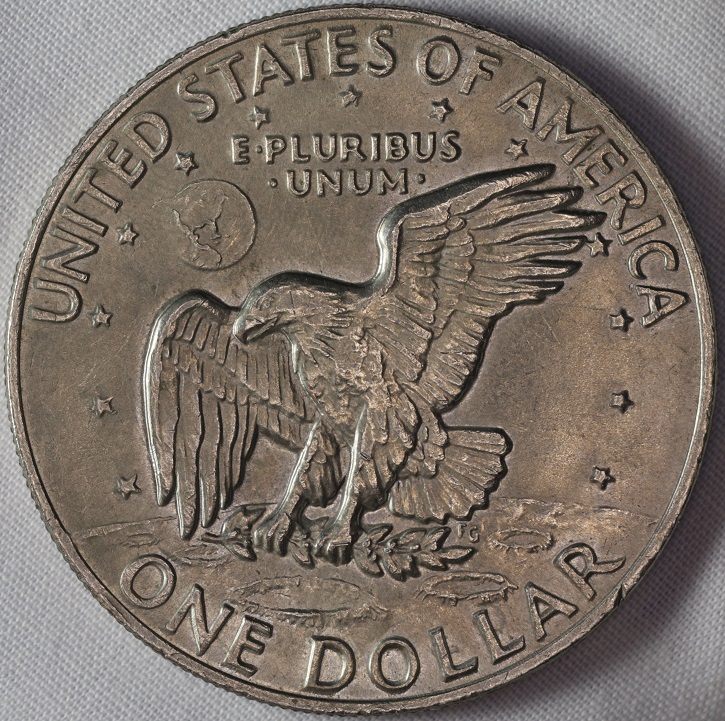 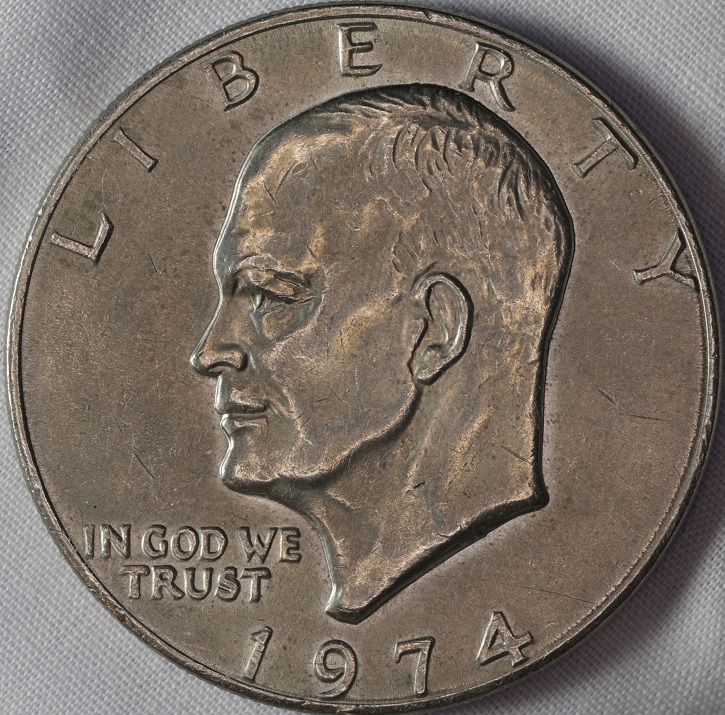 |
|
Pillar of the Community
Canada
2784 Posts |
|
|
Pillar of the Community
Canada
2784 Posts |
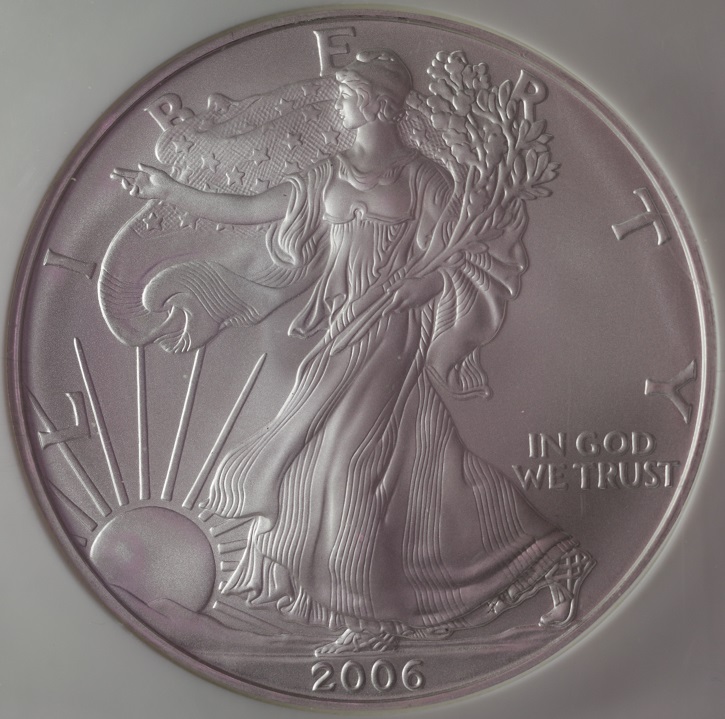
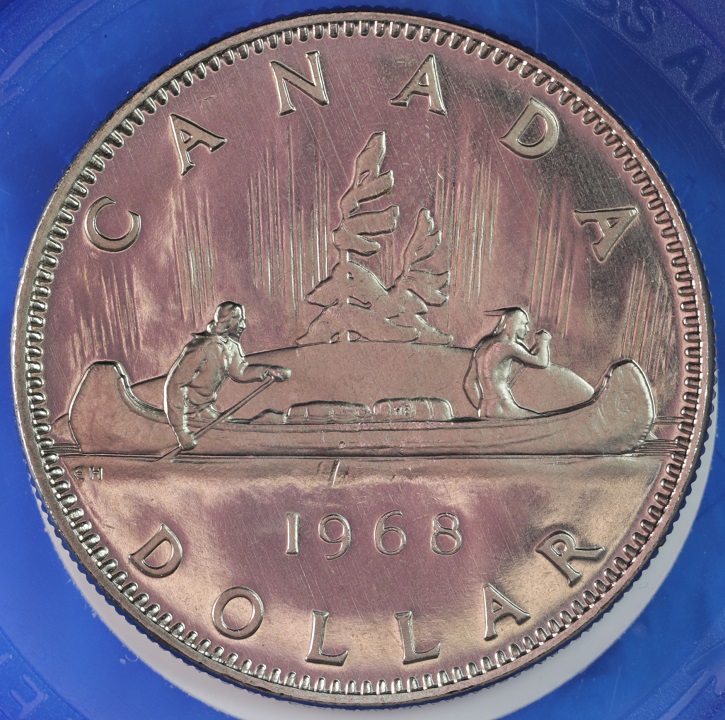
thought I would try vinegar. to remove the UV protective layer. this is great glass.  |
|
Pillar of the Community
United States
9395 Posts |
Would automatic white balance help with the pink?
|
|
Pillar of the Community
2087 Posts |
A couple of weeks ago I conducted a comparison between an axial lighting rig and a adapted Microscope ring light. I was shocked at the difference. Below the significantly reduced( and therefore degraded) image I have placed a link to my Google drive where you can down load ( or just preview)the full sized Jpegs(converted from Tiff). I did very little editing so that I could get a warts and all comparison. Camera Sony A7rII, lens Minolta CE-Rokkor 80mmm F5.6 at 5.6. background is Edmunds optics black out material, beam splitter is an Edmunds optics 50/50. You can see the axial adds a color cast (Which was a surprise to me), ghosting( a secondary image created on the second air-glass interface), a "halo"/flare which I think is also caused at the glass-air interface of the beam-splitter. All the axial lighting artifacts can be edited away but, isn't it easier to not have to do such editing?  The full sized image really highlights the differences but it is large(64MB) you should be able to preview it rather than downloading it. https://drive.google.com/file/d/0B0...?usp=sharingEdited by austrokiwi
08/04/2017 09:23 am
|
|
Page 3 of 3
|
Replies: 37 / Views: 7,681 |
Page 3 of 3
|