| Author |
 Replies: 44 / Views: 7,380 Replies: 44 / Views: 7,380 |
|
|
|
Pillar of the Community
 United States
548 Posts |
Oh, concerning those teleconverters, they look absolutely great! Except for one thing: as my camera needs the digital mount, I'd have to buy TWO adapters to connect the teleconverter to my lens / camera.
I need to keep looking. But I'm getting ideas...
|
|
Moderator
 United States
23522 Posts |
Quote:
Oh, concerning those teleconverters, they look absolutely great! Except for one thing: as my camera needs the digital mount, I'd have to buy TWO adapters to connect the teleconverter to my lens / camera.
I'm thinking no adapters at all, and you'll just need to run the camera in full Manual mode. |
|
Pillar of the Community
United States
548 Posts |
Yeah, but will it mechanically connect at all?
|
|
Moderator
United States
23522 Posts |
The teleconverter mounts exactly as a lens would, and the lens then mounts to it. Both Olympus-specific mountings.
|
|
Pillar of the Community
United States
548 Posts |
Oh. Duh.  It comes with the om mount. |
|
Pillar of the Community
United States
4038 Posts |
I only linked to the OM mount versions...Ray
Contact me for photographic equipment or visit my home page at: http://macrocoins.com |
|
Valued Member
United States
232 Posts |
|
|
Pillar of the Community
United States
548 Posts |
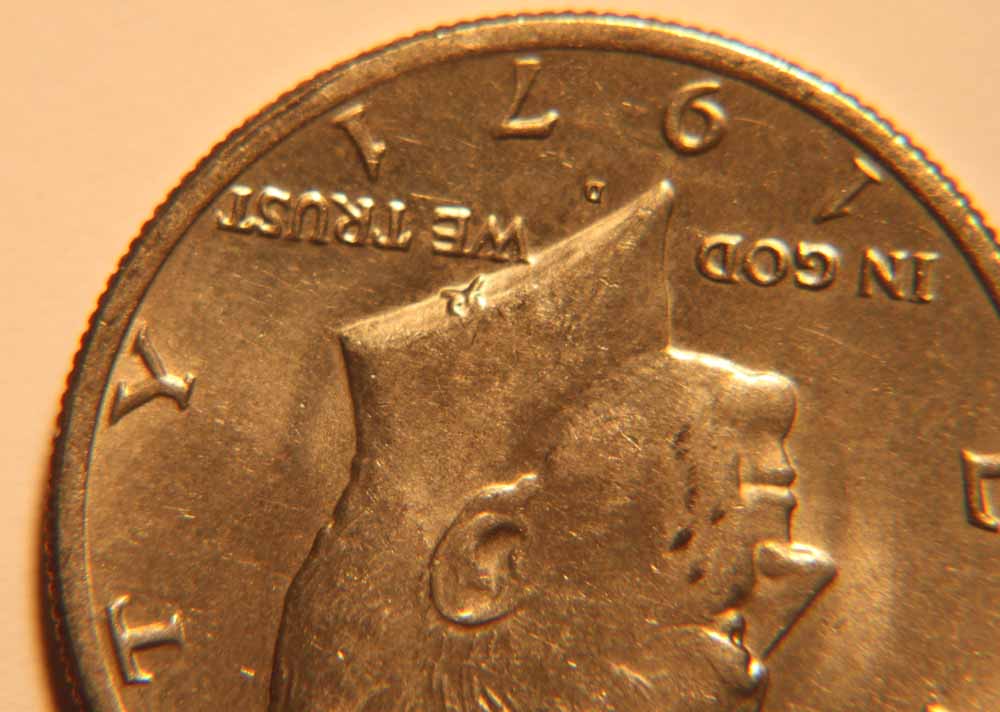
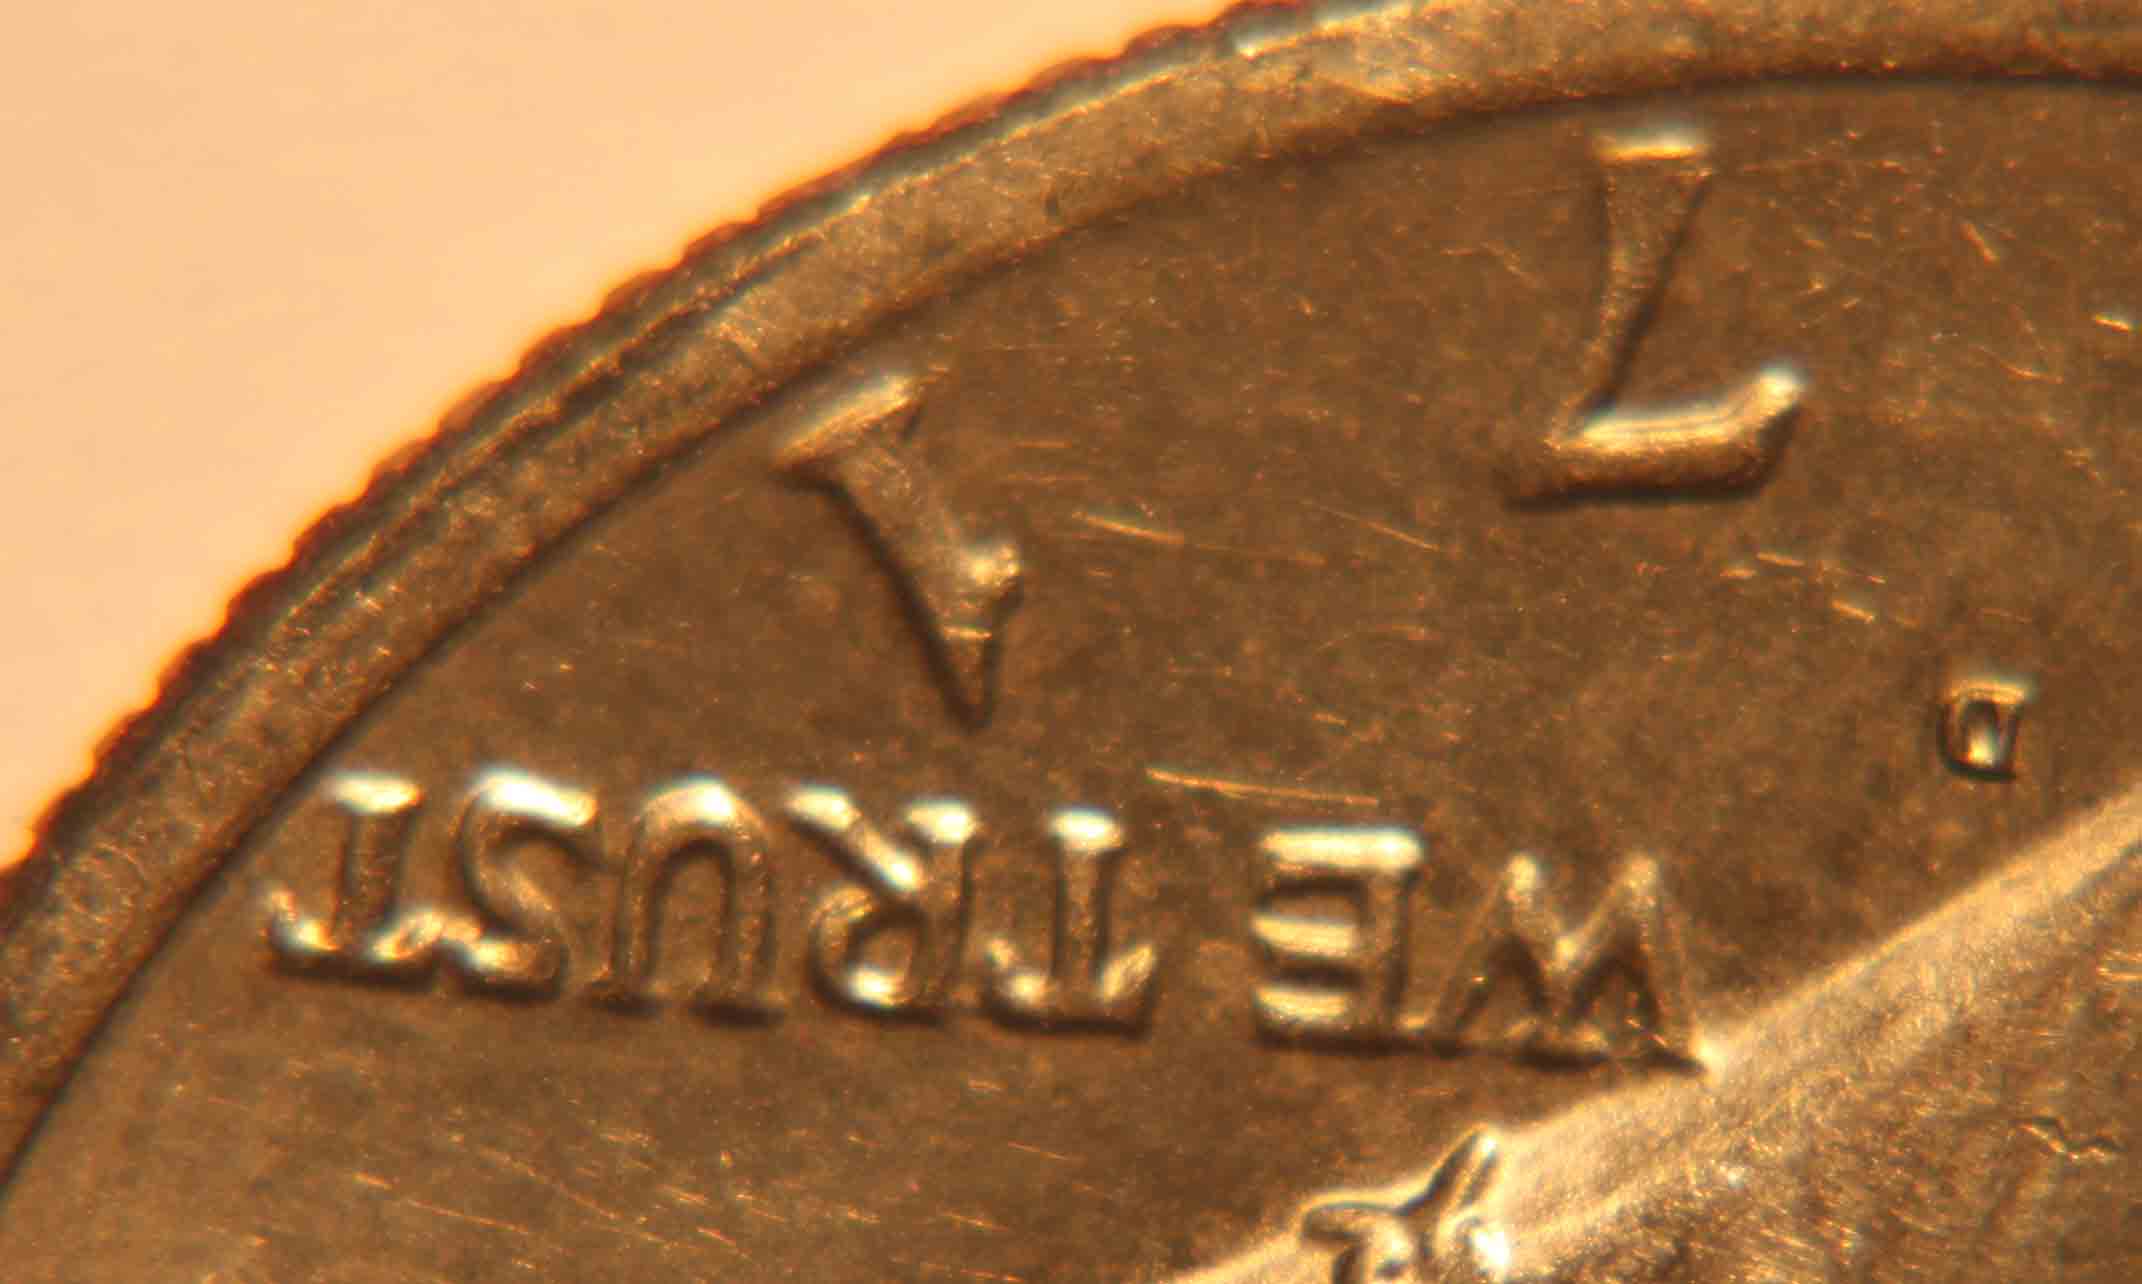
A few things: - notice how the last T in trust is in decent focus, but the I in In isn't? To me, that means your lens / camera isn't absolutely perpendicular to the coin. Do the mirror trick that RPM teaches. - change the light color setting on your camera to take away the yellow tinge. Not hard to do at all. You might have to experiment. - I see on your camera you're on auto focus. On my Olympus, AF works pretty good. But that might not be the case for yours. You might have to experiment to find the best way to focus on your coins. Manual might end up being better for you. - Light placement is much more important than most folks think. The wrong place, and you get all sorts of glare, or worse, an inaccurate photo (too much light from the side, which accents any scratches, for example). You're gonna need more control of your light sources, I'll bet. If you have an Ikea close by, buy those Jansjo lights. If not, go to a Target and get those small led lights. You took those pics in 2004? Man, how long have you been waiting to ask those questions? |
|
Pillar of the Community
United States
4038 Posts |
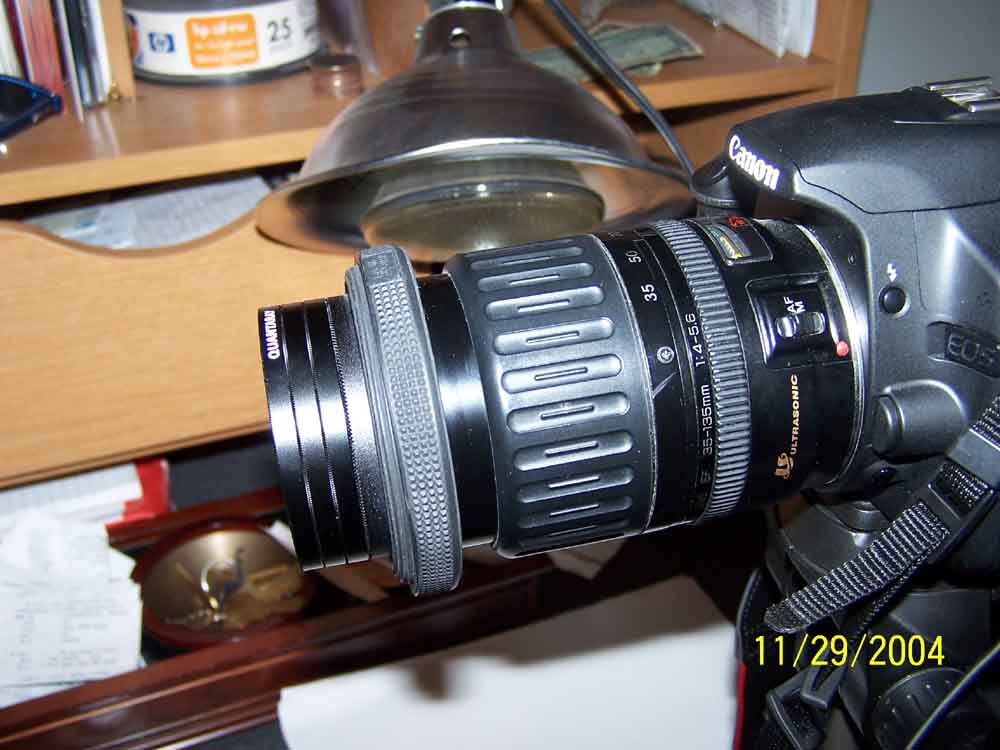
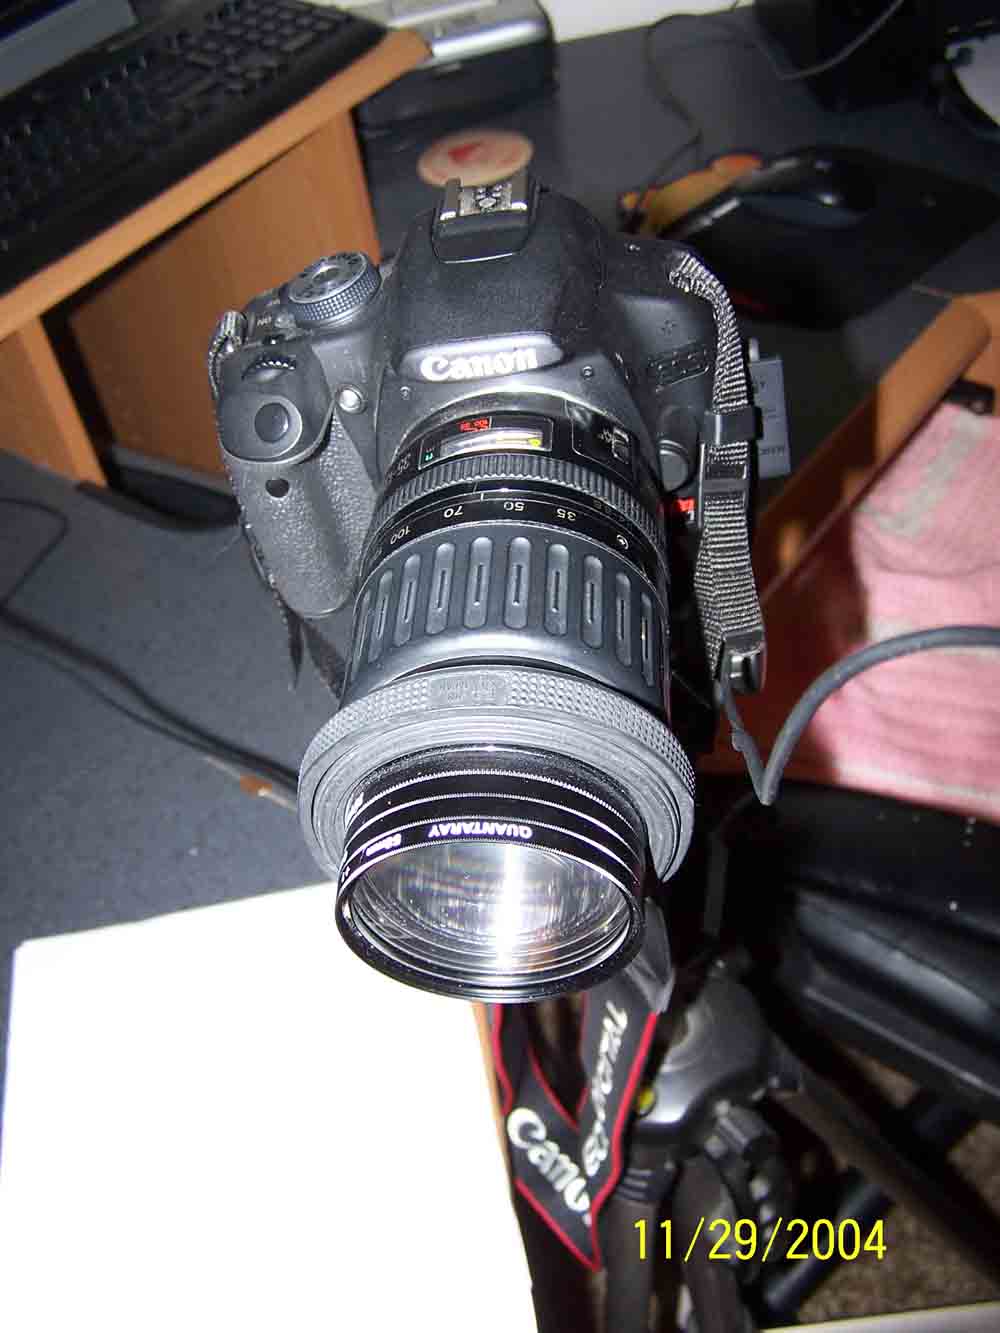
On top of what Lobby suggests (all excellent suggestions) I'd be concerned about stacking of so many close-up lenses. Usually these can be used one at a time without degrading the image but with three you are probably limiting quality. It sounds like you want to get even higher magnification than you are showing and have reached the limit of the setup. From here you have a couple ways to go, depending on how much you want to spend... 1) Instead of using close-up "diopters" you could add a reversed lens. The lens can be any type, any brand, but needs to be the right focal length and also needs to have the same filter mount as your existing lens or be easily adapted. Google "stacked lens macro" and a few good refs pop up. First question is what does your telephoto naturally do when weight is added on the front? If it holds its position it's a perfect candidate. Second question is what magnification do you need? For DDO's and RPM's I like 3X minimum. The formula for stacked lenses is M = FLzoom / FLobj, where FLzoom is the focal length of your zoom lens and FLobj is the focal length of your reversed lense you mount on the front. So you would set you zoom to 135mm, and you would buy a 35mm objective lens, giving you a range of magnification from 1:1 to 3.9:1 depending on your zoom setting. For this option you will spend perhaps $50 on the 35mm lens, and $10 on adapters (58mm reversing adapter, ebay). 2) Replace the zoom lens with a bellows and reversed lens. Since you want to go high magnification, I'd suggest starting with the same lens from above, a 35mm with 58mm mount. The lowest magnification you will likely be able to get with this combo is around 1:1, and highest around 4:1, similar to mounting on the zoom lens. Advantage of the bellows is you have fine control of the magnification, and can put on longer lenses to lower the magnification. You could even mount your zoom lens if you want! So take it in steps...buy the 35mm lens and adapters and try them out; buy a bellows and try it out; buy a longer lens and try it out; from there you can upgrade your lighting, your lenses, and your camera mount. This is the exact learning path I took, BTW, and I'm still learning as I go! Note that at higher magnifications your lighting gets harder since you are closer to the coin, so keep this in mind. Lobby's suggestion of using the Jansjo lights will help since they are pretty small and you can get in close. Make yourself a pair of my RSD Directors and you can get in even closer...Ray PS: Since you are on Canon, you could also just go out and buy an MPE-65 macro lens. It goes from 1:1 to 5:1 and by all accounts is an excellent lens. It has two disadvantages though...can't go below 1:1, so is useless for overall coin pics; and it's $900. |
|
Pillar of the Community
United States
548 Posts |
I've see your RSD Directors in your pics, and have been wondering what they are. Think I'll do a search.
|
|
Pillar of the Community
United States
4038 Posts |
I explain how to make them on page 3 of this thread: https://goccf.com/t/94145&whichpage=3The pic I show of them in use is the original intended orientation, when there is enough space between lens and coin. But the pic in this thread : https://goccf.com/t/104174shows how they can be used when space is very small. I expect they should be modified a bit to maximize the light getting to the coin for high mag imaging. Perhaps I'll make a set specifically for that purpose. ...Ray |
|
Valued Member
United States
232 Posts |
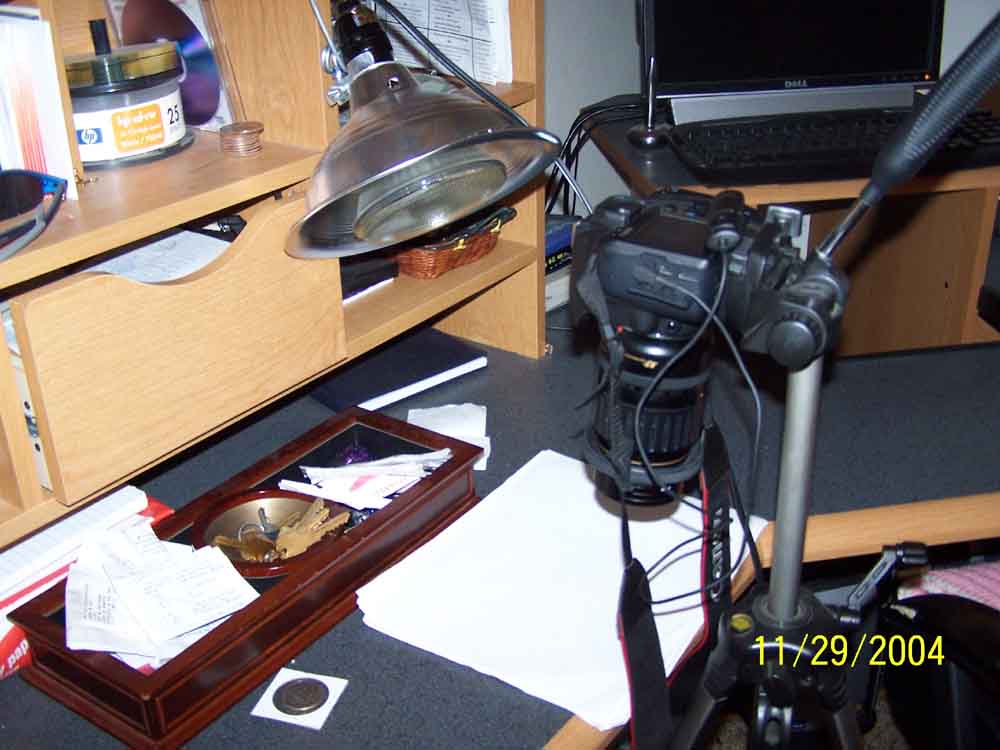
thanks guys, I am going out tonight to try to find the lighting and start there. I can't wait to see what my results are, I'll let you know when I get it right just so you can see the end results. Oh, lol, the camera I used to take those pics is old and the date is off, I actually took those pics last night.
|
|
Valued Member
United States
232 Posts |
|
|
Pillar of the Community
United States
4038 Posts |
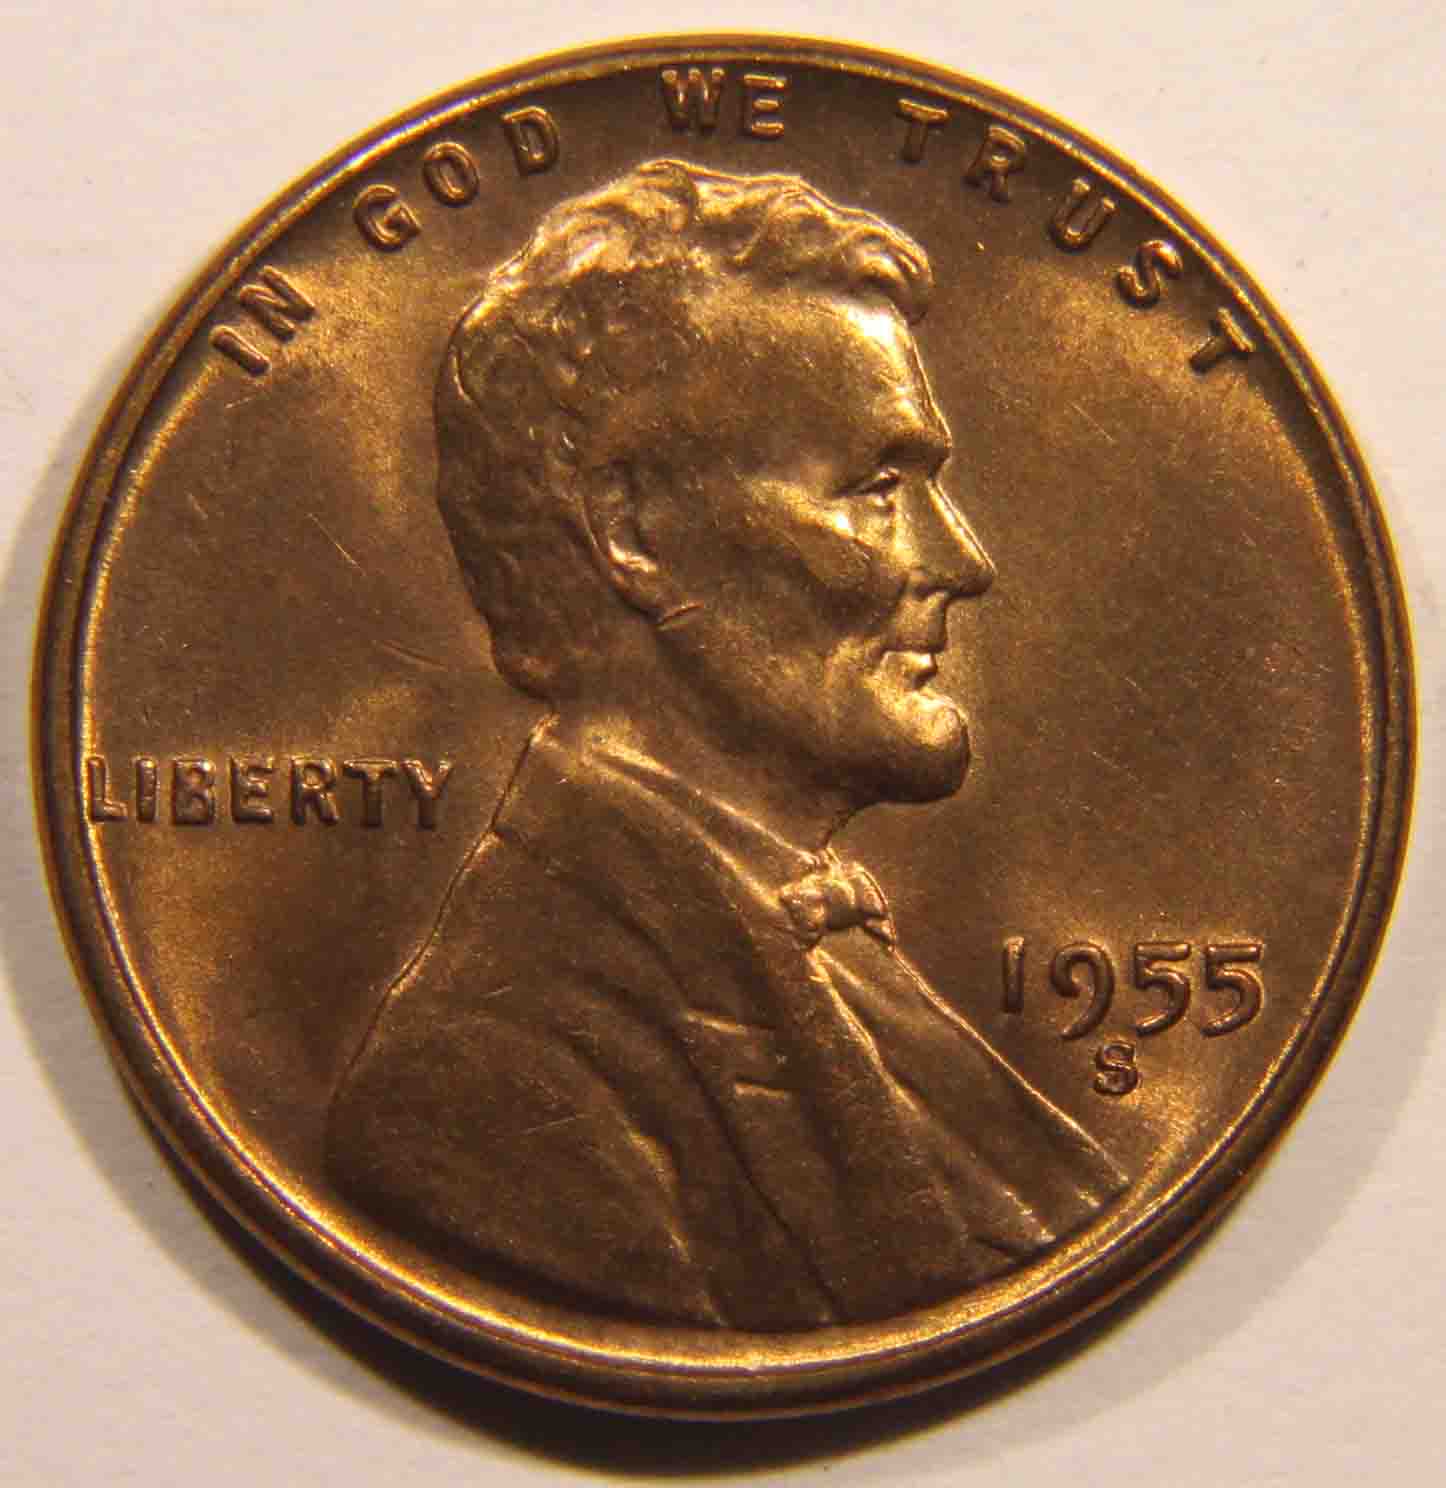
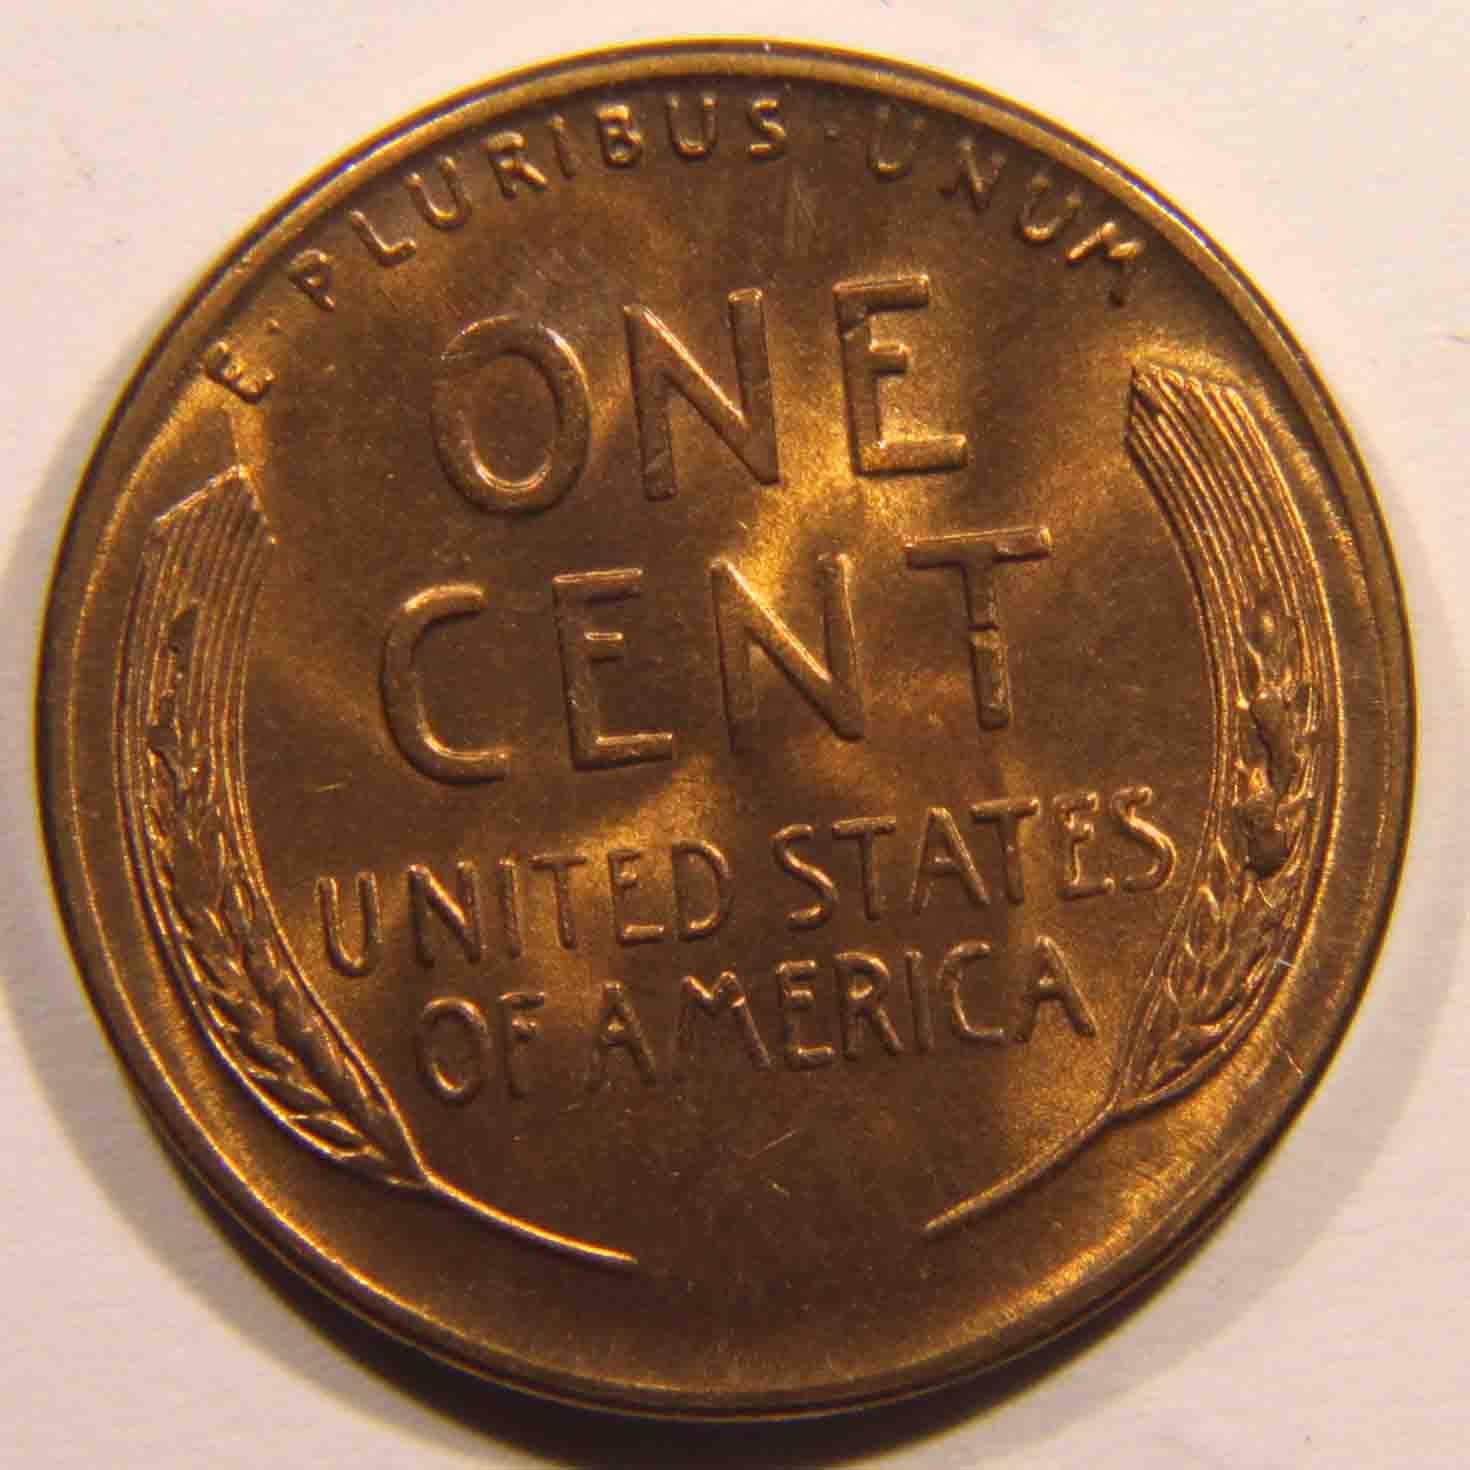
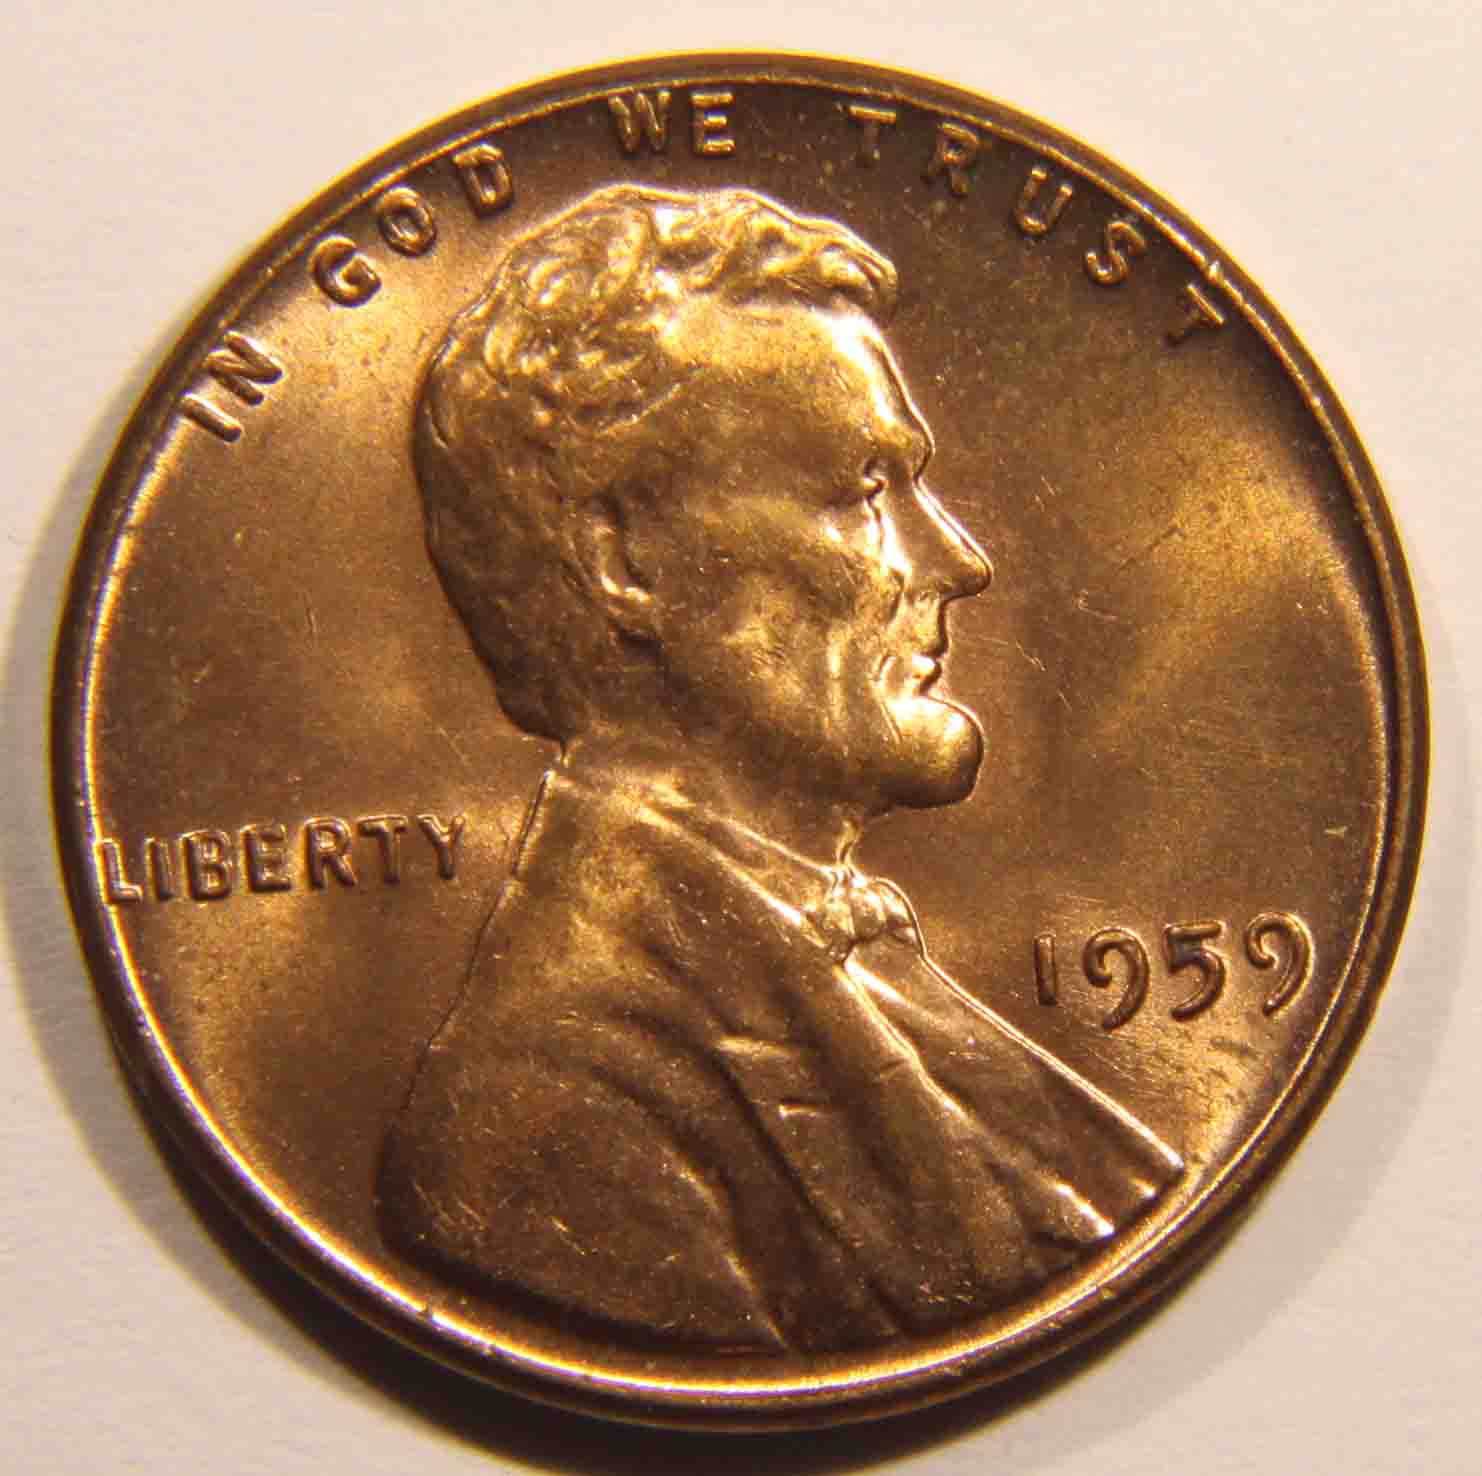
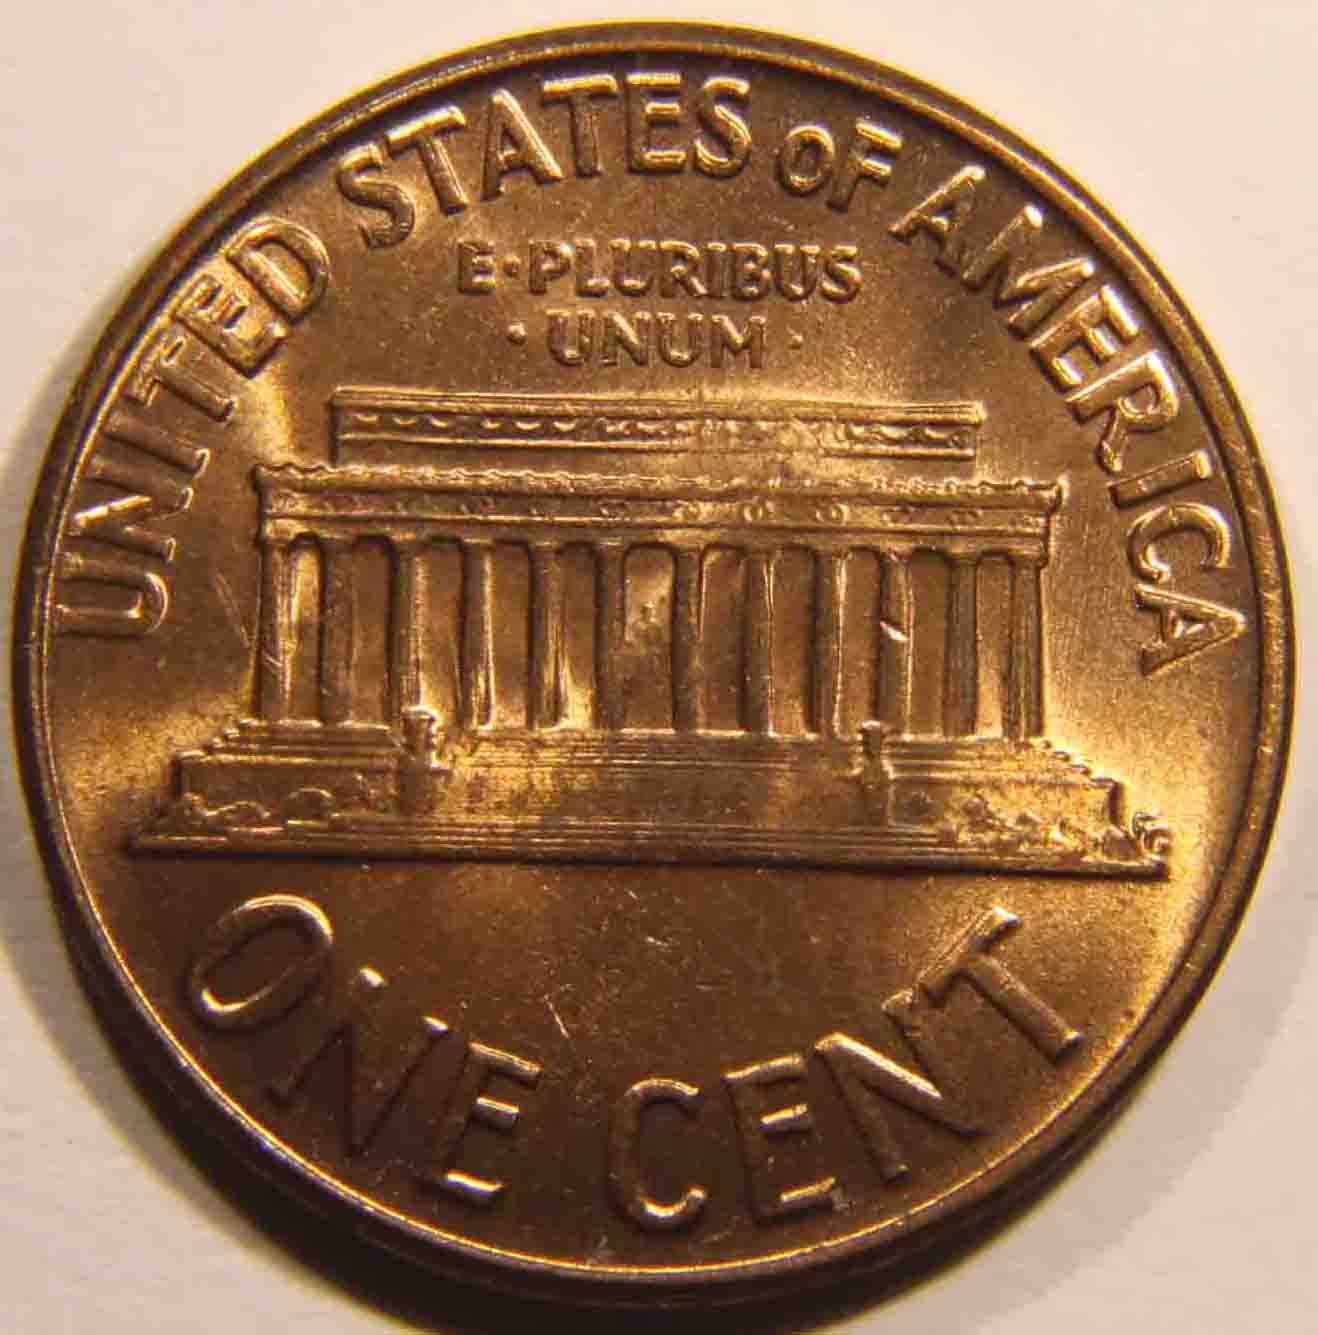
Pretty decent shots. Hopefully you are open to a bit of constructive criticism...
Is your background white? If so, you will need to work on the white balance to get rid of the pink hue.
Bring your lights up a bit higher to put the highlights more on the flat surfaces and less on the edges of the features. It looks like you've got them around 30 to 35-deg-deg from horizontal. I think if you get them at 60 to 70-deg you will show about the same luster, but your shadow detail will improve and the features will pop a bit more.
With 2 lights your luster is usually best when the lights are shining orthogonally. Your placements at 10:00 and 2:30 are a bit far apart for best luster. Orthogonal placement is always "3 hours apart".
Finally, if you put a tissue or some other translucent diffusion material over the lights, it will reduce the blow-outs on the highlights and improve the shadows a bit. A lot of folks just put a white tissue over the lights to achieve this effect. The farther the spacing from light to tissue, the more diffusion.
Contact me for photographic equipment or visit my home page at: http://macrocoins.com |
|
Valued Member
United States
232 Posts |
cool, thanks again. it's pretty impressive to me that you notice those details from a pic. You nailed all the light placements.
|
| |
Replies: 44 / Views: 7,380 |