| Author |
 Replies: 16 / Views: 3,492 Replies: 16 / Views: 3,492 |
|
Pillar of the Community
United States
1599 Posts |
Got a new camera a few days ago-Canon T1i. Still having trouble getting quality pics-need some real help with lighting. 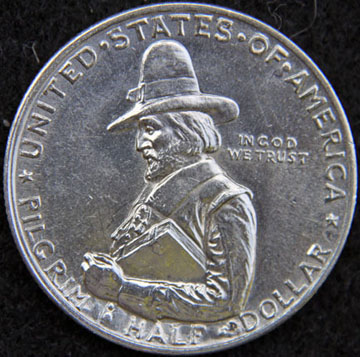 |
|
|
|
Rest in Peace
United States
1729 Posts |
Looks like one light source, to the top of the coin - right?
|
|
Valued Member
United States
287 Posts |
I think, not positive, but think that you need to have the lights from above and from 4 different lights, like in a square with the object you want to photograph in the center. that is how we used to shoot arework when I worked at a print shop.
|
|
Rest in Peace
United States
1729 Posts |
The more lighting from different angles, the better. Not only lights the object more evenly but it gives you more depth of field with macro and close-up lenses.
|
|
Valued Member
United States
300 Posts |
Compared to my skills, you're a Pro
|
|
Pillar of the Community
United States
870 Posts |
You might put a diffuser stand right under the lens... or just change your shirt color. =)
What is it that you're after, specifically?
|
|
Moderator
 United States
23522 Posts |
Keep in mind, the stock 18-55 with that camera isn't all that great. It can be made to do halfway decent shots, but not with the ease of a dedicated macro. This is about the best I've done with it: 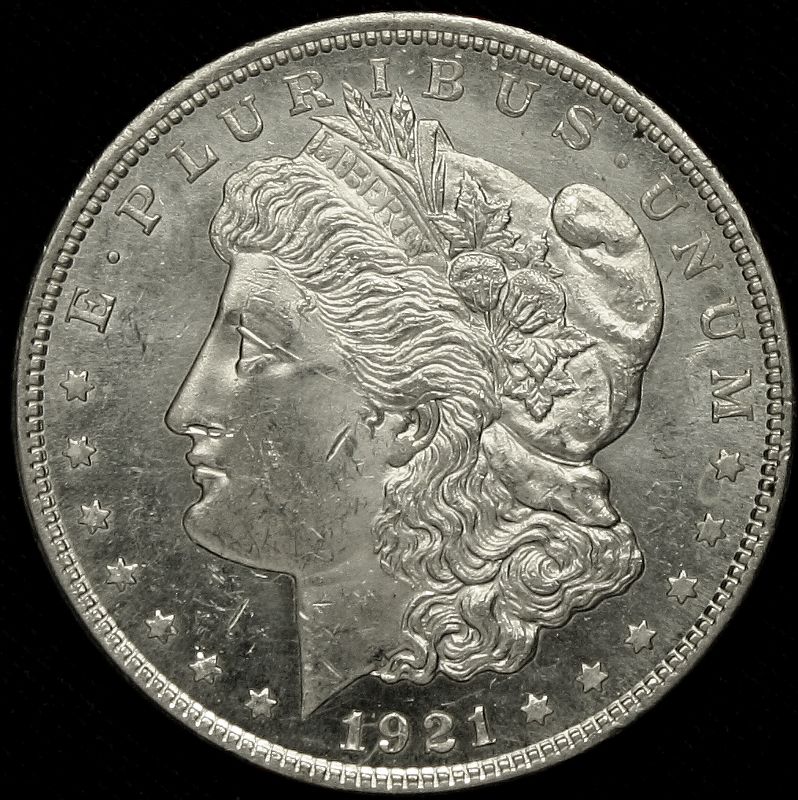 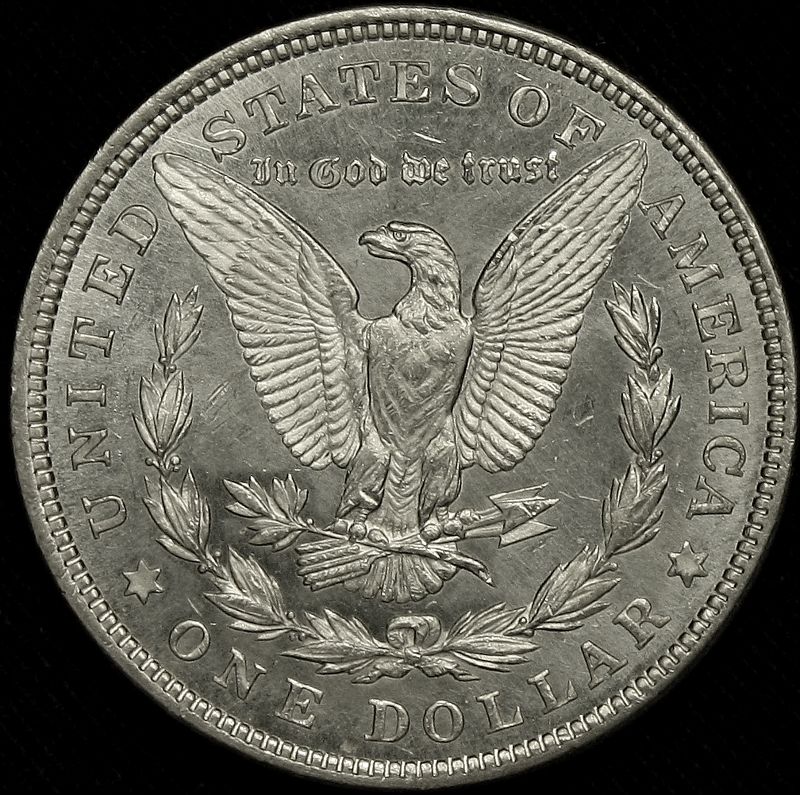 This is what it took me to get the shots: 1) Tripod-mounted camera, very carefully arranged exactly parallel to the coin, pointed straight down. To do this, I mounted the coin high enough to be pretty close to the camera - that way I could gauge how parallel they were - and then cranked the tripod height adjustment up quite a distance. I didn't record that distance, but the final image had the coin about 1000px in diameter. I think the front of the lens was about 18-20" from the coin. 2) Remote shutter release. This is imperative. In my case, I did it with software but you could use a delayed shutter just as easily. 3) One random table lamp for lighting, positioned about 1:00 to the coin. Don't let people tell you lighting is all that vital, as long as you can postprocess the image. In fact, sometimes less lighting works better than more, especially with lustrous silver. This coin is fully Prooflike, and turned into a headlight when I tried to use my usual multiple-halogen rig. 4) Shot parameters: ISO 400, 1/50@f/8.0, zoomed all the way in at 55mm. 5) Later, in the Gimp, I used 40% Sharpen and removed almost the entire Yellow color channel. The lens is not all that sharp - shooting closeups like this, you're going to have to sharpen if you want to be happy with your images. I cannot overemphasize the importance of acquiring some skill with postprocessing - it beats the heck out of painstakingly building a setup (and spending $hundreds on a macro lens) that will give you these results out of the box. Of course, I did that, but I'm obsessed.  |
|
Pillar of the Community
United States
2661 Posts |
jprine, I think that is pretty good myself. Just keep trying until you figure out what works for you. As for you SuperDave, that is one set of Super pics if I may say so. Maybe someday mine and jprines pics will look that good.
I have the Sony A350, which I am still learning to use. I use the 18-70 with a set of macro and micro lenses and natural lighting to get my best pics. That is what is working for me so far. I really need to get a better tripod too.
|
|
Pillar of the Community
 United States
1599 Posts |
pls-correct, the light was at the top of the coin. What am I after-much better pic to justify the camera I just bought. Really I want to learn more about photography so I can produce pictures that accurately demonstrate the quality of the coin. I think my lighting is the issue. I do have another question-I am currently using Adobe Photo Shop Elements for post processing. I notice some of you are using Gimp and Photoscape. Should I shift to one of these other programs or concentrate on what I have? Thanks.
|
|
Rest in Peace
United States
1729 Posts |
jprine, I would attempt to put the best pic possible into your file; see SuperDave's process description for tip. Then use what you have for post-processing experience before you start dropping $ into other programs.
I will disagree a bit with SuperDave's comment about post-processing with an analogy and say that no matter how much lipstick you put on a pig - it's still a pig. Your posted photo is sharp and clear, but your lighting setup has left some deep shadows which would be difficult to erase with software manipulation.
If you're serious about producing top-quality photos, I'd suggest that you go back through other photo threads here and study them for tips on lighting setup and other techniques.
|
|
Moderator
United States
23522 Posts |
Oink. I will disagree a little with your disagreement, pls, and say that I think the coin is pretty well-lit. It's just slightly overexposed, maybe one stop, but I suspect it would come around nicely with just that lighting. jprine, how large is the original? If that's actual size, I think you're giving up a little and can zoom in closer. On the other hand, if it's over 800px or so, I'd say that you're a little too close for the lens' capabilities. A little more on the process of getting the pics I posted above, to give you an idea of just how valuable postprocessing is: This was an attempt to see what quick-and-dirty work I could do with the stock lens. The only real care I took was to make sure the coin and lens were parallel. I did nothing with custom white balance; just set it to "Tungsten" and started clicking. I took a total of 60 shots in order to arrive at two that I liked; of that 60, maybe 10 were usable and two other sets of obverse/reverse would have been as good as the ones posted. Here's the original full frame of the shot I used, unaltered except for size: 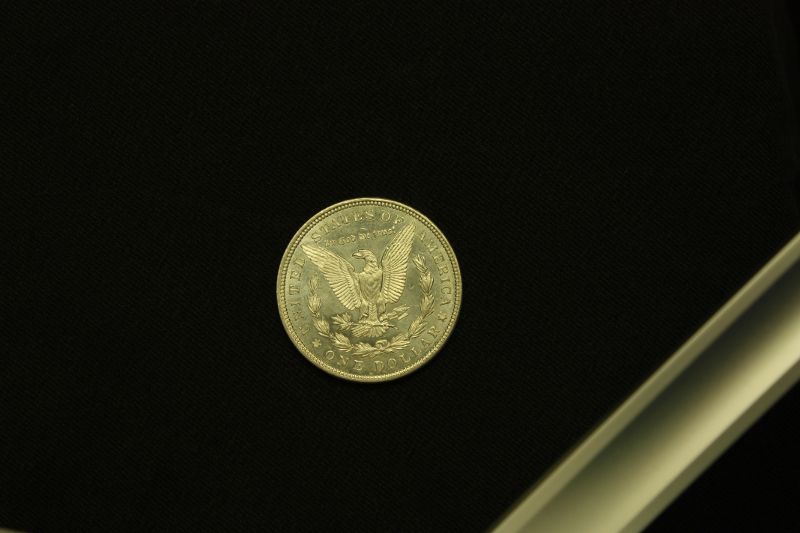 I then rotated the image to vertical and cropped it to just the coin, which was about 1000px in diameter: 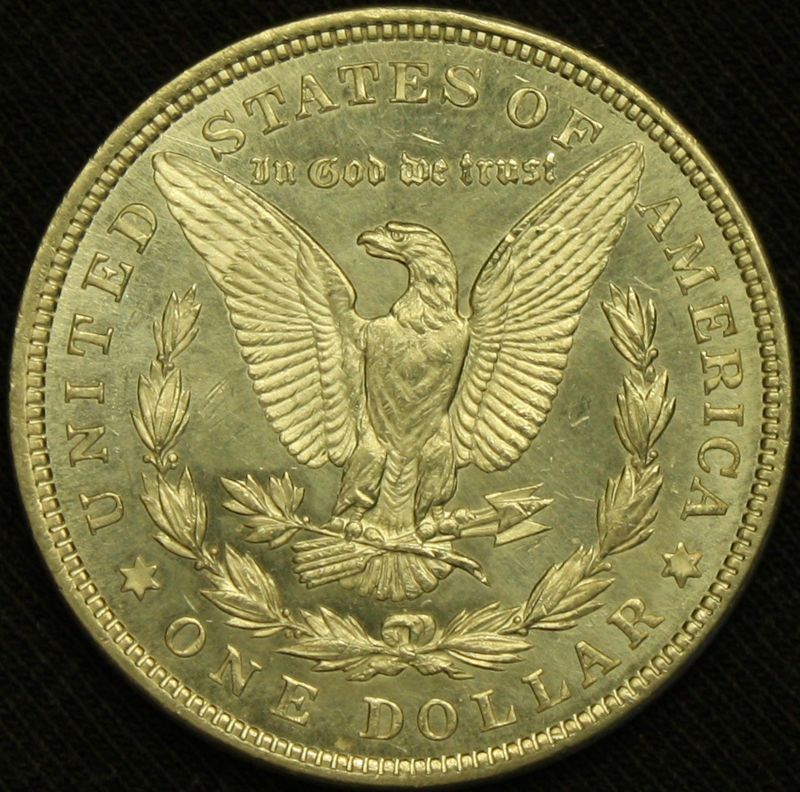 Reduced the Level setting to 70%: 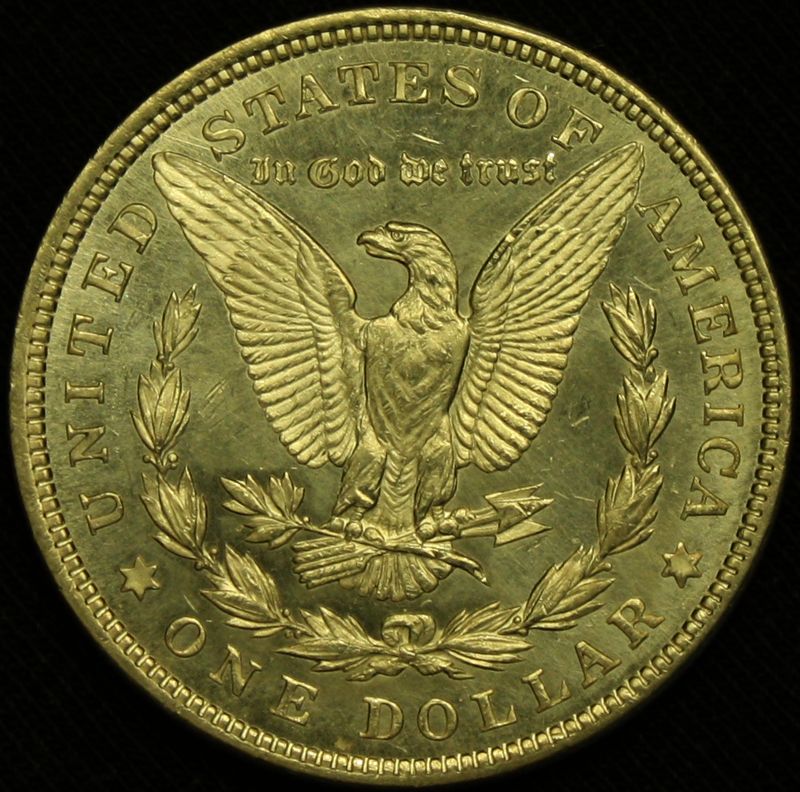 Cut the Yellow channel by 60% in Hue/Saturation: 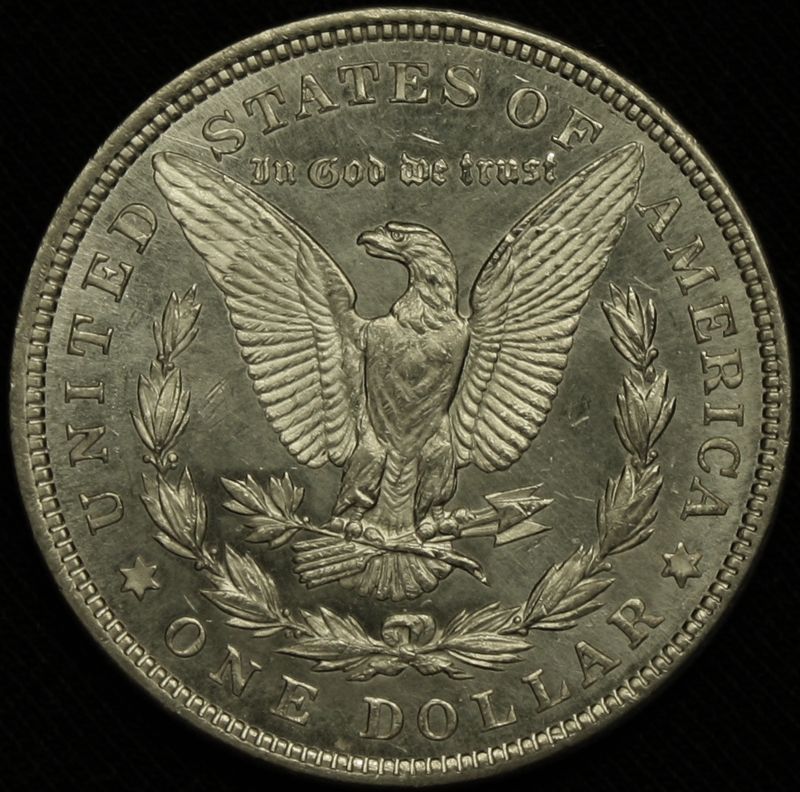 Applied 40% Sharpen filter: 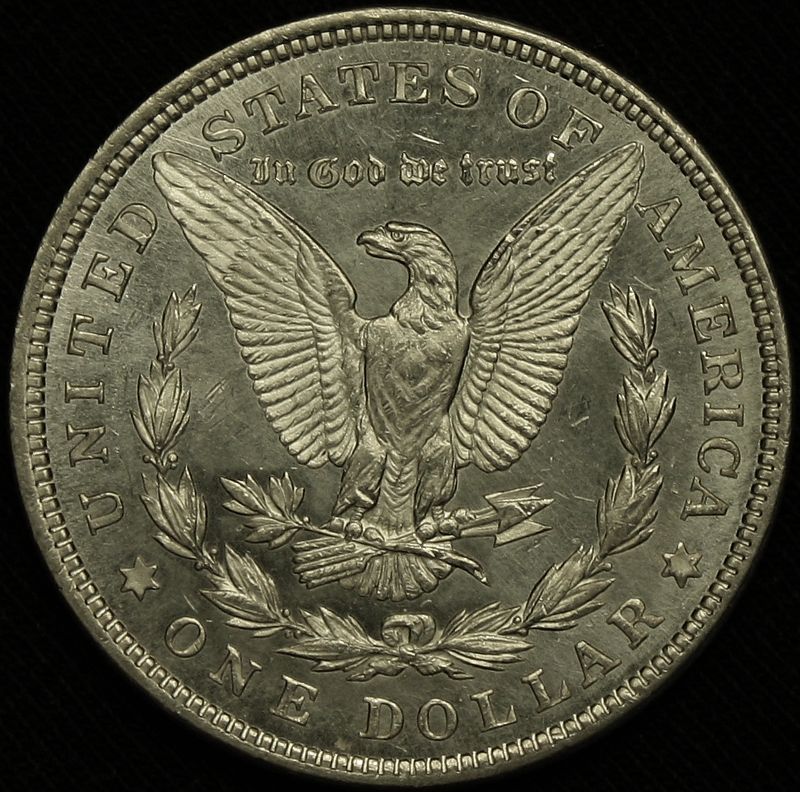 Added 10% Contrast, and voila: 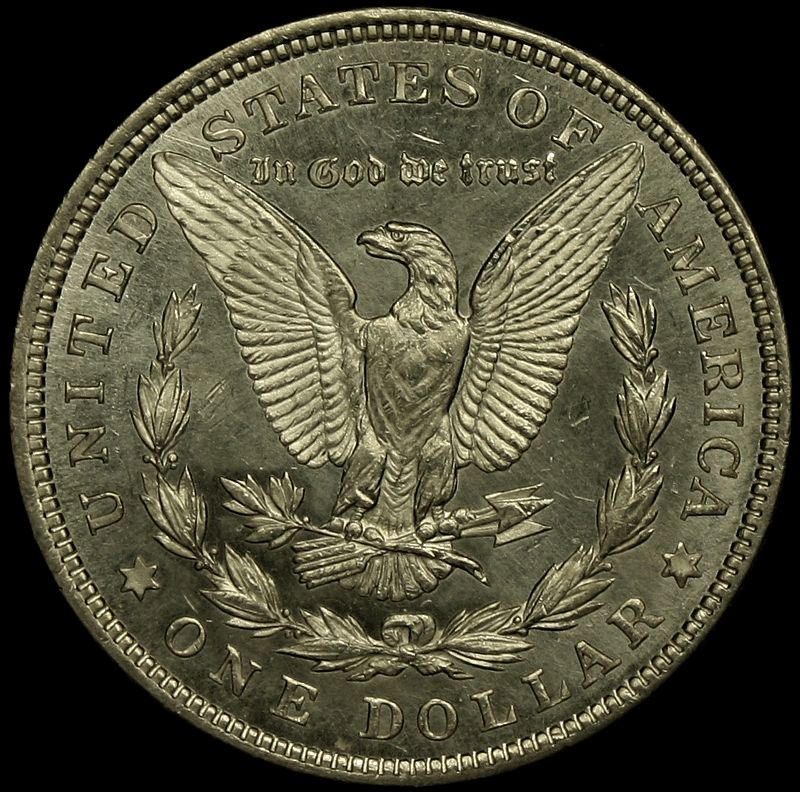 One important note: I use a dual-monitor setup on my computer. On the main monitor, the color of this last pic is just right. On the second monitor, it's still a little yellow. This is deliberate; people use differing color settings on their monitors and even though I personally like the color a little "cooler," some folks don't adjust the monitor at all and factory settings are generally a little "warmer." Mind you, had I been using the Macro lens and done the setup properly, the coin would have been the right color and alignment to begin with. I'd have needed no Sharpen, no Levels and probably no Contrast. We don't all have dedicated Macro lenses, though, so what I did here is the next best thing. The Gimp is free, by the way - it's Open Source. |
|
Pillar of the Community
United States
870 Posts |
That's a lot of post, Dave... If you can get your set-up right to start with, you won't have to do that much. And, I reckon that with our fancy cameras, the lens is not holding the photography back. =) Even a $50 camera can take a fantastic photograph.
I did just learn something new. "How is he getting those giganto images down to 90kb?" "Oh, he's not!" lol So noted, if I need to post a large image with lots of incredible detail, I'll use my own server. =)
jprine - what's the yellow in the bottom of the image. I assumed it was a reflection from your shirt, but it's not?
|
|
Rest in Peace
United States
1729 Posts |
SuperDave - 60 shots? Aggh!
I learned serious photography in a different era, I guess. I had to load 4x5 sheet film into holders and then shoot with a Speed Graphic sans light meter; I quickly learned to make every shot count, even though I had to train my brain and eye to judge shutter speed and aperture settings. Other than a little dodging and burning, plus the use of contrast filters, little manipulation was possible with prints back in those days.
I still shoot that way, even with my Nikon D60 - I try to get it right with the first shot. I will say that I admire greatly your final results, though.
|
|
Moderator
United States
23522 Posts |
Quote:
SuperDave - 60 shots? Aggh! Yeah, thank goodness I didn't develop my skills with film. Remember, though, this was my first attempt to shoot a coin with this lens. I had no idea whether I'd get better contrast by under-, over-, or correctly-exposing the coin. I took a series by varying aperture, one with exposure, and I played some with exposure compensation. I worked in 4 different ISO settings. I threw a few outliers in, stuff I knew wouldn't work at all, just to see what the lens would do. With my "real" setup, I'm usually within one setting change for a given coin, every time, and the only repetitions involve deciding between one, two or three lights for that coin. The goal is the most accurate possible representation of the coin on a large computer monitor. I can split hairs for really minute differences which are probably only visible on my specific monitor with my specific eyes. Why? Because I can, not because it's necessary. I'm a coin collector, remember? It's what we do. |
|
Valued Member
United States
374 Posts |
Super dave what do you mean by mounting the coin ? I understand the parrell, I am using a canon copy stand and delayed shutter. Some of my pictures have that yellow tint and some coins look worse in the pictures than they do with the naked eye. Your morgan picture is Sweet.
|
|
Moderator
United States
23522 Posts |
Quote:
Super dave what do you mean by mounting the coin ? I just used that as a figure of speech, implying that I didn't just toss the coin onto a table. With that said, some folks actually create a mount for the coin. Imagine something like one of those plastic things they use to hold up the center of a pizza box, covered in felt. The coin sits on that, elevated from the background, which is the point. Done this way, the background fades completely out of focus. |
| |
Replies: 16 / Views: 3,492 |


