| Author |
 Replies: 26 / Views: 4,827 Replies: 26 / Views: 4,827 |
Page 2 of 2
|
|
|
|
Pillar of the Community
United States
3076 Posts |
much better pic there, the lighting is abit strong, but you can still play with the lighting to get it right...
|
|
Pillar of the Community
United States
627 Posts |
Acloco, I have a couple more suggestions for you. ---------------------------- FIRST: When you push the "FUNC.SET" button you should get a menu that looks like this: 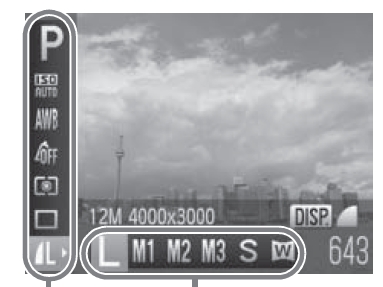 From the top going down, make sure that your settings are: "P"
ISO/80
AWB
"OFF"
Evaluative metering (as shown in the picture above)
Single drive mode (as shown in the picture above)
"L" (Largest photo size -- as shown above)-------------------------------- IN ADDITION: Press the "MENU" button in the lower right corner. From that menu, change your "Auto Focus Frame" option (AF Frame) to be "Center". This will ensure that the camera focuses on the middle of your photo and isn't looking for faces or focusing somewhere outside of your coin. 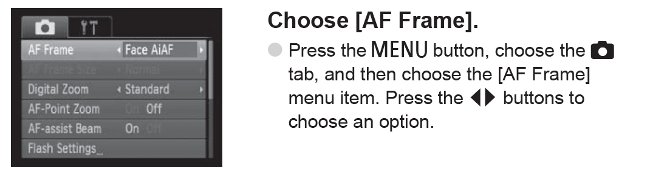 --------------------------- NEXT: Try photographing this coin with two lights. Place one high (next to the camera) and to the right at 3 o-clock. This will light Lincoln's face well. Place the 2nd to the left at 9 o-clock and at about a 45 degree angle and a bit away from the camera. Place a piece of paper or a paper towel between that light and the coin so it diffuses the light source. This will back light some of the shadows from the first light. ------------------------- LASTLY, MAKE SURE you have your camera set for Macro mode ( button 9 below), that your Flash is turned off ( button 11 below), and that you are using the timer function ( button 12 below). Of course, the timer only helps if your camera is firmly mounted on a tripod to avoid shake. 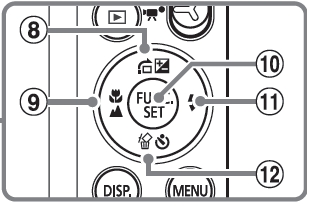 Post your results after these changes? :) Post your results after these changes? :)
|
|
Pillar of the Community
 United States
3540 Posts |
Will do this tonight. Thanks.
Your picture - Seattle by chance?
|
|
Pillar of the Community
United States
627 Posts |
Ok, I get your Seattle reference. Those images are actually screen capture shots from the SD1300IS User's manual! :)
Edited by brg5658
11/08/2011 6:02 pm
|
|
Pillar of the Community
United States
3540 Posts |
Definitely a lot better. One light. ONE light to the right of the camera. Camera on a sturdy tripod, positioned about 3" from coin. F2.8 with the above settings provided by brg5658. The background is a light blue (baby blue) microfiber cloth. 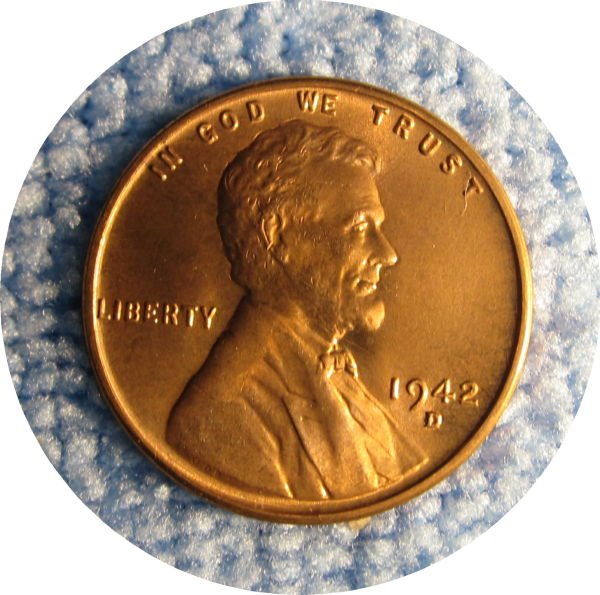 Same picture with the "auto fix" feature utilized in Photosuite 9. 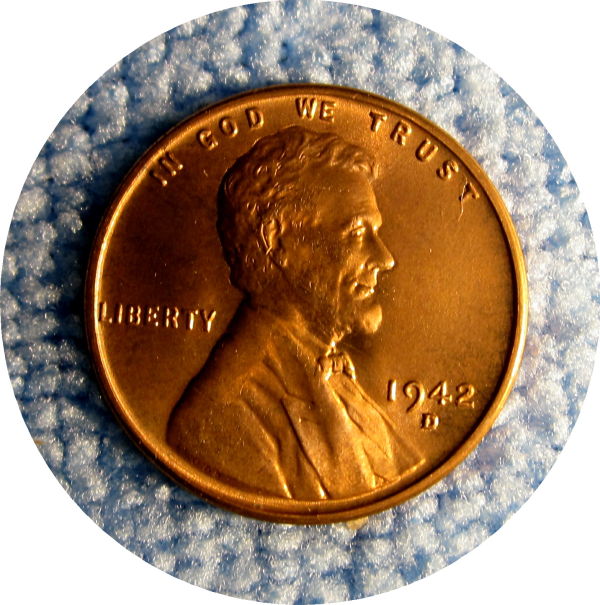 Two lights - one positioned on the left and another on the right of the camera. 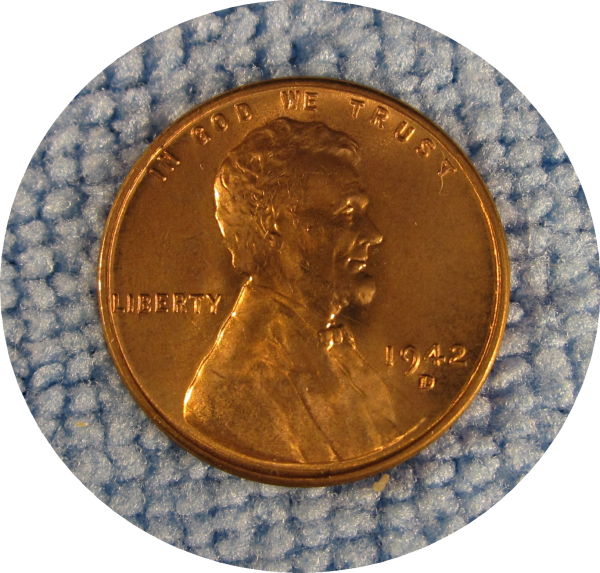 Two lights and the "auto fix" feature used. 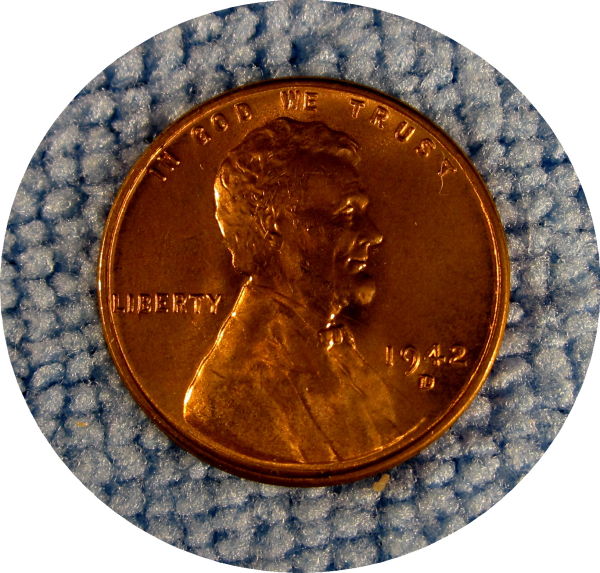 PS - this is a 1942 D from an original roll that I recently purchased. |
|
Pillar of the Community
United States
3540 Posts |
Next step, need to add diffuser between lights and coin to soften the lighting.
THANKS brg5658.
|
|
Pillar of the Community
United States
627 Posts |
That first new one is nice! Keep working on it, you are well on your way! Lookin good!
|
|
Pillar of the Community
United States
3076 Posts |
color's looking very nice, your starting to get the hang of your camera, it just takes time tweeking the settings to get what you need,,,,your at 2 inches from the coin..your canon has the 1.5X zoom I think?...max may be 2? not sure on your camera, but with my AS3100, I was able to be father from the coin letting more balanced lighting on the coin, for me 2X was so so, and 1.5X was much better results...as I believe you can still have the "Macro" function on...and now your about say around 6 to 8 inches from the coin,one can see when moving the lighting upon the coin in the view finder,
the best overall lighting and details that show up on the coin before you take the shot....This also allows more room for diffusion techniques...As Brg5658 suggests......I do like the simple menu Canon has for these type cameras, very, VERY easy to use...
|
|
Pillar of the Community
United States
627 Posts |
aladin is right. you can pull the camera back about 6-8 inches from the coin, and use the optical zoom just a little bit to stay focused in on the coin. This gives you more room to work with the lighting.
I will say, I have had better luck using a solid white (sheet of paper) background under the coin. The focus still seems to be just a little off, and this might be because the auto-focus sensor is confused or distracted by the blue microfiber cloth. I only say this because your cloth seems to be VERY sharply in focus particularly in the 2nd set of photos. One of the primary hang-ups of Point and Shoot cameras is that you have very limited controls of your aperture, and so your "sweet spot" of focus is limited by the F2.8 depth of field.
If you are looking for a freeware very powerful photo editing program, check out GIMP (GNU Image Manipulation Program). It is all open source, and free, and has functionality on par with Adobe Photoshop CS. It allows you to crop circularly, and put your coins on black backgrounds. This makes them "pop" and truly become the center of focus for posting on websites. It also has a sharpening function, which almost all digital photographers agree that at least a small amount of digital sharpening of the final-sized image will improve the quality.
|
|
Pillar of the Community
United States
627 Posts |
Here is your photo cropped and put on a black background. I also did a very small amount of post-processing sharpening. Notice that I also rotated it so that Liberty was horizontal, and I resized it just a bit downward (just to demonstrate that there are a lot of possibilities with this freeware). 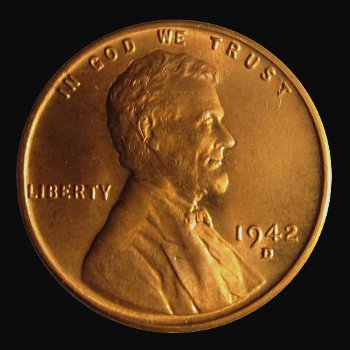 Edited by brg5658
11/09/2011 10:21 am
|
|
Pillar of the Community
United States
3540 Posts |
Thanks to both of you. I will get to work on this. :)
|
|
Pillar of the Community
United States
3540 Posts |
Group photo of some of the roll. Just having fun. My black felt must have been a woolly bugger in previous life. 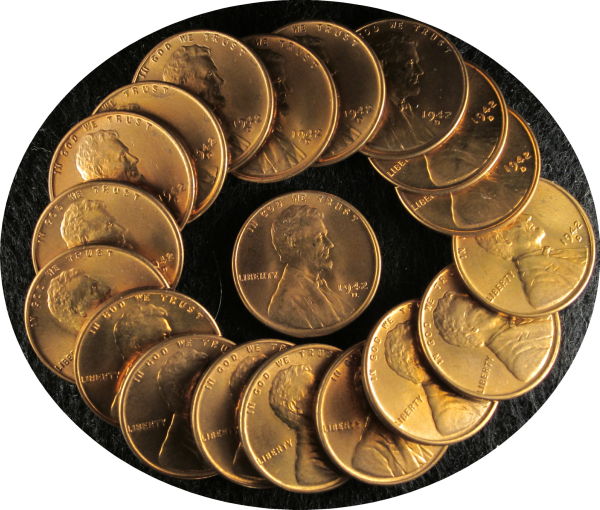 |
|
Pillar of the Community
United States
3076 Posts |
nice group hug photo! fun with photo's  |
|
Pillar of the Community
United States
627 Posts |
Haha. That's a cool pic! Nice!
|
|
Pillar of the Community
United States
3540 Posts |
More circle group pics. Different focal lengths and lighting. Imagine if a person ever gets things just right....need to pour some glue on the lights so they stay put. :) 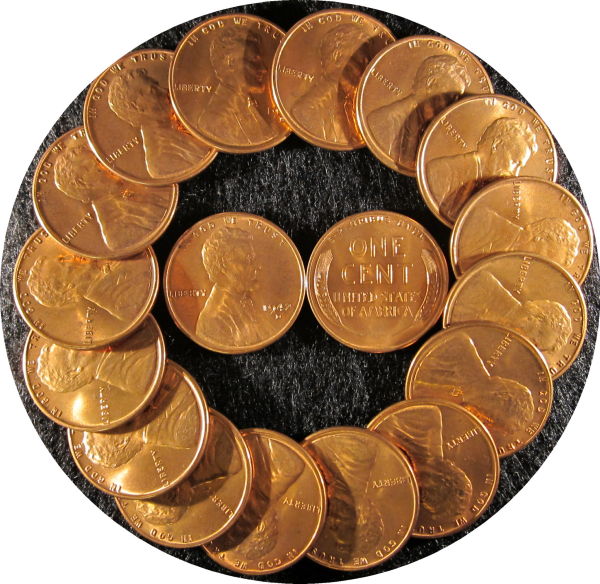 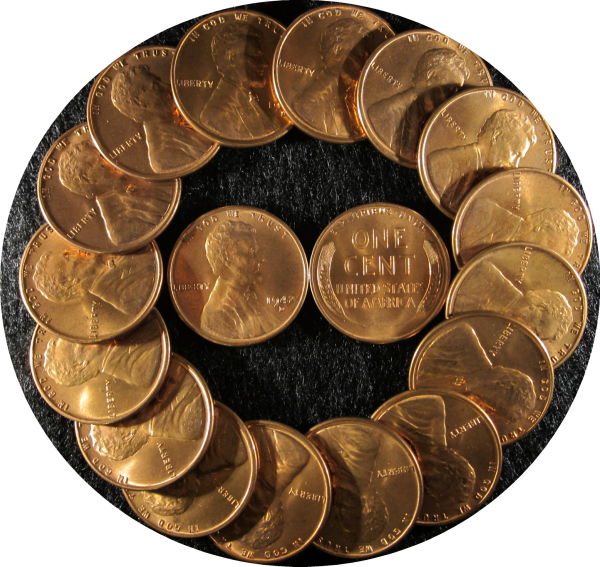 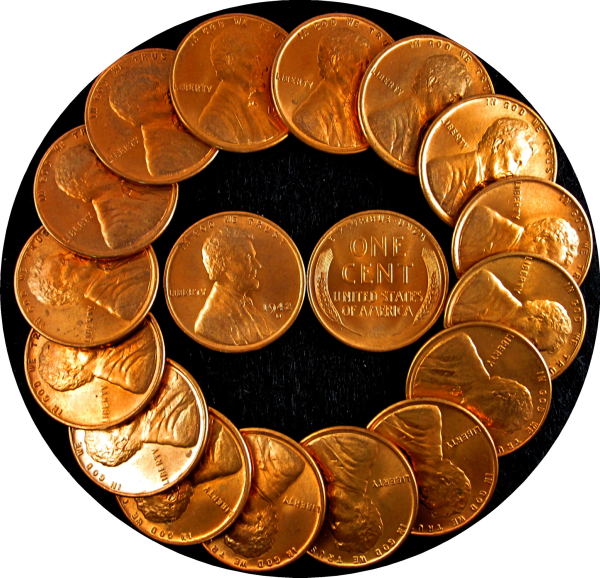 |
|
Page 2 of 2
|
Replies: 26 / Views: 4,827 |
Page 2 of 2
|








 First Page


 Posted 11/08/2011 4:59 pm


