Copper can certainly be the biggest challenge to capture accurate (as the eye sees color). You might try shooting in RAW and trying various settings in the RAW conversion software, start with Color Temp settings, to see if you can match it to more what the eye is seeing.
I use either Photoshop CC or Affinity Photo software myself. Affinity is more of a European known software but I'm finding it nearly as powerful and capable as anything Photoshop does for a great deal compared to the monthly $10 fee Adobe charges for the Photography package. I still have both for work, but have been thinking of dropping Adobe soon. Keep an eye on Affinity for sales they do a couple each year and usually at 1/2 price.
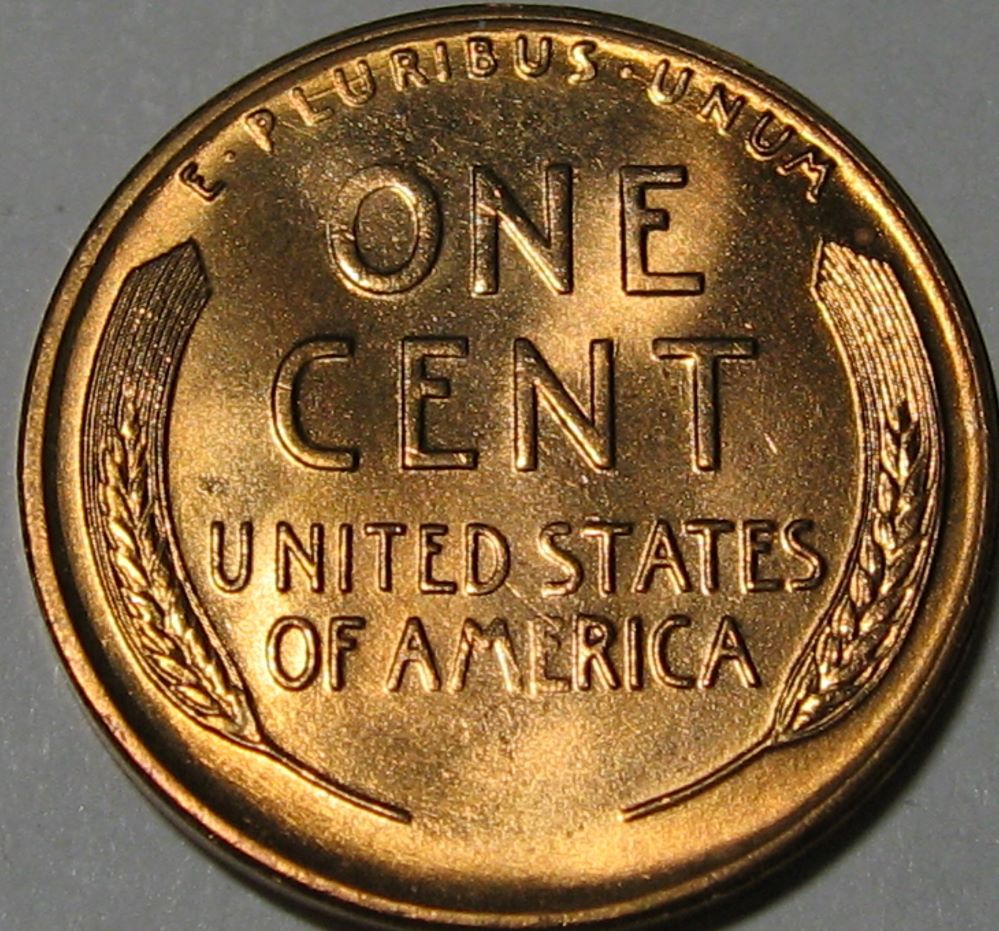
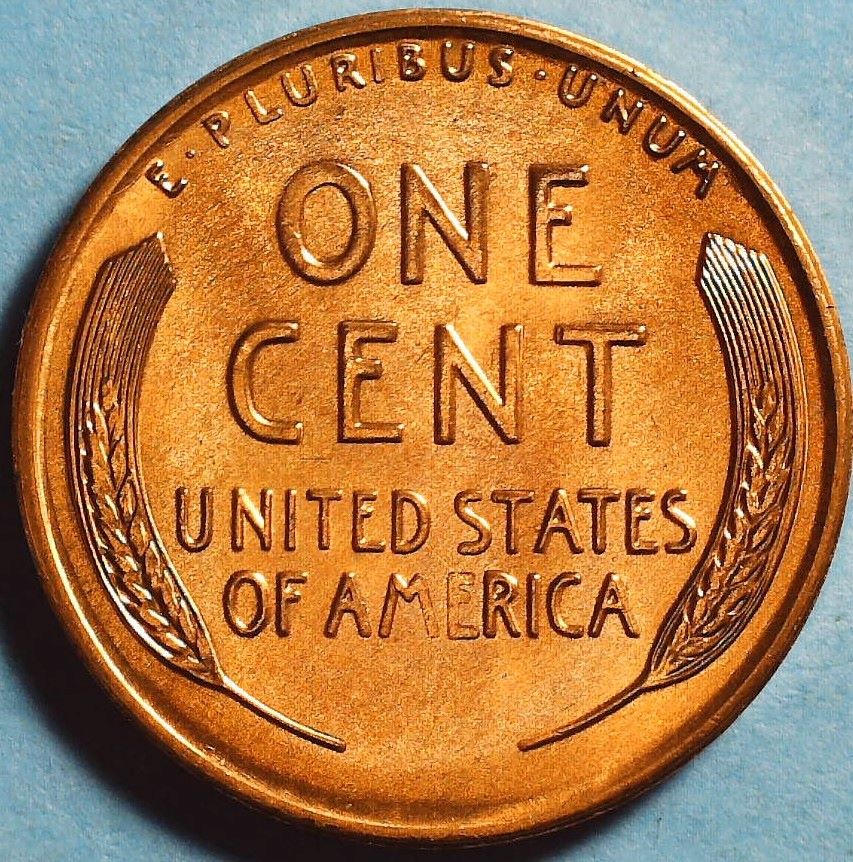
Color is one of the toughest things I think to get correct in shooting coins, especially with copper or toned proof coins. While natural sun light in the shade is closest to how the coin probably looks it's near impossible to get enough light of that type in your camera. Even the types of light bulbs or ambient lighting can throw off the color in a camera. You are right to experiment, and the second straight on shot is actually pretty nice as far as a new photographer with under a month of practice goes.
Your shot is nice and in focus, cropped nicely, I'd give it just a but more room at the edges. I see some hot spots that could be helped with a bit of light diffusing. Nothing fancy cut up a translucent milk jug or use some tissue paper, or any type of clear/frosted plastic or white fabric to cut down on the hot spots of reflection.
Depending on your Camera model, learn how to set the White Balance. It's pretty easy once you get the hang of it to shoot a custom setup for each time your lighting or coin type changes (silver to copper, or to gold). In my Canon DSLR I only need a piece of white paper to create on for my camera.
Positioning is everything when it comes to lights, as you figured out already. Play around and make notes then once you get the look you want try to keep everything the same. See my photos of Heritage Auctions photo area, and note they actually have so much to shoot they have copper, silver and gold photo stations with everything ready to go from lenses, camera settings and lighting with a diffusing screen to speed up the final output. All those white boxes you see stacked up by one station contain PCGS slabbed $20 gold pieces - and yes they are full, probably an easy half a million dollars of value in them, waiting to get shot for an upcoming auction catalog and the website.


Once you get a consistent set up - lock it down the best you can, note the settings in the camera and save them to a custom setup if possible, so you can switch to it when shooting coins. Try to keep the lighting in the room consistent, turn off other overhead (especially florescent lights), use only your coin lamps, some like 3 I use 2 lamps usually, others (like Heritage) use a single dedicated high power strobe. My own choice is usually cheap Ikea Jansjo LED lamps on flexible goose necks to make positioning them easy.
What works for one doesn't necessarily work for others. There is no "one best way."
You should also try to get the book from Mark Goodman "Coin Photography" 2nd edition. It's quite informative. ISBN 13: 9781933990040 it's good but not worth the $250-350 I see people asking for copies on
Amazon marketplace or Abebooks, Maybe $50 is fair. Lots of great information contained with in it's pages.
"Buy the Book Before You Buy the Coin" - Aaron R. Feldman - "And read it" - Me 2013!
ANA Life Member #3288 in good standing since 1981, ANS, Early American Coppers Member (EAC), Colonial Coin Collectors Club member (C4), Conder Token Collector Club member (CTCC), Civil War Token Society (CWTS) member, Liberty Seated Collectors Club (LSCC) & Numismatic Bibliomania Society member (NBS), USMex, Member in good standing, 2¢ variety collector.
See my want page:
http://goccf.com/t/140440