| Author |
 Replies: 53 / Views: 11,696 Replies: 53 / Views: 11,696 |
|
|
|
Pillar of the Community
Canada
2784 Posts |
i think I understand now. so with different light. the metal appears differently. these are with 1 ottlite plus 1 jansjo lamp. move the glass change the light. one gets a different metal look. 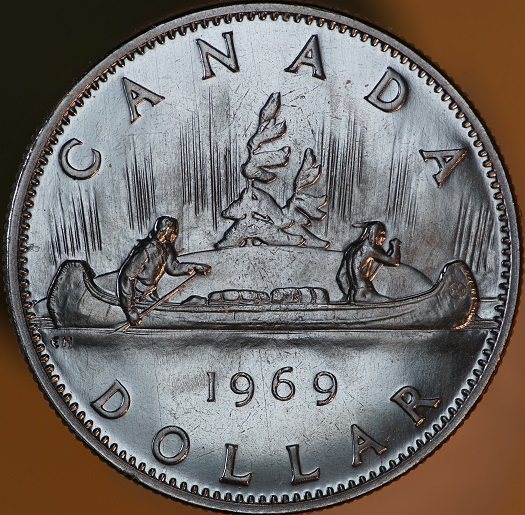 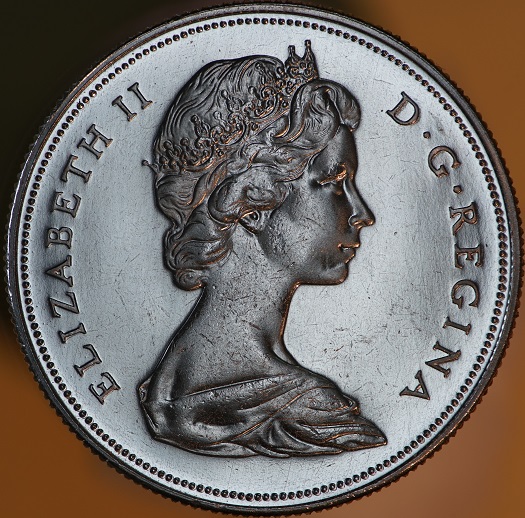 |
|
Pillar of the Community
Canada
2784 Posts |
i think I have finally figuring this out. 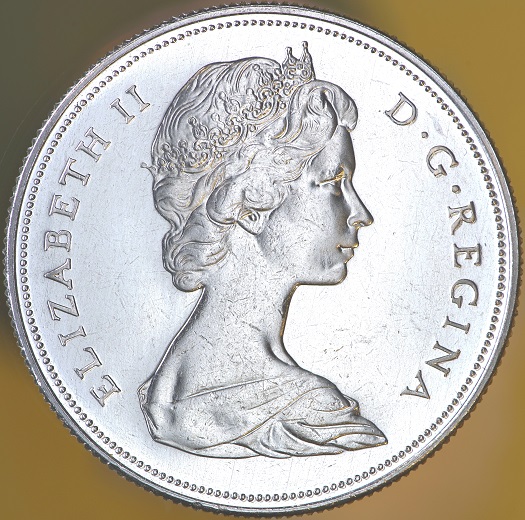 |
|
Valued Member
United States
430 Posts |
I have built a new jig to use axial lighting. It is based on Austrokiwi's design. I don't know if I'm using it right or if it's a bad implementation, but I am not getting the results I want. The biggest disappointment is the "fogging" of the shots from the light source illuminating the plate glass pane. I first tried jansjo lights and and the fogging was smaller than the coin leaving an ugly spot in the middle of the coin. So then I tried using an array of LED's from a battery powered video light. This is better but still there is a generalized fog. It helps if I dim the light array and turn the camera down 3-4 exposure stops. Do I have the wrong glass? Or wrong design? 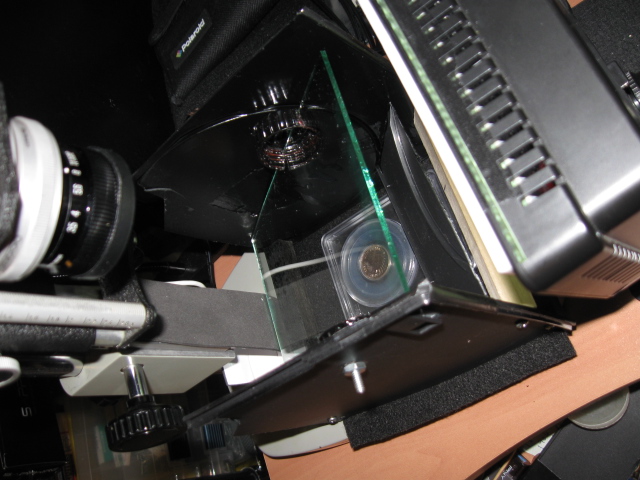 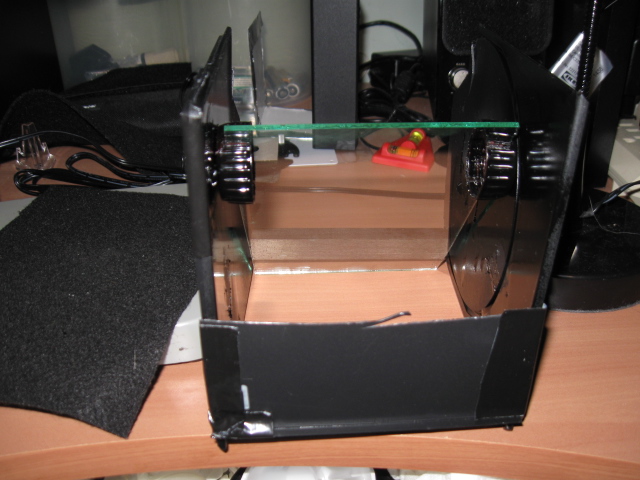 Jansjo 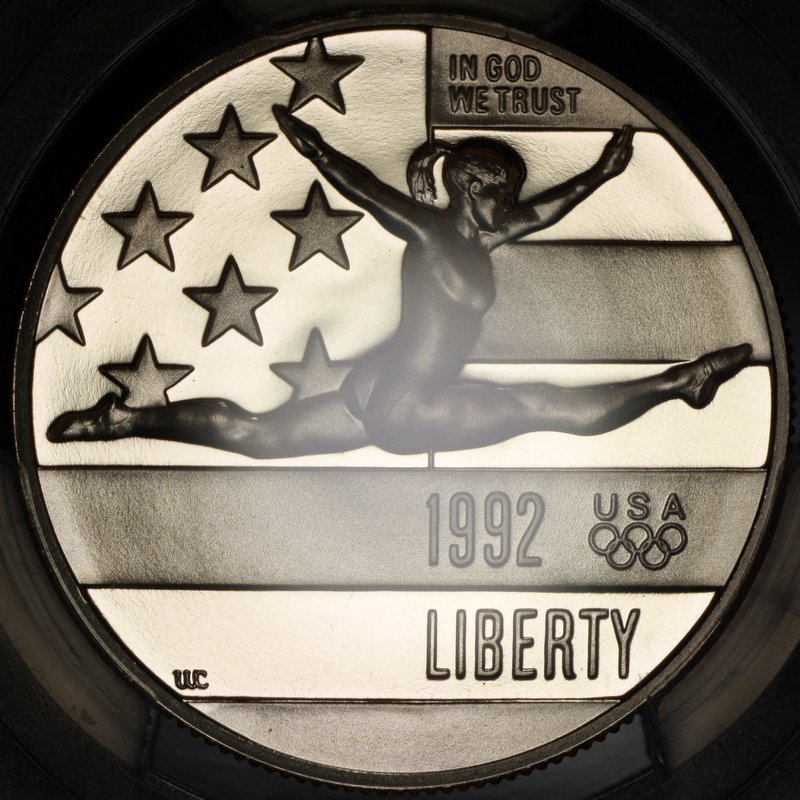 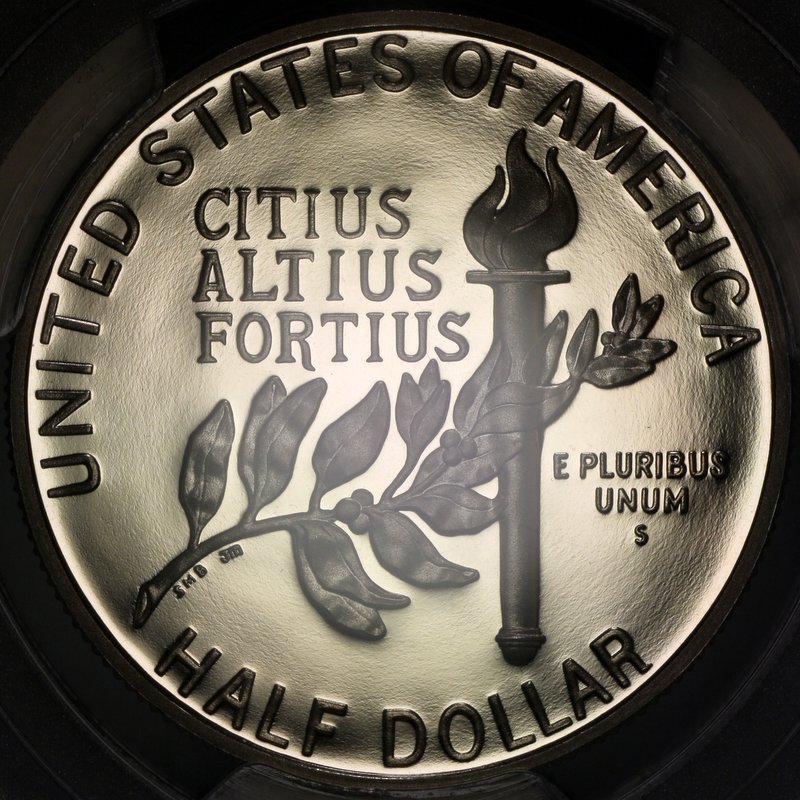 LED Array lighting better but still "foggy" This first image also had ambient room light 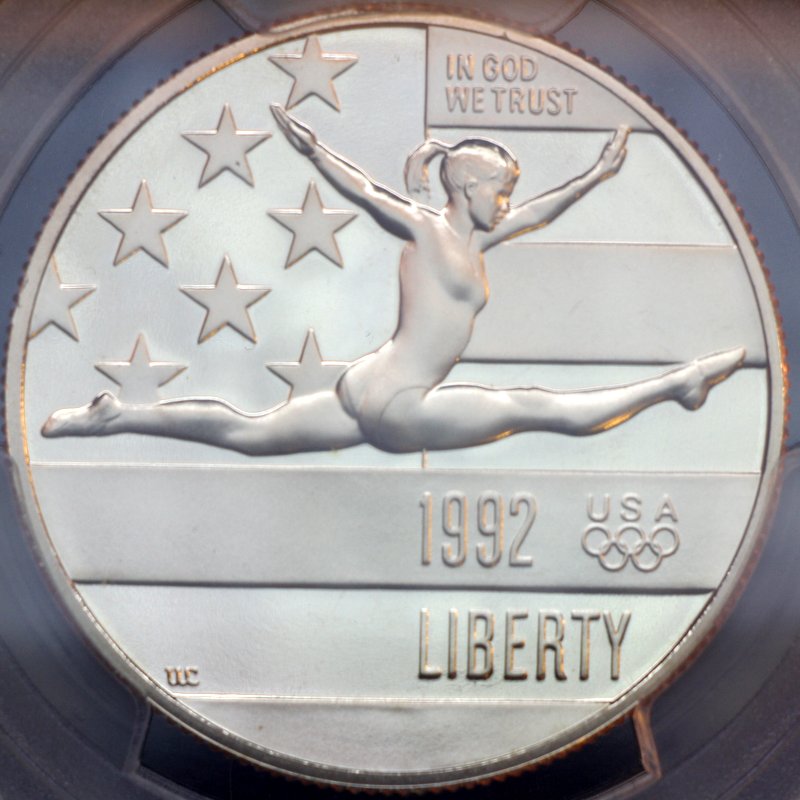 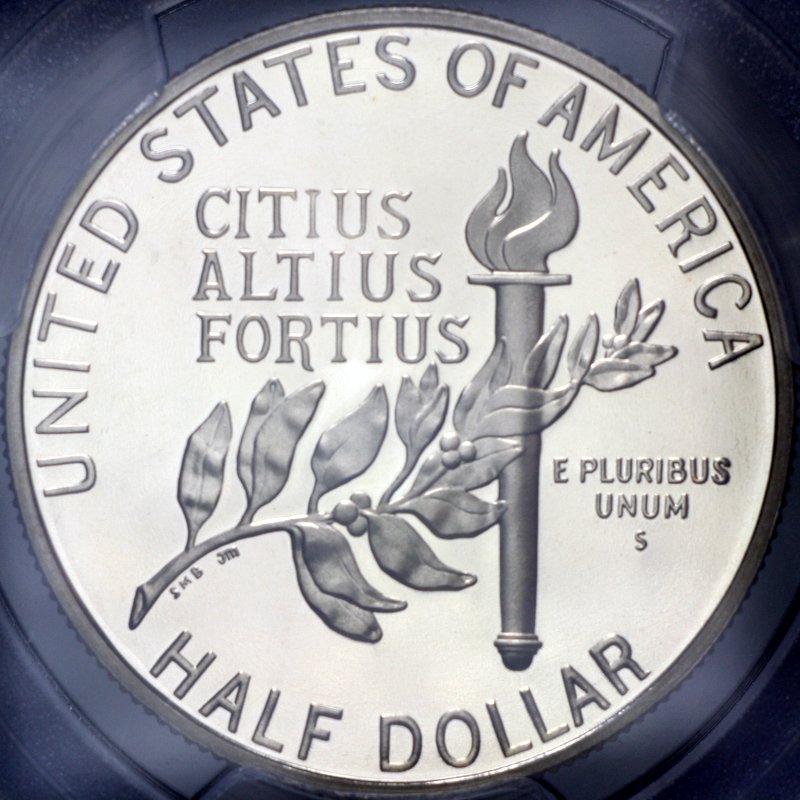 |
|
Pillar of the Community
United States
9395 Posts |
It looks like that coin is in some sort of a plastic holder. I've never had good results with axial lighting when coins are in a holder or slab. One possibility is to widen the light source so that the glare from the plastic is uniform across the coin, and then use Photoshop levels command to cancel out the glare.
|
|
Valued Member
United States
71 Posts |
Quote:
It looks like that coin is in some sort of a plastic holder. I've never had good results with axial lighting when coins are in a holder or slab. One possibility is to widen the light source so that the glare from the plastic is uniform across the coin, and then use Photoshop levels command to cancel out the glare. Agree. I never had any luck using axial lighting on slabs. When the glass was placed at 45 degrees, I had this:  After adjusting the angle of the glass, I managed to get this, still foggy:  |
|
Pillar of the Community
 2087 Posts |
Some possibilities: 1: the lens. I recall getting shots like that with an early version of the Olympus 135mm bellows lens. It was the lens flaring badly from light being reflected from the top surface of the glass, I also suspected that lens of suffering separation. I returned it and purchased a replacement from the last batch produced( much more modern lens coatings). If you were using the Ard 75 you asked about in the other post then perhaps you do have bad coatings(Edit This is less of a possibility now, see main edit).....but that leads me to the next possible issue. 2: You appear to have used black contact paper to line the inside of the axial rig. In your photos you can see how shiny( and therefore reflective) the surface of that material is. In my first iteration I used that same sort of self adhesive paper I ended up switching to Edmund optical black out material( also self adhesive) its not as good as their non-adhesive blackout material but it was easier to fit and it was a massive improvement over the contact paper. You can get two large sheets( should last you a very long time) for around US$30.00( including postage). Alternatively I think you would find black toweling material would even be cheaper and extremely effective( but it will be even more of a dust trap than the Edmund's black out material). As a quick test to see how much ancillary reflection is going on. Take a plastic Styrofoam cup cut it so that it fits snugly under the beam-splitter while sitting over the coins. You are making a tube that will only allow axial light hitting the coin to be reflected back to the lens. If it is light being reflected from the inside walls of the rig you should see some reduction in flaring. You won't eliminate the flaring completely as you will still be getting reflection from the sides of the rig above the beam-splitter. 3: The most functionally important part of my rig is the light absorbing shroud I place over it( see the original photos). The outside is covered in black contact paper so it is quite shiny( and reflective) and that what I wanted: to reflect light away. The inside surfaces are covered in the Edmund's black out material. (edit seems not to be as important as I thought it was) How are you diffusing the light? I have a permanently installed diffuser between the LED lights and the "entrance" to the rig. Its white nylon cut from either a flash diffuser or a larger photographic reflector( I used both sources for different purposes). I also have ( not mentioned in my earlier posts a slight snoot light tunnel I had plans to be able to install honey comb and designed the entrance to the rig so I could place the honeycomb in the light path( it was a huge failure). As a result it left a slight rectangular tunnel that helps keep the light directed just to the beam-splitter. In a little while I will try my rig out minus the shroud and using a lens that flares badly and I will see if I can repeat you results. Edit. I tried my rig without the shroud and it didn't result in any degradation ( but this may be due to where I have my Macro rig ( its safe from most ambient reflections): 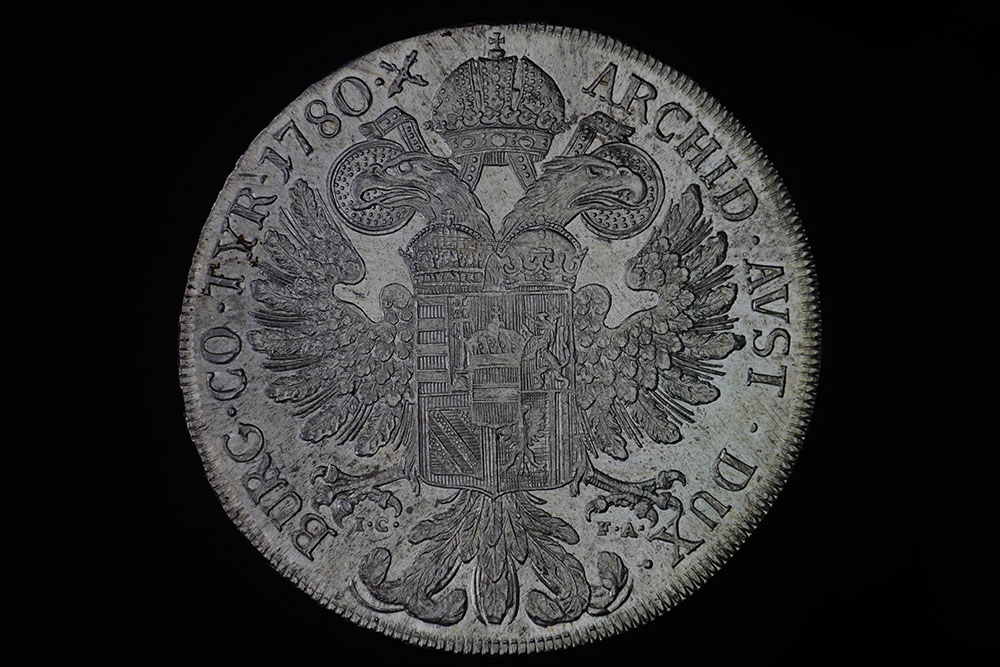 I could get an exaggerated version of your shots by directing a spot light (standard light with a snoot/light cone) onto the top surface of the beam-splitter so that light was reflected directly into the lens( not more Beam-splitter is supposed to have an anti-reflective coating on the top side: 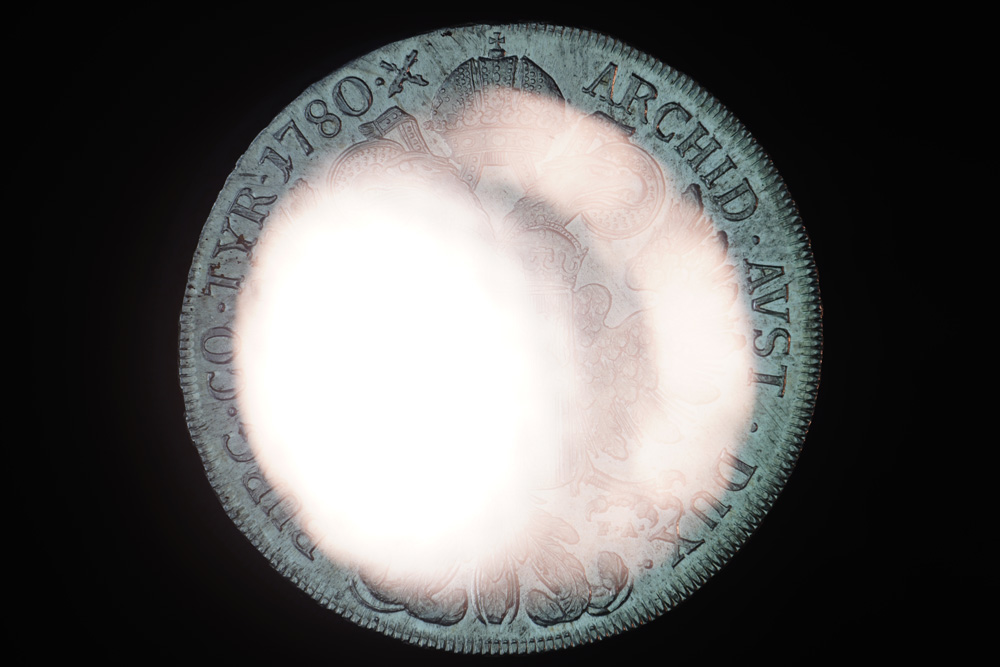 I think you can ignore my comments regarding flaring and you may find placing a black towel so that it "catches" the light that passes straight through the beam-splitter will see considerable improvement. I now think your problem is predominantly light being reflected from the top surface of the beam-splitter into the lens. Edited by austrokiwi
05/15/2016 03:01 am
|
|
Valued Member
United States
430 Posts |
Yes, most of my coins are in TPG slabs. With the exception of the 3rd picture, I take my shots in dark room, I will try a shroud also. The walls of the rig are an old DVD holder. It is flat black, not very reflective. My light source is a battery powered LED array made for video cameras @$20, with a 2.8mm thick piece of white acrylic taped on for a diffuser. I have abandoned using the spot light source. The nasty spot in the middle was too much. I can compensate for some of the fogging by post production contrast adjustment, but this degrades my images. Do you think if get a different glass this will help? I am using a cheap plate glass from a picture frame now, will 50-50 glass do it? Or Thinner glass? I don't think it is the coin slabs. LED array 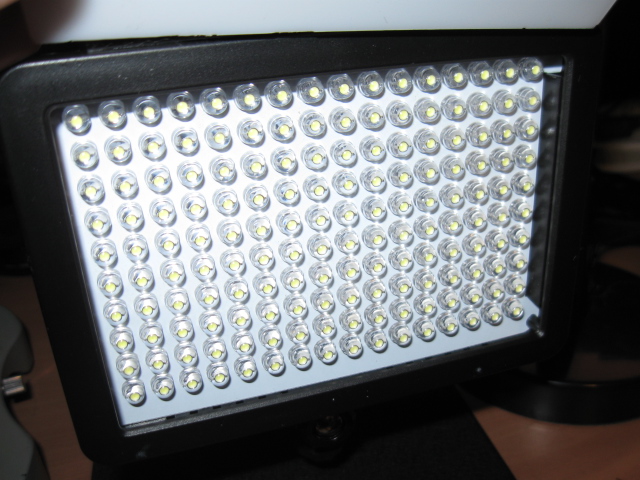 Diffuser 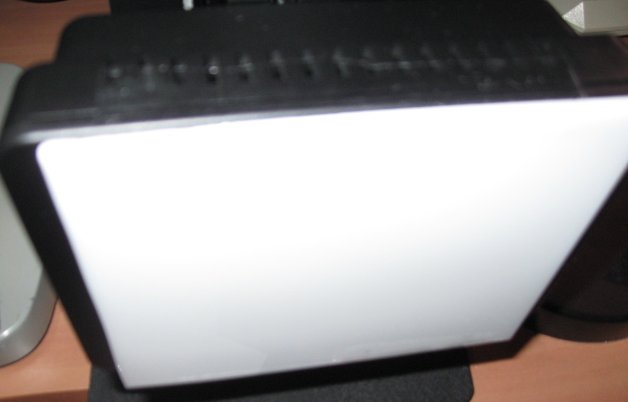 Raw coin pre production 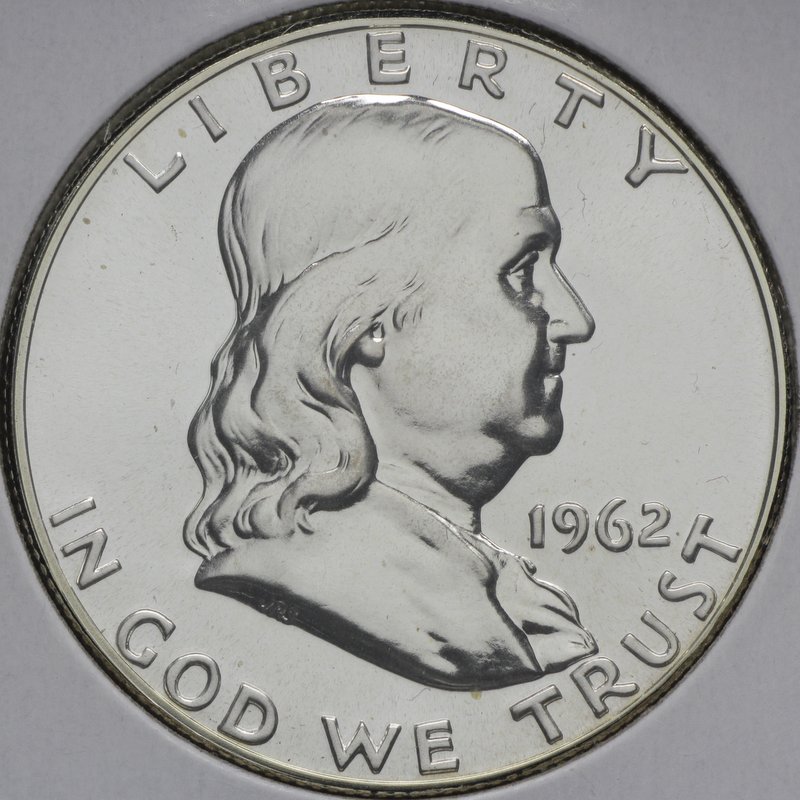 Post production  Slab pre production 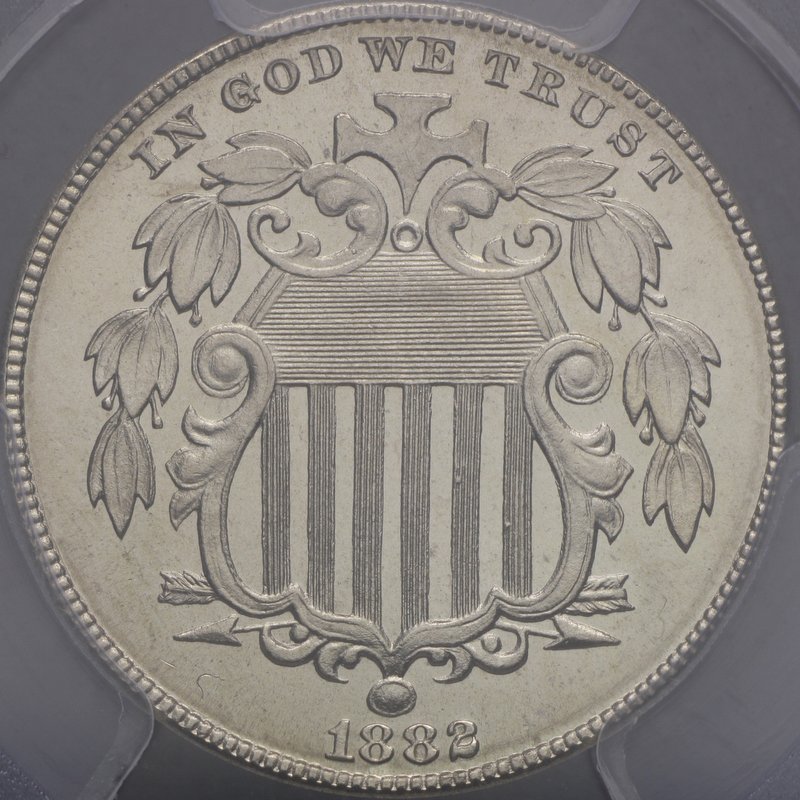 Slab post  Edited by Wizzy1
05/15/2016 12:55 pm
|
|
Pillar of the Community
2087 Posts |
You might want to look at a thinner piece of glass, but I don't think you need to get a proper 50/50 beam-splitter just something to stop light being reflected back onto the top of the glass you use. I used to use some black toweling material stretched over a wooden frame and I just placed it so the light that just shone straight through the beam-splitter hit the toweling. Its a cheap solution and its easy to try.
Your last two shots are really good so I also wonder whether you might want to try reducing the exposure a little( you may be over exposing the shots)
Edited by austrokiwi
05/15/2016 4:00 pm
|
|
Pillar of the Community
Canada
2784 Posts |
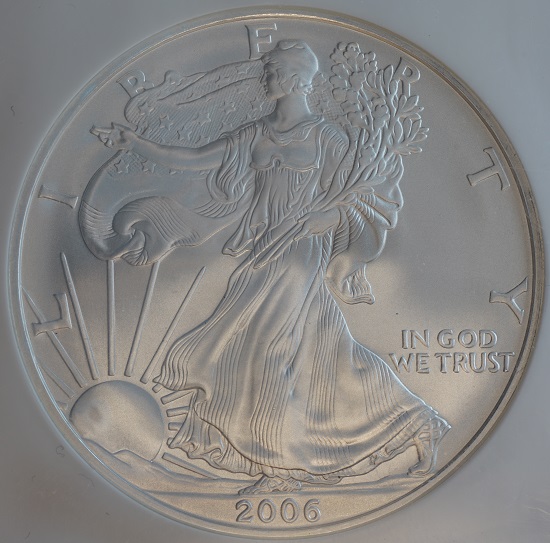
wizzy the 1962 coin is that made of nickel. if it is you are where. I want to be with coin photography. so far nickel is the hardest coins for myself to photograph. I like your images you are doing great. I will follow you. I am getting some material tomorrow. making some changes to my axis lighting. I shall see if I can get to your level. you are doing great have a great one
|
|
Pillar of the Community
Canada
2784 Posts |
|
|
Pillar of the Community
Canada
2784 Posts |
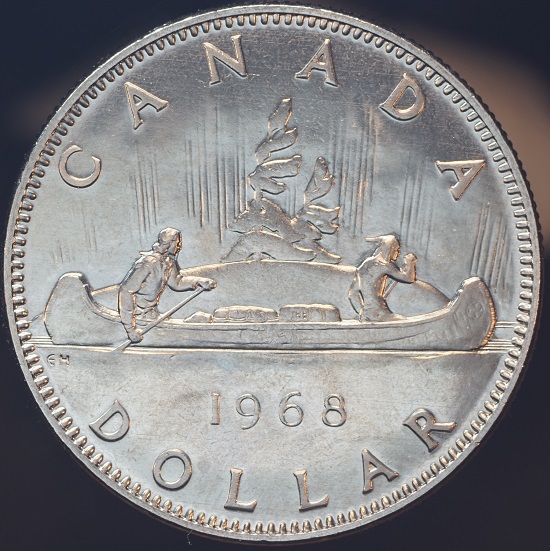
wanted to try a penny under axis lighting. it came out not to bad. I like it 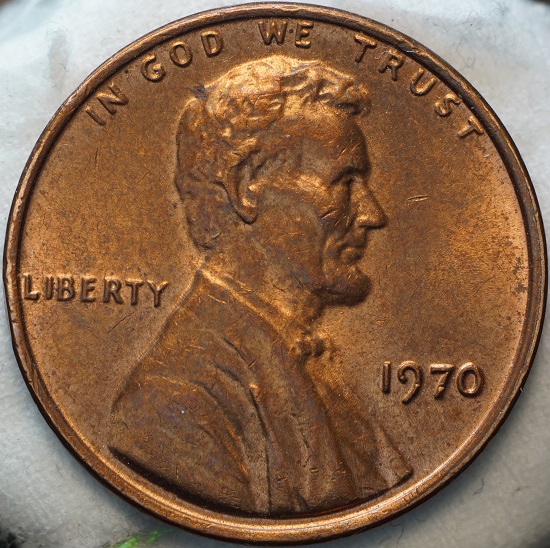 |
|
Pillar of the Community
Canada
2784 Posts |
well I thought the canadian plated penny is very tough to photograph. well axis lighting is the answer. 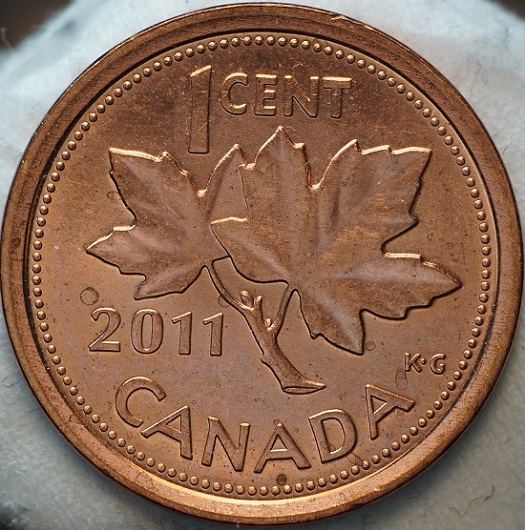 |
|
Valued Member
United States
430 Posts |
the 1882 coin is nickel ( Shield nickel to be exact). The 1962 coin is a Franklin half dollar (90% silver). I bought a small piece of 2 way mirrored glass today. nice shots but strange colors have shown up. The glass is tinted, and I'm using a custom white balance to compensate.   |
|
Pillar of the Community
Canada
2784 Posts |
like your photo wizzy. I found the light you purchased. if its not the same it is very close. I will put some pictures up when. I receive the light. have a great one great photo well focused.
|
|
Valued Member
United States
302 Posts |
I'm a new kid on the Photography Forum block, so forgive me if I talk about some things that are well-known to the regulars.
I've been shooting with what I call tilting glass for a long time (mostly in the bad old film days), but some of austrokiwi's shots are better than anything I achieved. I moved away from the tilting glass some time ago, but now want to get back to it, at least for really brilliant coins.
One of the concerns I always had (and something that doesn't seem to have been emphasized in this thread) was to make sure there was no direct light "splash" from the light source onto the coin. That is, if the tilting glass or beam-splitter were removed, the coin would be dark. Austrokiwi seems to have none at all, while Wizzy1 and particularly rocky have strong evidence of it: highlights from one direction. In my view there might be special cases where splash is desirable, but in general it's better to avoid it. My question here is, austrokiwi, how do you avoid it? Your lights are slightly back from the diffuser, but it looks like there is still a direct line between at least part of the diffuser and the coin. Of course, austrokiwi has an advantage over those of us who don't have a 50-50 beam-splitter in that he can have his light source farther back and still have enough light.
|
| |
Replies: 53 / Views: 11,696 |