| Author |
 Replies: 41 / Views: 8,815 Replies: 41 / Views: 8,815 |
Page 3 of 3
|
|
|
|
Pillar of the Community
 United States
4038 Posts |
Very true Gene, and especially so for axial lighting. The best subjects for axial lighting are medals with a matte or satiny finish, followed by circulated coins. Axial lighting will emphasize any flat/shiny areas since they reflect all the light that hits them back up to the sensor. There are a few flat spots on each of the above coins, and they are substantially brighter than other areas. This is similar to normal lighting with a single light source, since the light will reflect from certain areas of the coin right to the sensor, creating the familiar hotspots and glare.
There are two solutions with axial lighting:
1. Make your light as large as possible. This can be accomplished most easily with diffusion, but you can also use multiple lights to simulate the effect of one large light.
2. Allow some light to hit the coin that is not coming from reflection off the mirror.
What you are doing with both of these methods is putting more light onto the coin that is coming in from different angles. In other words, you are mixing regular lighting with axial lighting.
Ray
|
|
Pillar of the Community
 United States
1599 Posts |
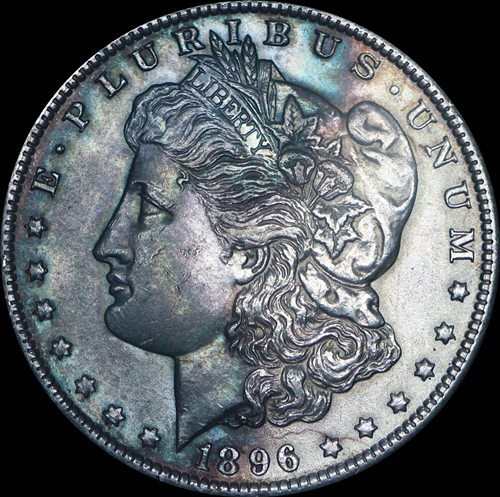
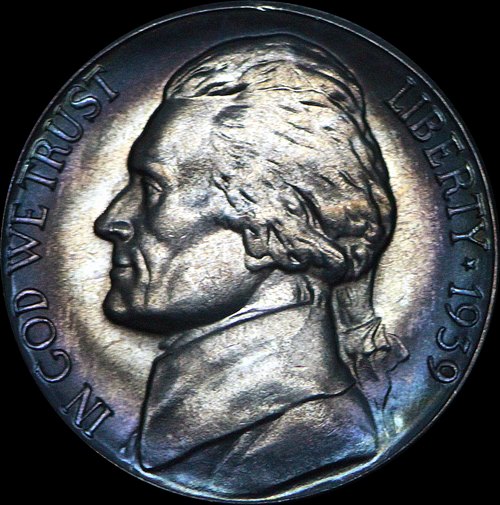
Back at it again (been absent for a few days for the birth of my 4th grandson, yahoo). I mentioned before that I changed my light (13 watt CFL, 835 lumens, 5000K) and have since added a flat black peice of heavy material that completely covers the setup including the light. I have a flat black peice of wood completely shielding the coin from any direct light. Here is what it looks like. 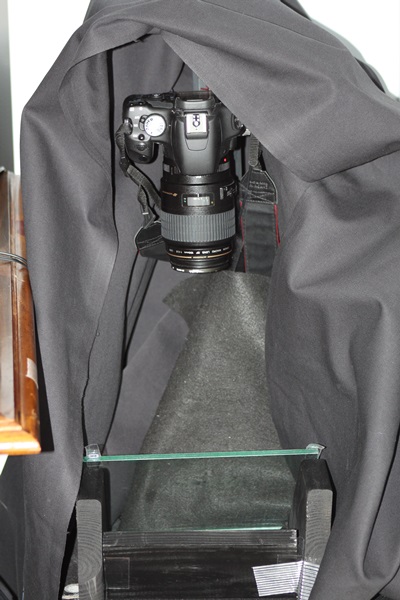 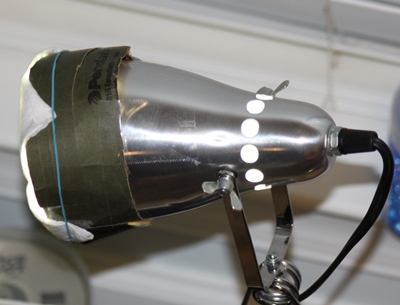 Although the Morgan looks pretty much like it does in hand, it still has some hot spots. The overall pic looks a little dark, but when I try to adjust the brightness, it just enhances the hot spots. 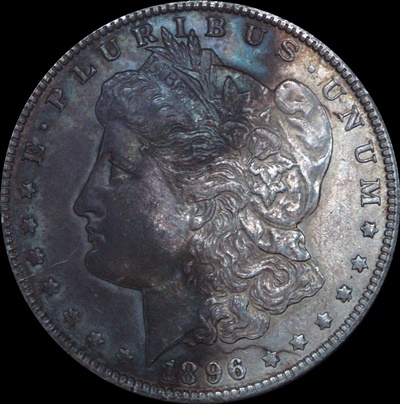 The colors on the Jefferson look pretty good, but the coin in hand has alot more luster. The picture looks grainy to me like it was shot at a very high ISO. I shot both at ISO400, f8 with a Canon 100m macro. 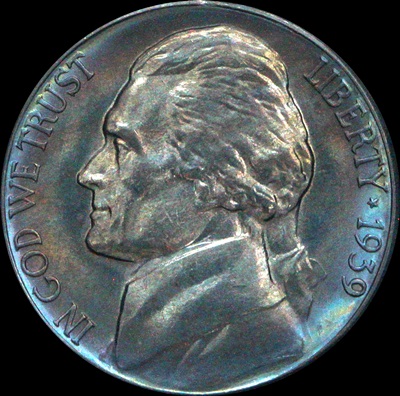 I am using a secondary light only to manually focus (I am shooting in live view). I turn off the secondary light and use the diffused light only, correctly placed and completely covered. When I do this, I cannot see the coin at all on my monitor, it is pitch black. My shutter is taking 20 seconds to cycle. Now I know this cannot be correct. It seems to me that I have some problems other than just the lighting (kind of like the elephant in the room that I havent seen yet). If y'all aren't tired of beating a half dead horse, I would appreciate any additional help/suggestions anyone may have. Thanks |
|
Pillar of the Community
United States
1599 Posts |
|
|
Valued Member
440 Posts |
A lot of improvement there IMO. The Morgan has a much better look (as long it is true to life); maybe a contrast & brightness adjustment in post processing to even out the lighting? The ASE & Jefferson have a few hot spots; ? same solution. Better let the pros chime in here but looks like a huge step forward to me. Keep on tinkering. jprine if this was easy it would take all the fun out of it. Someone said "if at first you succeed try something harder". Can't remember where I saw that but it is both funny and true. |
|
Valued Member
United States
374 Posts |
Try diffusing further from the light source? Might make your lighting more even. I use just a thin tissue paper, but a 60 watt CFL.
|
|
Valued Member
United States
374 Posts |
Also... f2.8 3000... What lens are you using? What is your distance to the coin?
|
|
Pillar of the Community
United States
1599 Posts |
I'm using a 100mm canon macro lens. Distance from the end of the lens to the Morgan is about 13 inches, closer on the Jefferson.
|
|
Valued Member
United States
374 Posts |
I would try going down to ISO 100, using F/10, and choose whatever shutter speed gives you a good light reading. It will probably relatively slow, 1/8 or slower depending on the luster of the coin. The Jefferson photo seems to show that your lighting is not diffused enough, the whole coin should look relatively flat, it almost looks as though just the center is lit. I would recommend with starting with a nice shiny half dollar or something like that. Maybe even a proof. Your picture should come out something like this: 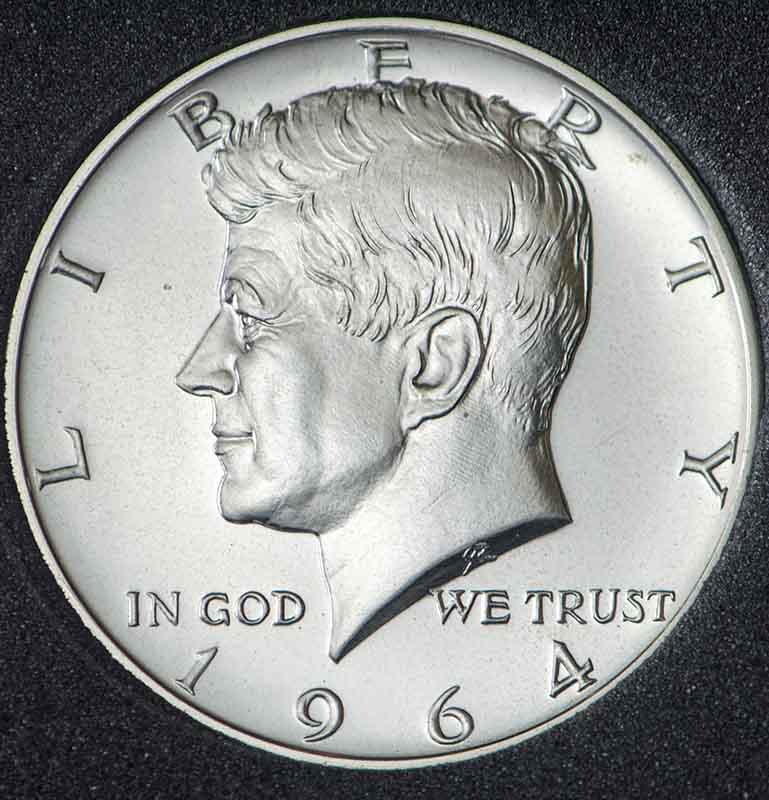  Now my setup is letting some direct light through, but then again, my setup is a piece of glass clamped to a exercise bike, a cheap side table, a 60W CFL in a Walmart lamp (modified with a reflector from a home depot clamp lamp), about 2 ft. back from a sizable sheet of tissue paper. Oh, and I block the light with a FAL magazine. I modeled my setup after the one found here: http://www.school-of-digital-photog...-setups.html |
|
Pillar of the Community
United States
1599 Posts |
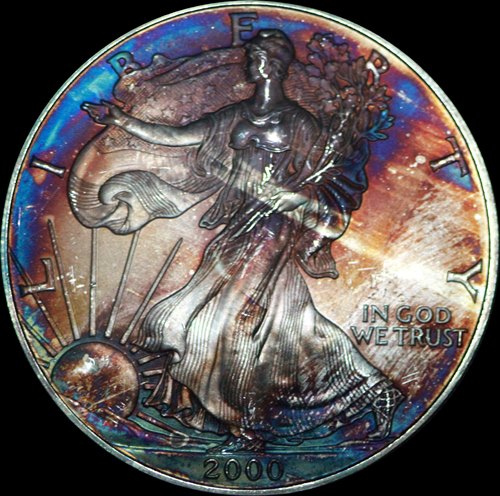
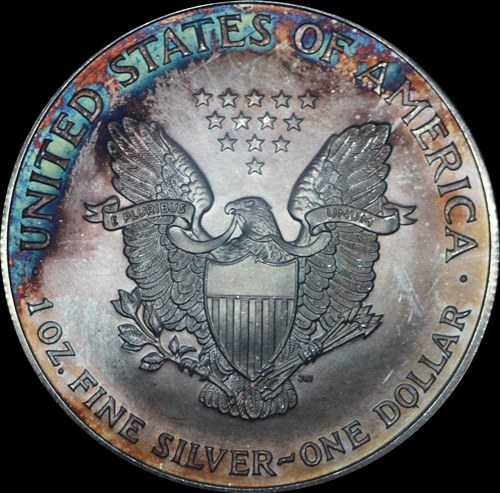
Made a few adjustments. I think I got my light lined up better although I am still getting the top of the coin darker (very noticable on the Jefferson) which I think is due to positioning of the block I put in front of my light source, got to play with that more. Continued patience and help will be appreciated. The ASE look pretty good I think, but I may need to use a little more diffusion. I did some post processing on it. Looks fairly even in lighting to me except maybe still a little hot. 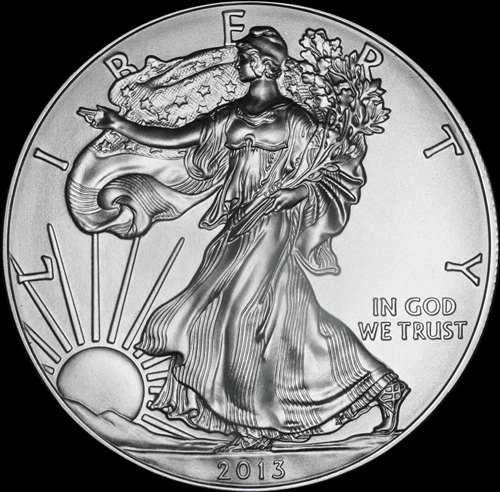 The luster around the eye/bridge of the nose and cheek toward the ear of the Morgan are pretty representative of the coin in hand. 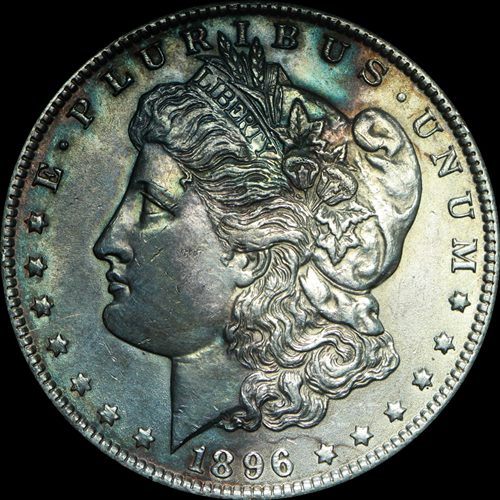 The Jefferson is still hot to me, may need some additional diffusion (have to go buy more tomorrow and try again0. 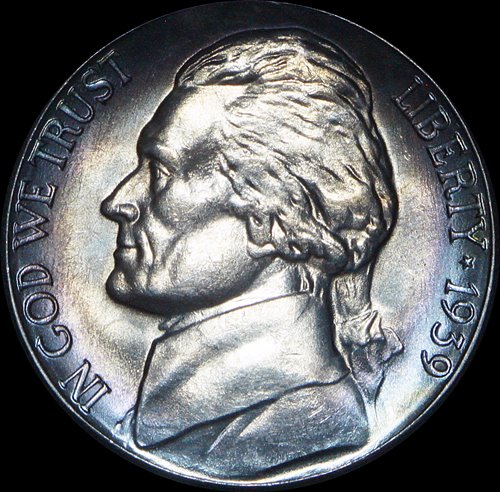 |
|
Valued Member
United States
374 Posts |
Looks like you made some good adjustments, and I think you're right on about just needing some more diffusion. When you are post processing, are you just doing brightness/saturation or adjusting all of the levels?
|
|
Valued Member
440 Posts |
Modified axial lighting may help eliminate the shadows on Liberty's face,shoulders & arm. The coin looks great with the exception of those too dark areas. Possibly adding some indirect lighting could help eliminate those. Seems like these shots all have that "darker area" towards the tops of the coins. Playing with some indirect lighting to enhance the lighting in those areas may help. Some indirect lighting may also even out the lighting across the surfaces. Huge leap forward IMHO.
|
|
Pillar of the Community
United States
1599 Posts |
Cherreepicker, how do I add additional indirect light? My whole setup is covered with flat black material. I am using rip stop nylon for a diffuser and have bought some more today to try tonight. I have got to figure out how to move my light further from the material as suggested, it is currently attached to the light. Will work on that tonight also. Thanks for the reply.
|
|
Pillar of the Community
United States
1599 Posts |
I havent gone away yet. Still working occassionally on the axial. Here are a couple of my last attempts to capture some toning on an Ike dollar. 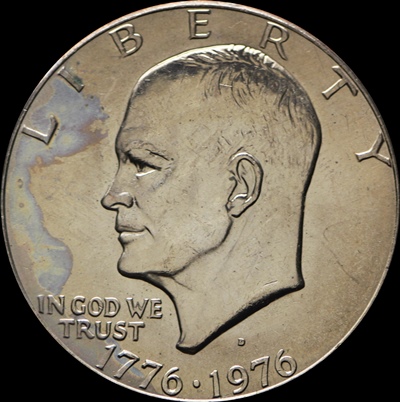 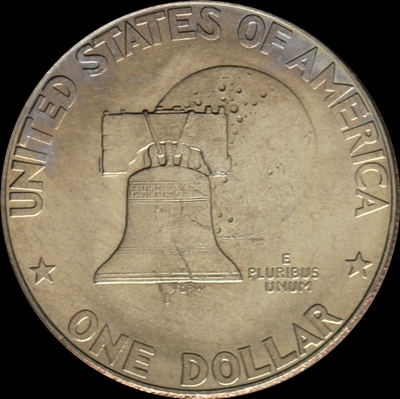 And back to the Morgan, still not where I want to be. 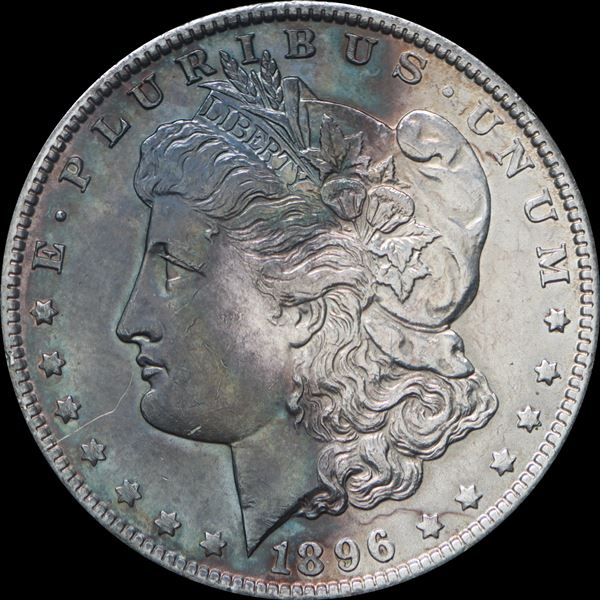 |
|
Valued Member
440 Posts |
Sorry but I missed this before; "Cherreepicker, how do I add additional indirect light? "
I'm using a form of pseudo-axial lighting for toned & PL coins. I use the axial approach bouncing light off a tilted glass but also allow the light to "peek" over the glass to add additional lighting.
|
|
Valued Member
440 Posts |
"I use the axial approach bouncing light off a tilted glass but also allow the light to "peek" over the glass to add additional lighting." Tired from work this statement is incorrect.
I use lighting off the glass but also allow light to "peek" over the barrier in front of the tilted glass (a barrier that with true axial would block any light from shining on the coin & would only allow light reflected off the tilted glass from illuminating the coin).
So essentially you are getting light on the coin from light reflected off the glass & also some indirect lighting.
|
|
Page 3 of 3
|
Replies: 41 / Views: 8,815 |
Page 3 of 3
|