| Author |
 Replies: 20 / Views: 3,362 Replies: 20 / Views: 3,362 |
Page 2 of 2
|
|
|
|
Pillar of the Community
  United States
4038 Posts |
Magnification ratios are all about framing the shot. If you want to have the coin completely fill the sensor frame and be the same size every time, the ratio is fairly important.
The desired ratio depends on
1) physical sensor size (not # pixels)
2) coin size.
Most folks won't be using a professional, FX size (24x36mm) sensor DSLR, but a lot of folks (like me) use cameras with the smaller DX size (16x24mm) sensor, so that's what I'll use as my example:
A US Dollar is 38.1mm in diameter. To fill the sensor frame with the coin, the image on the sensor must be 16mm tall. The ratio is 16/38.1, or 0.42:1. Cents are 19mm, so the ratio is 0.84:1.
So why "fill the sensor"? Simply to make use of the whole sensor, ie to get the most pixels possible into the shot. The more pixels, the more detail.
In some cases you want to show only one part of the coin, maybe the mintmark or a die crack. You have two choices:
1) Take an overall picture of the coin and crop away what you don't want
2) Increase the magnification to fill the sensor with the part of the coin you want to photograph
Often cropping-out the detail you want to see is a good way to go. But the quality of the image will be worse than if you could increase the magnification.
One thing that confuses folks is that we don't usually show images on the web that have a large number of pixels, so why would we care about filling the sensor and getting more pixels than we need? SuperDave has suggested a standard of 800x800 as ideal for most work, which is a fine size to show a lot of detail. So why not just make sure the coin fills 800x800 pixels on the sensor, and crop away the rest? The problem is that "individual" pixels are not as sharp as "resized" pixels. This is due to a lot of fairly esoteric factors that limit local contrast such as lens aberrations, sensor noise, anti-aliasing filters, and the fact that each "pixel" is an amalgam of 3 individual Red, Green and Blue sub-pixels that are not physically coincident (except on some Sigma cameras). It's all about "information". The more pixels you have, the more information you have about the coin. For these reasons, a 1600x1600 coin image resized to 800x800 is usually sharper than a 800x800 coin image. When you resize a 1600x1600 original image to 800x800, each pixel in the final 800x800 image is made up of information from 4 pixels in the 1600x1600 original.
There are a few crazy folks out there on the quest to get the sharpest images possible, which means improving sharpness at the individual pixel level. To see how sharp those individual pixels are, it is common practice to do a "1:1" or "100%" crop of the image. This is simply a crop that is not resized, in order to show the pixel-level detail. The sharper the pixel-level detail, the sharper the final image.
Hope this answers the questions...Ray
|
|
Moderator
United States
23522 Posts |
As you'll understand, Southern Yankee, what goes in the business end of a lens isn't the same size as what comes out the back; that's how you can get an entire building onto a 35mm sensor. The ratios used here describe the relative size transmitted to the sensor. 1:1 means that what comes out is the same size as what went in - so, a 38.1mm Morgan dollar at 1:1 will be a 38.1mm image on the sensor. A dSLR APS-C sensor is much smaller than that, of course (Nikon's APS-C measures 23.7 x 15.7 mm). So, a 1:1 on a dSLR sensor will not capture a whole Morgan or even a whole Dime. What you'll get is some stupid magnification on your computer screen, when you consider that the 15mm-ish vertical on your sensor translates to 3400+ vertical pixels on your monitor. So, 1:1 isn't an effective usage for imaging whole coins. The goal is to get your coin to completely fill the sensor, while remaining sharply-focused. Point-and-shoot sensors are much smaller than dSLR sensors, making it actually easier to fill the sensor - you need less-sophisticated optics because the "magnification" through the lens is less. However, the individual pixels on a point-and-shoot sensor are far smaller than those on a dSLR, making it a lot tougher to come up with a nice sharp focus. That's why you hear me gush so heavily when someone using a point-and-shoot comes up with a nice image - they're doing it under much more severe restrictions than I am with a dSLR and a dedicated lens designed for the job I'm doing. It's a lot harder to do it right with a P&S. Now, as regards cropping: The term we prefer to use in photography is a "100% crop." That means you've blown the image up to full size on your monitor - with a Canon T3i, for instance, that would be 5184x3456 pixels - taken a slice of that full-size image and posted it here at the same size. Here's where it gets complicated. Coin Community's forum software automatically resizes an image if its' size exceeds a certain percentage of your browser screen. But monitors differ. My monitor, for instance, has a screen resolution of 1920x1200. I can see a larger image full-size than someone using a screen resolution of 1024x768; I may see the image full-size when they'll get that dashed border and have to click the image to see it full-size. |
|
Moderator
United States
23522 Posts |
Heh. Photo-nerd dogpile.  |
|
Pillar of the Community
United States
4038 Posts |
Quote:
I just bought a lens, and don't even have a camera! bought a bellows and don't know how to use it LOL Gene...what bellows did you buy? Contact me for photographic equipment or visit my home page at: http://macrocoins.com |
|
Pillar of the Community
United States
891 Posts |
Thanks guys that cleared it up for me. Now I can at least kinda understand what you are talking about. Also answers my next question about the image size. Was going to downsize it in the camera so I wouldn't have to reduce it so much, but I see that's not the way to go. Thanks.
|
|
Valued Member
344 Posts |
O.O you guys are into these photos like I am into my music :D.
But now that I got my little nikon coolpix I can take photos that show the coin good enough for me :D.
But what you two (dave and rmps) do is pretty sweet and I am appreciative of your fellas efforts :).
|
|
Pillar of the Community
United States
3076 Posts |
Yes, SouthernYankee, take the biggest pixle shots to capture the most information..If focused correctly, these result in highly detailed photo,s..resizing them keeps the detail when you are sharing your photo's online with us.. Ray, I bought a canon AF bellows, real nice shape, I also bought an unopened (NOT!) 75mm EL-OMEGAR enlarging ring which has scratches ion the edges of the lens, though I think it might not be seen in the photo's once used...Got a total refund so its worth playing with.. I just need to find out the required adapters to hook it all up...I just bought the Canon Rebel T1i DSLR, a whole new monster...totally different than the point and shoot camera... I am once again a "TOTAL NEWBIE" The bellows is something I am slowly moving towards for extreme close ups not something I'm working on right now, as the new camera has me trying to figure out how to turn it on..LOL both the new camera and the bellows are for something different than most shooters are going for.... I appreciate the input and the many threads that reflect the "whole of " the varieties of photography... something for everyone to munch on.. |
|
Pillar of the Community
United States
4038 Posts |
Sounds great. Can't wait to see some pics. For the adapter, you'll need a Canon-to-M39 adapter. There are simple ones that allow only manual mode, and some that trick the camera into thinking it has a lens attached. Here is a full manual type: http://www.ebay.com/itm/M39-screw-l...em3f0cd942abAnd here is one of the tricksters: http://www.ebay.com/itm/AF-Confirm-...em336a9f072dI think since your bellows is an AF type that it should transfer the adapter info (not lens info, just fake info to allow aperture priority mode operation) to the camera. If not, then just the simple one will do. Contact me for photographic equipment or visit my home page at: http://macrocoins.com |
|
Pillar of the Community
United States
3076 Posts |
I finally got my LCD screen to show me whats what..for most of you who use the point and shoot cameras, the LCD screen is "ALWAYS" on, not so with the higher DSLR cameras...But I did figure out how to get a photo LOL...I have to still figure out so much..but here's my first try's photo's 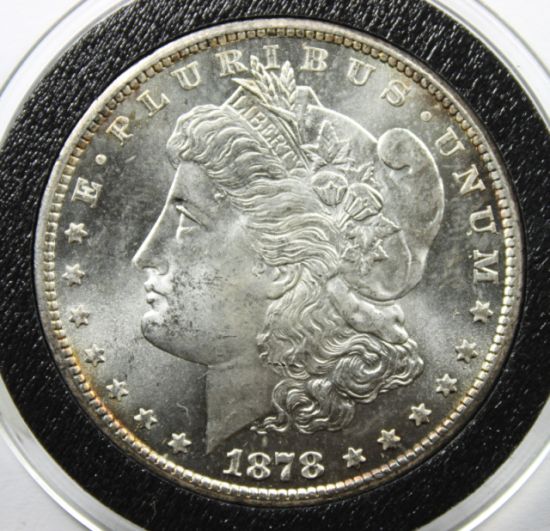 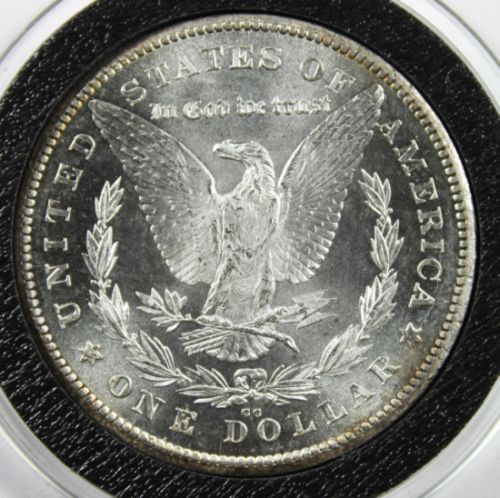 |
|
Pillar of the Community
United States
3076 Posts |
Pic's are still to over lighted...just learning the new camera and glad to at least get a photo. say Ray is the M39
adapter the adapter to connect the camera to the bellows, OR to connect the El-Omegar to the front of the FL bellows? I'm thinking this is the case..still need the adapter with or without the electronics for the EOS to the FL all should be manual control...
|
|
Pillar of the Community
United States
4038 Posts |
That's a good first couple images. What lens are you using?
|
|
Pillar of the Community
United States
4038 Posts |
The adapters I linked to are for the lens to mount to the bellows.
If your Canon is like my Nikon D5000, when you mount a manual lens it doesn't know there is anything there at all, and won't do anything unless you are in full manual mode. If you use one of the trickster adapters, the camera thinks a lens is there (the EXIF is usually a 50mm) and the camera can then operate in Aperture Priority Mode or whatever Canon calls it. This is a HUGE benefit since you don't have to worry about exposure, the camera takes care of it. You still need to set your lens aperture but the camera will automatically adjust the shutter speed for optimum exposure. Saves a lot of fiddling and wasted shots.
Won't the EOS mount directly to the bellows? I'm not a Canon guy so don't know all the mount options but I assumed a Canon camera would mount to a Canon bellows...
Contact me for photographic equipment or visit my home page at: http://macrocoins.com |
|
Pillar of the Community
United States
3076 Posts |
I passed on the EOS bellows as I pulled the trigger on the FL bellows, So I believe it takes an adapter to go from the AL to EOS fitting....they are online, most with the electronics, but as you mentioned it will be in full manual mode in any case...the FULL use of the camera's electronics "will not work" so you waisting your money..if one thinks its a plug and play...its a manual game....As for the lens for tonight's pics..its the stock 18X55mm or so stock lens, not that its bad, but one OBVIOUS thing I have noticed....This for all "point and shoot guys" My prievious shots, from my canon point and shoot camerasI needed the CFL 6500K bulbs to get the lighting up to speed... using them now...I am way over powered.....Too much light, if that is possible, but it is...to much light over saturates the coin and the details are washed away, the term contrast....is something I have come to know as one must need the shadows to see the detail, so there is some balance in the light and the dark so that the full effect is....LUSTER and detail for us coin minded people... Bright coin with definition of detail.... Its from discussions like this that help us to see what we see the end results of are doing.... For most of us...we have been on many sites online searching for the idea of how to take pic's of coins, and there are many.....Most simply show you there idea of how to do it..Here at CCF..... IT GOES WAY BEYOND the basics, thanks to the many who contribute here, and the some few who talk above our heads , but if we only listen...  Ray and Dave....  you are making history on your own levels...and contributions.. |
|
Pillar of the Community
United States
4038 Posts |
Gene...I did a bit more research on your adapter problem and now that I understand more about Canon mount types I realize I gave you an incomplete solution...sorry about that. The adapter I recommended will still be required, though. You will just need two more in addition. It seems that adapters going directly from FL to M39 are either not available or are going to be very expensive. So I think your adapter setup will need to look like this: EOS Camera -> A: EF-FD Adapter -> FL Bellows -> B: FD-EF Adapter -> C: EF-M39 Adapter For A: I believe you will need an EF-FD adapter like this one: http://www.ebay.com/itm/canon-FD-EF...em2314dfb782For B: I believe this FD-EF Adapter will work: http://www.ebay.com/itm/CANON-EOS-F...em1e6781297aAnd for C: I think either adapter I suggested before will work. Note that the C: adapter could also be used with fixed M39 extensions between the camera and lens if you will be generally shooting with a fixed magnification. Just another option in case you want to take macro shots in the field but don't want to lug around the bellows, or want to keep it at home in a fixed coin photo setup. I believe the only uncertainty about the above adapter setup is the B: adapter onto the FL bellows. In my reading it sounds like FD lenses will mount to FL camera or bellows but they won't meter properly. Can anyone (SuperDave?) confirm this? If true, then the adapters I linked to should complete your setup and allow you to use M39 lenses on the EOS camera...Ray Contact me for photographic equipment or visit my home page at: http://macrocoins.com |
|
Pillar of the Community
United States
3076 Posts |
I sent you an email, but for those others out there that are thinking the same thing..I did find a cheap EOS to FD/FL adapter to get the EOS body to the bellows, I was researching on how to get the enlarging ring onto the bellows which has the 39MM thread..now As I found a canon belows site last night, I realized I can/should be able to connect any FD lense to the front of the bellows without any adapters,
while I wait to find an adapter to go from FD to 39MM...
so no problem to me with your advice, this is all so cheap its a grain of salt in the ocean, I do understand that this set up will most likely be full manual control...As I'm waiting for my software to get here, the CD was missing, its all been a shoot and miss, manual guessing and adjustments after the fact shot, so its a good learning experience as I have no real control over what looks to be in focus, I've tried all the live view settings, and have not had any real good shots yet, even the MACRO mode I find
after I crop them one can't resize them up as they loose all detail....best shots are with in the normal settings
after cropping there is lots of detail and resizing lets me zoom in even closer....I should have much better results when I get the software which will let me use the zoombrowser and see exactly what is happening...These newer DSLR functions are not the same as the point and shoot so one has to start all over,,,/but I can finally turn the darn thing on LOL...
|
|
Page 2 of 2
|
Replies: 20 / Views: 3,362 |
Page 2 of 2
|


