| Author |
 Replies: 27 / Views: 6,770 Replies: 27 / Views: 6,770 |
|
Pillar of the Community

United States
4038 Posts |
I'm getting more interested in axial lighting, and have built an axial setup to test things out. My previous experiences have all been pretty abysmal, with excessive shadowing and contrast even with ultra-low contrast picture styles. So I decided to go about this scientifically and figure out how to do axial such that I can get the desired results. And my first discovery is interesting... My standard technique for setting up lighting is to look at what is reflected at the image plane and "design" that reflection to give me what I want. This is how I created my original "Directors" and how they evolved into the "Smile Directors" that have worked so well for me (and others). Using this same test technique, I am now seeing in images what I've been saying for years, ie that the Janjo LEDs look almost like a point source of light. The LED-excited phosphor is not diffused much at all by the stock lens. The axial lighting setup makes this even more obvious, as you can see below...  |
|
|
|
Moderator
United States
23522 Posts |
On the other hand, far better to diffuse a point source than try to extract contrast from area lighting. You can see the Jansjos' tight focus by the beam they cast downwards - it isn't much over 15 degrees.
|
|
Pillar of the Community
United States
4132 Posts |
I've only dabbled with axial lighting. I did get some good results, but it's key to go absolutely bananas when it came to diffusion. You really have to create an absolutely flat field of light. I ended up having two layers of diffusion material with about an inch of space between them. The first layer diffuses the light, the space gives it a chance to scatter broadly, and then the third makes that into a flat, even source. I'd like to try OLED lighting panels actually.
I eventually started using the jansjos just for setting up the shots and then actually taking them with a flash. I haven't actually used axial lighting as much as I'd like just because it's so frustrating to set up.
|
|
Moderator
United States
23522 Posts |
Axial might work best with an OLED panel tilted at the same angle as the beamsplitter.
|
|
Pillar of the Community
 United States
4038 Posts |
Well, I ended up going down the path and hitting a dead end yet again. This is the 3rd time, and I am done. This latest attempt was with an Edmund 5x7" 50/50 beamsplitter, so I figured I had it in-hand. But alas I was not happy with any of the presentations or image quality I was able to create.
Contact me for photographic equipment or visit my home page at: http://macrocoins.comEdited by rmpsrpms
02/21/2015 2:55 pm
|
|
Pillar of the Community
United States
4038 Posts |
Back to pseudo-axial and we'll see how that goes...Ray
|
|
Moderator
United States
23522 Posts |
Put a Morgan textile toner under it, and it will all be clear.  Never liked axial for any more than that; I abandoned it for normal imaging the same day I first tried the technique as a needless complexity. |
|
Pillar of the Community
2087 Posts |
in my experience: Janscos and axial lighting just do not work. The only lighting I have found effective is a panel of LED lights. The other lighting I think would work very well is the Olymmpus transilluminator: http://www.alanwood.net/photography...minator.htmlProblem is its an expensive beastie. But I have an idea( not sure how it would work)... I have a cheap old 50mm lens... Using some rear lense caps and an extension tube I plan to put together a lighting system that uses the old lens to focus the beam. The full plan: the old lens is a minolta MD 50mm F 1.7. : mount it on a MD- MFT adapter ( one that has a tripod mount) and then fit a cheap MFT extension ring set to the adapter. Mount a suitable Light( my plan is an E14 12 watt Led light on a MFT lens cap And then fit that to the extension tube. Doing that would also enable the use of polarized light by fitting a polarizing filter to the old lens. Edited by austrokiwi
02/21/2015 4:09 pm
|
|
Pillar of the Community
United States
4132 Posts |
|
|
Pillar of the Community
2087 Posts |
I really think it is dependant on your skill set. My best photos are always with Axial lighting( admittedly they may not be equivalent to your best). I understand it and am very comfortable with it. Janscos: I love to hate. For direct lighting and extreme close ups they are unbeatable but for axial they are worse than useless. I think you guys need to try a different lighting source with axial lighting to get a better result. From some of the comments I think the criticism of Axial comes from not having tried alternative lighting. I am yet to see criticism ( Perhaps I have missed it) that has been based on using better light sources. My understanding With the optimal beam splitter only a quarter( in perfect conditions) of the original light intensity gets to the sensor, that suggests to me you need to up the illumination by 400 % to get the equivalent lighting to that produced by Janscos in a direct lighting set up. Edit: Heres an axial shot of a Prager Groschen ( stack of 15 as using the lens wide open) I did everything to minimise incidental light. The picture is true to life in colour  Same lighting set up but with a Proof liberty 20 dollar(single shot):  Edited by austrokiwi
02/22/2015 05:39 am
|
|
Pillar of the Community
United States
4038 Posts |
The images above are not truly axially-lit, and indeed based on the comments of needing a "large" source it seems clear that the axial portion of the illumination is small in comparison with the off-axis portion. So what we have been calling "axial" really should be called "beamsplitter illumination" since it is a combined technique of axial and off-axis illumination enabled by using a beamsplitter to reflect the light to the coin. I have no problem with this, and in fact I went into this latest round of testing fully expecting to end up with a system that would be flexible to allow the entire range of lighting styles depending on the sizes and shapes of the lights used. The lights are simply arranged horizontally rather than vertically, and it is this horizontal arrangement that allows you to place them directly in the axial path without getting in the way of the lens. The images I was able to produce this round showed the promise of this highly flexible lighting. I set up the illumination such that I could "flood" the coin with light if I desired, or I could place specific source points of most any size anywhere across the light field (including axially of course!), and it produced images I could not achieve with any other method. So from an illumination perspective, I consider this round a success. In my previous attempts, I used non-beamsplitter glass. It provided a reasonable split, but there was still some "residual distortion" that I was unhappy with. I figured that using high quality beamsplitter glass would eliminate the problem, so I invested in the 50/50 5x7" glass from Edmund. Unfortunately, the optical problems are still there, with the result that my beamsplitter-lighted images still show a much lower sharpness than my direct-lighted ones. Here are my examples: Direct-Lighted, two diffuse Jansjos full coin, f5.6: 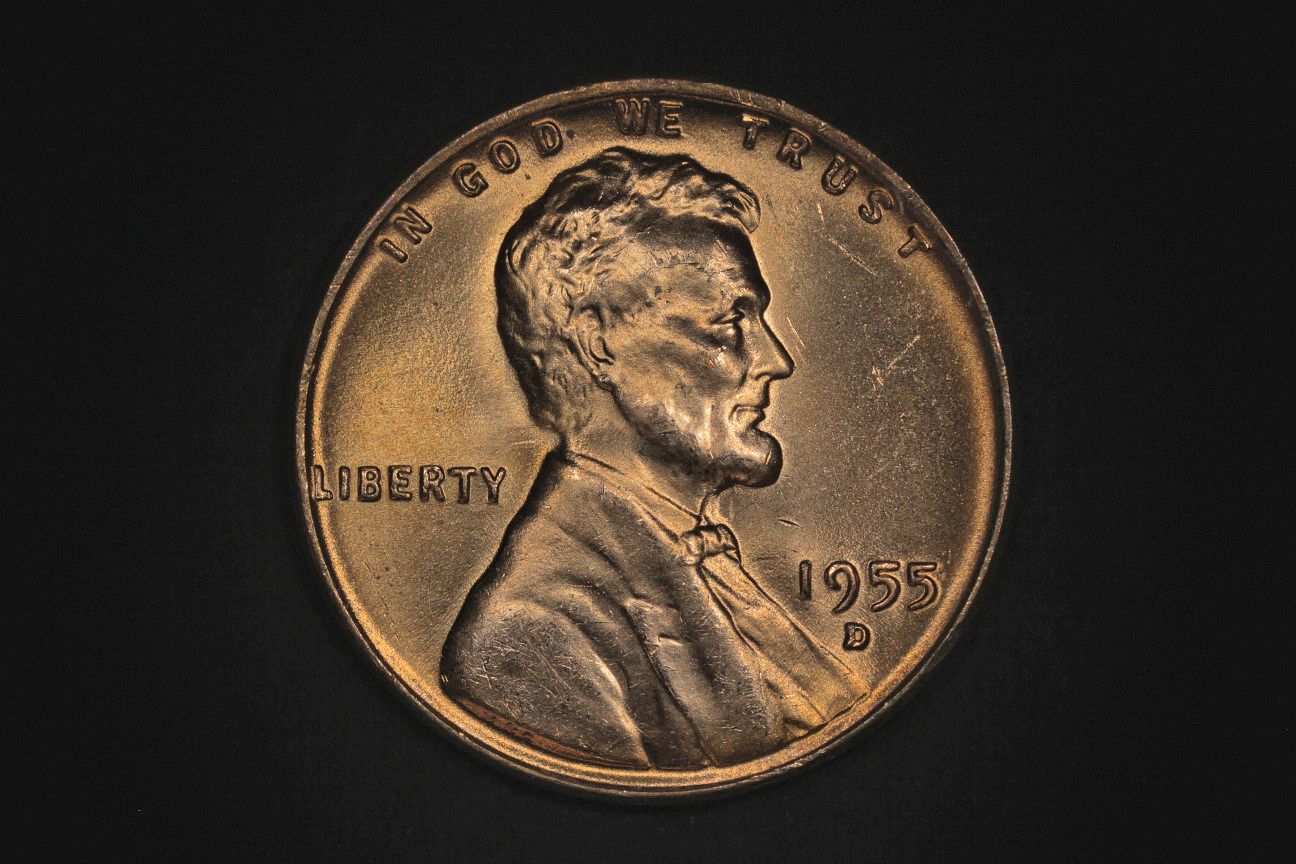 Crop from the above: 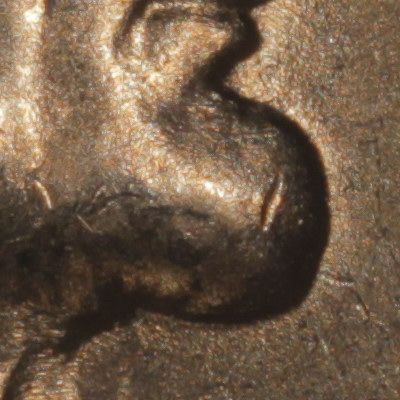 Beamsplitter-Lighted, flood diffuser, full coin, f5.6: 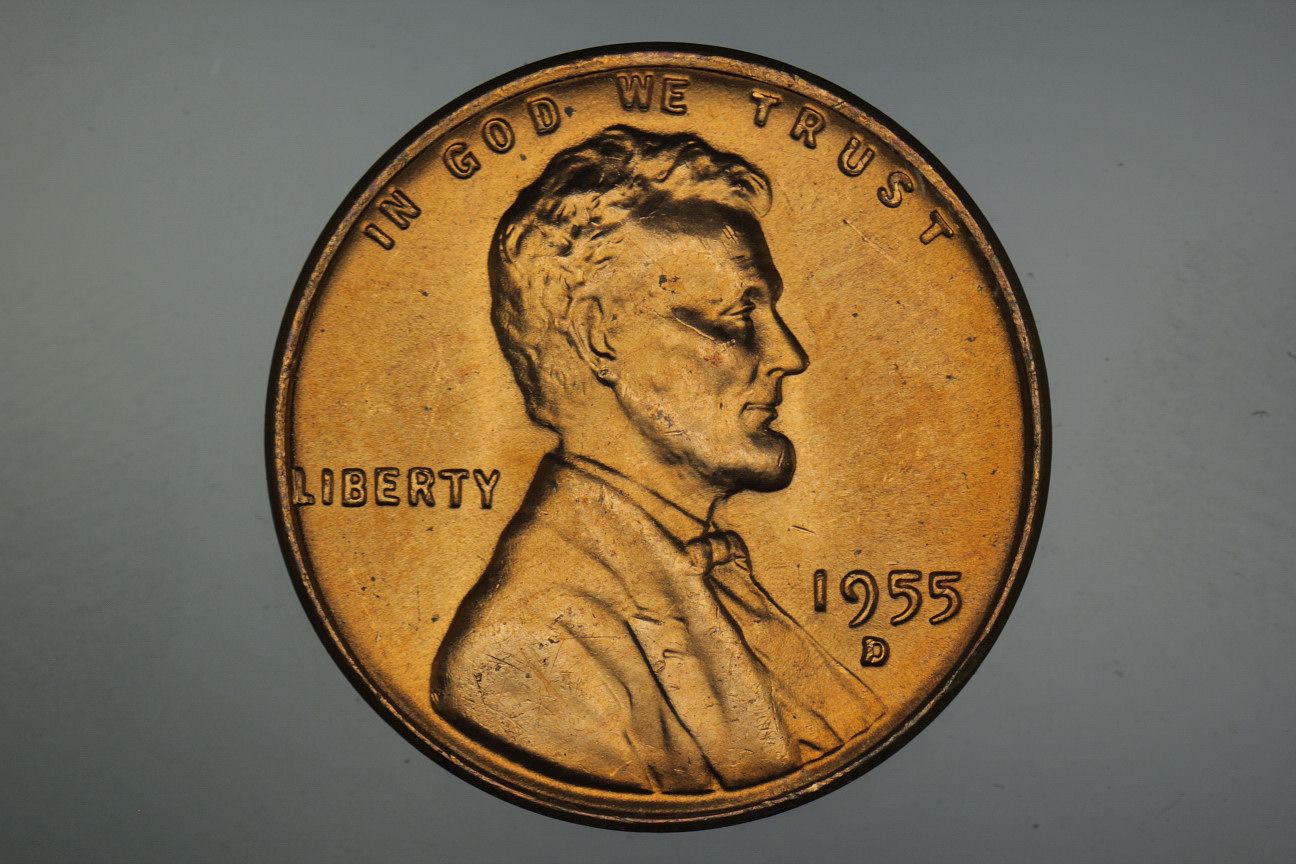 Crop from the above: 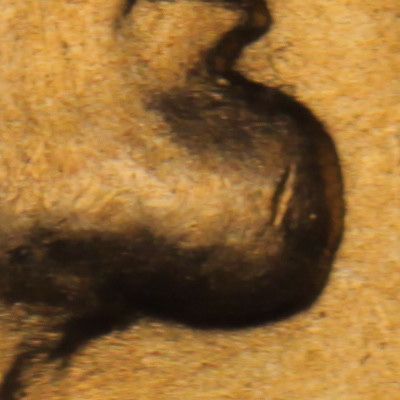 Sorry that the images are at a bit different magnification. Are others using beamsplitters for illumination seeing this same issue? Contact me for photographic equipment or visit my home page at: http://macrocoins.com |
|
Moderator
United States
23522 Posts |
I'm not all that worried about a niche lighting style which immediately throws out at least 50% of the available light and does not show luster.
|
|
Pillar of the Community
United States
4132 Posts |
Wow... I hadn't tried beamsplitter glass yet, but it doesn't appear that much better than regular glass in terms of the amount of sharpness lost. Could it be that it's just coated glass for reflectivity but not optically flat?
|
|
Moderator
United States
23522 Posts |
Well, what we're doing with it here has little to do with its' intended purpose, which is to carry an optical product (usually words) to a projection. The stuff that needs to be optically-accurate makes that turn through the glass.
Meanwhile, we're staring through that glass sideways. I suspect the sharpness will go away however you light it, when you try to look through angled glass at the subject.
|
|
Pillar of the Community
United States
4038 Posts |
This is pretty high quality, optically-flat beamsplitter glass from Edmund Scientific. It is tightly-spec'd for thickness and coating accuracy.
I'm thinking about using a different way...maybe it will work better, we shall see...
Contact me for photographic equipment or visit my home page at: http://macrocoins.com |
|
Pillar of the Community
2087 Posts |
rmpsrmps How is this set up not axial? {All photos are unedited) Note the size of the light source against the beam splitter set up. Its exactly the same width of the beam splitting glass.  I use 50/50 edmunds beam splitting glass albeit an older type without an anti reflective coating Light is only allowed into the system through the opening pictured ( note I have other lights on to take these pictures they are off when I am using this set up). The coin is positioned so as to only receive the reflected light. No other lights are on except for the LED light panel when I take the pictures. Room is blacked out at the time the pictures are taken Second picture shows coin in place( With over head lights on)  Third picture shows the coins reflection in the beam splitter. PHoto taken from behind the LED light source ( turned off in this shot( using over head lights for this picture) The black background is the Frame I use to prevent unwanted reflection  But to give you some credence I then decided to make doubly sure. The next shot is taken with the LED light panel on( no other lights) the coin mounted exactly as it is when the beam splitter is in place but with the Beam splitter removed:  Then here is a shot with the beam splitter in place plus an extra "shroud" to only allow light reflected from the beam splitter to strike the coin ( note the difference between the two shots). The shroud is a plastic cup with the bottom cut out at an angle to match the angle of the beam splitter the shroud is shown in place with the last two pictures. To prevent unwanted back reflection behind the beam splitter is a black towel stretched and nailed over a wooded frame. Please note this axial lighting picture shot is very much like the stacked picture that RMPSRMPS so expertly declared wasn't a true axial lighting shot! How is this picture not an axial lighting shot?  Note you can see the light path highlighted on the blue cup. The coin sits well below that light line.  I repeat how is this not an axial lighting set up? Given that I am up late with a bad dose of gout you will forgive the tone of the post. Vignetting in the coin pictures is caused by the lens combination I used( I didn't bother changing what was mounted on the bellows in this case a Schneider Kreuznach 210 F5.6 (wide open) the second lens Minolta 100 MM f4 bellows lens set at F8 Edited by austrokiwi
02/22/2015 7:44 pm
|
| |
Replies: 27 / Views: 6,770 |


