| Author |
 Replies: 55 / Views: 7,255 Replies: 55 / Views: 7,255 |
|
|
|
Pillar of the Community
 United States
4038 Posts |
18% gray is excellent if you want to maintain a consistent background color for ensuring the coin colors are correct. You can always do WB after the fact with this approach. I use it for toners, especially wildly-colored ones, to make sure the colors are believable and correct.
|
|
New Member
 Australia
42 Posts |
Hi Ray, sorry thought my email was turned on - managed to go in and turn it on now, I look forward to your address and response to my latest set of questions!
|
|
Pillar of the Community
United States
4038 Posts |
I just sent you an email. Regarding the diffuser and transfer disk, you can see many examples on this forum. Here's a recent one of a system I built for forum member Darth Morgan. The diffuser is geared toward slabbed dollars, so flares larger at the bottom than one which would be geared toward raw coins. You can see the transfer disk sitting on the stage. Other side of the disk is True Grey suitable for white balancing or as a background like mcshilling described. http://goccf.com/t/341372 |
|
Pillar of the Community
United States
4038 Posts |
Moheb1979...you should post your latet so folks can see the improvements...Ray
Contact me for photographic equipment or visit my home page at: http://macrocoins.com |
|
New Member
Australia
42 Posts |
Hi Ray, absolutely... as soon as I get the equipment! Things take forever till they come to Australia! I've ordered the Jansjos, the vellum paper and the copy stand ... sitting tight!
|
|
Pillar of the Community
Canada
9168 Posts |
Sounds like Ray has you going down the right path.
|
|
New Member
Australia
42 Posts |
MCshilling sure is! I guess it's a bit of a journey for me, today I spent some time working on the smile directors (had to make one for the Canon 100mm macro lens and another for the Sigma 150mm macro - the hoods are just a couple of millimeters difference! So I went on "crafting" using disposable cardboard plates, I created 4 directors on each diffuser plate: - From 10 to 11:30 - From 12:30 to 2 - From 4 to 5 - From 7 to 8 Then I sprayed the bottom with black matt spray to minimize reflections. As soon as I got those ready, doorbell rang and I got my vellum paper! crafted that in and stuck it to the plates, soon as I did that doorbell rang again and I got my Jansjos lights (they're tiny!!) Quickly rigged up everything and took an initial shot now, haven't calibrated yet as I can't find a mirror but here it is.. like I said it's a journey so still not quite there yet, I'm not too happy with His majesty's face (hopefully calibration will sort that out),not too happy with colours (probably need some adjustment) and it's not very sharp yet, the coin still moves in the view finder probably because of my old copy stand- can't wait for the new one to arrive! The picture on the left is using my old 2x150 watt lights, on the right is the new one - camera settings haven't changed: Av f5.6 ISO 100 What are your thoughts so far? 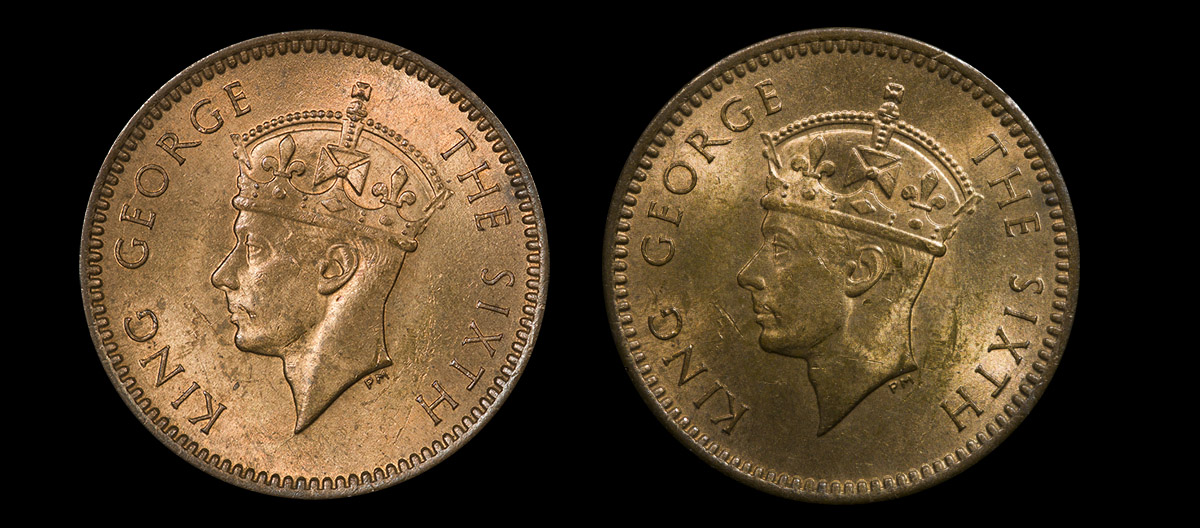 , |
|
New Member
Australia
42 Posts |
Picture of setup attached  |
|
New Member
Australia
42 Posts |
Hi guys, Ok I spent a few more minutes on this but could really use some help please, I got the mirror and no matter what I do and how I move the lights I just couldn't see the smile reflection... so I moved the lens and camera a bit higher as you can see from the photos and now I can see it if I hold the light directly above the vellum paper .. still really far away! You can tell that the diffusion windows are very close to the lens hood, can't get them any closer, so what am I doing totally wrong here? How can I bring the light closer to the actual coin? Help!    |
|
Pillar of the Community
United States
4038 Posts |
I'd recommend ditching the lens hood and putting the diffuser right on the end of the lens. That will move the smiles to a higher angle, and thus closer to the coin.
If that still won't put the smiles close enough to the coin, then you need to move the diffuser areas "between" the lens and the coin. It doesn't look like you'll need to do this but it's hard to tell from the photos. Try eliminating the hood and see what that does.
Contact me for photographic equipment or visit my home page at: http://macrocoins.comEdited by rmpsrpms
09/25/2019 08:57 am
|
|
New Member
Australia
42 Posts |
Thanks Ray, i' m also going to work in parallel and try creating smile directors directly on the lights, I think all I need to do is just cut a round piece of vellum and round piece of cardboard, cut out a smile on the cardboard, unscrew the head of the janjso and place those two layers in ... are those all the layers required? Have I missed anything? Oh and how wide should the smile be in the cardboard?
|
|
Pillar of the Community
United States
4038 Posts |
The smiles I made on the lights were ~3/16" wide.
Contact me for photographic equipment or visit my home page at: http://macrocoins.com |
|
New Member
Australia
42 Posts |
Good tip! Thanks Ray, I'll try that (probably in the next couple of days) in the meantime I've played around with the smile directors on the lamps themselves, I think they're too curved and possibly too thick? thoughts so far?  |
|
Pillar of the Community
United States
4038 Posts |
They look fine. Their reflection in the mirror will show how well they work, and you may need to adjust after.
Contact me for photographic equipment or visit my home page at: http://macrocoins.com |
|
New Member
Australia
42 Posts |
OK so the good news is that I got the copy stand and created a large diffuser (2x3 A4 pages of vellum) ... the bad news is that I still think that for some reason His Majesty George the VI still hates me: I think it's a matter of positioning the lamps better .. what are your thoughts? https://drive.google.com/file/d/1ym...?usp=sharingPS: Oh and the smile directors are a complete failure for me it seems, don't even ask :( |
| |
Replies: 55 / Views: 7,255 |


