| Author |
 Replies: 223 / Views: 42,518 Replies: 223 / Views: 42,518 |
|
|
|
Moderator
 United States
23522 Posts |
Quote:
just bought an 1962 proof set for the nickel....Toned a beautiful purple high grade and FS...the cent is premo also, no toning, but easily high mint state...
Um, if the Cent is a Proof, it can't be Mint State.  |
|
Pillar of the Community
United States
1620 Posts |
I gotta rig something on my stand the clamps just won't tighten and the weight of the camera just tips forward had to add a few small pieces of napkin to help lol
|
|
Pillar of the Community
United States
8517 Posts |
Daniels...did you get a stand ?
Oregon coin geek.....*** GO BEAVS ! ! ! ***
|
|
Pillar of the Community
United States
1620 Posts |
no I haven't had a chance been so busy with getting ready to pcs to my new duty station doing a move from Alaska to north Carolina lots of work. I'm gonna try this weekend
|
|
Valued Member
United States
110 Posts |
|
|
Pillar of the Community
United States
1620 Posts |
i know what you mean Airborne headed to bragg soon did you retire
|
|
New Member
United States
5 Posts |
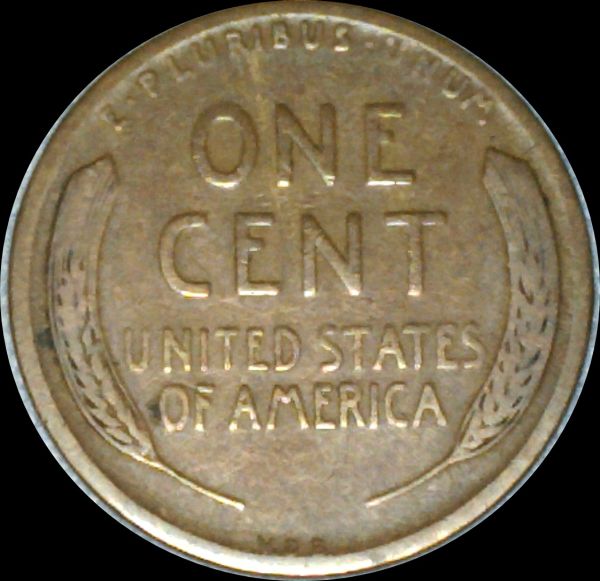
Greetings all. I'm new to CC but I've enjoyed reading this thread and would like your advice to make the colors on this image better reflect the new, red cent I see with my eye. For this image I used a USB microscope that appears similar to the one Harry213 describes, except that I cannot adjust the LEDs. They are either all (8) on or all off. The scope is vertical, 3-4 inches directly above the cent. I'm using the default settings on the MicroCapture software and auto white balance. No post-processing. Note that the background appears blue, it is actually a piece of white paper. I've tried a black background as well and get a similar less-than-representative color. Any advice? Thanks!  |
|
Pillar of the Community
 United States
1113 Posts |
 Shooting Brilliant coins is tricky with the scope, but with some experimenting you can get pretty close to accurately capturing the coin.. Try the following steps in this order. 1) Place a check in the box labeled Auto White Balance, in the settings or preferences menu, 2) Try letting the auto white balance adjust itself for a couple of seconds, using just the white background, before placing the coin in the shot. 3) Try increasing the distance between the scope and the coin, then use the zoom to get close up. This may decrease the glare from flooding back into the lens, throwing off the color. 4) Try a very slight tilt in the scopes angle, for same reason as described above, will reflect the glare away from the lens.. (tilting the scope however will throw off focus on half the coin or make the coin look elliptical so keep it to a minimum) 5) Try using an alternate LED light source instead of the scopes. Try a few shots using the above tips. Finally when you find the best shot go ahead and use post processing on it, Auto Correct usually helps the end result. Post results here until you get it right. Edited by Harry213
12/01/2012 8:43 pm
|
|
New Member
United States
5 Posts |
"Auto Correct usually helps the end result"
Thanks, what does Auto Correct refer to? A specific post processing program?
|
|
Pillar of the Community
United States
1113 Posts |
Quote:
"Auto Correct usually helps the end result"
Thanks, what does Auto Correct refer to? A specific post processing program? Sorry, I meant the Auto Correcting feature included in most basic photo editing software. I don't often need it since I have kind of learned to shoot photos with my scope that are "good enough" for viewing.. But when I want a really crisp image, or need to publish it online, I simply run the photo through the software, click Auto Correct, then I can also crop, resize or what ever I need. |
|
Pillar of the Community
United States
8517 Posts |
I took a 2x2 cardboard flip and added some cut up flip to the open end to create a wedge and taped it up. I then put my fabric over that. The angle the coin sits at eliminates the glare.   Oregon coin geek.....*** GO BEAVS ! ! ! ***
Edited by 52Raymo
12/01/2012 10:57 pm
|
|
New Member
United States
5 Posts |
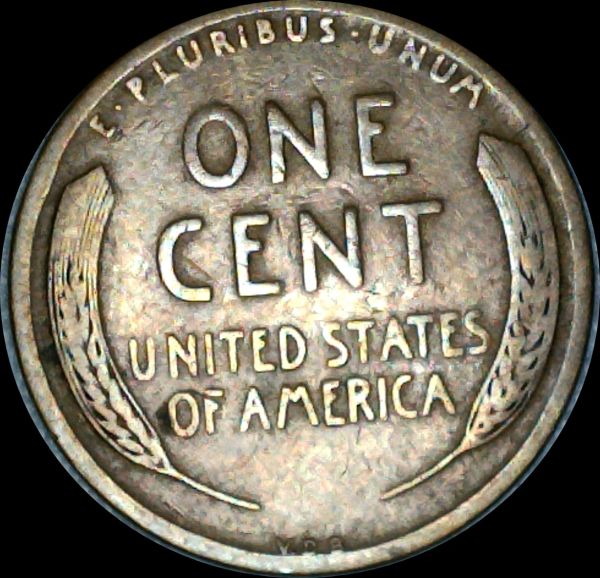
Apparently the zoom is only enabled if the resolution is set to 640 x 480. I'm able to raise the scope to about 8-9 inches over the coin, zoom in as well as move the light so it is not directly over the coin. This resolution, and zoom, however limits the focus as you can see. 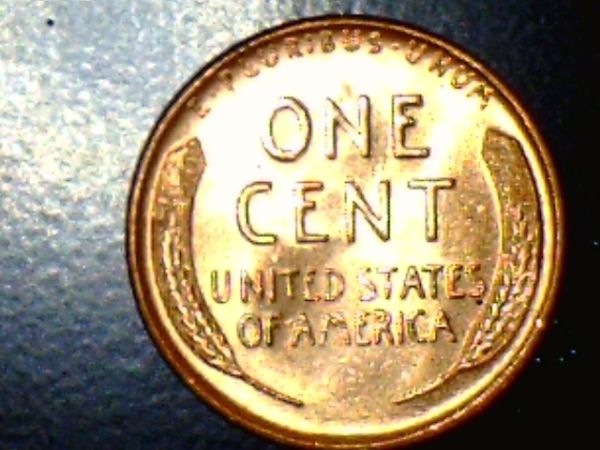 |
|
Pillar of the Community
United States
1113 Posts |
But notice how much better the color is in this shot than in the previous shot you took of the LMC. Increasing the distance between the coin lowered the light intensity and glare from your scopes built in lights. Thus capturing a better image. Okay so your half way there now, but it sounds like you weant to be able to get closer to the coin. Then you are gonna have to go with external lighting. Unless you can find a way to dim the lights on the scope. Your gonna have to forego the built in LED's and get a light source you can adjust. Shop for some type of LED lamp. Something with a goose neck or that allows you to position the bulb at different angles and distances from the coin. I emphasize LED lamp because these scopes shoot best under cool white lighting. I've tried a couple different types of bulbs, like quartz halogen and incandescent, and LED gave the best results. I haven't tried cool white or daylight CFL's yet, but that might also work. |
|
New Member
United States
5 Posts |
Thanks for the tips. I'll try some external LED lights.
|
|
Pillar of the Community
United States
1620 Posts |
|
| |
Replies: 223 / Views: 42,518 |