I posted these instructions a couple years ago on another forum, and they may be useful here. These are instructions specific for using GIMP to edit and crop coin images, and creating composite side-by-side coin images.
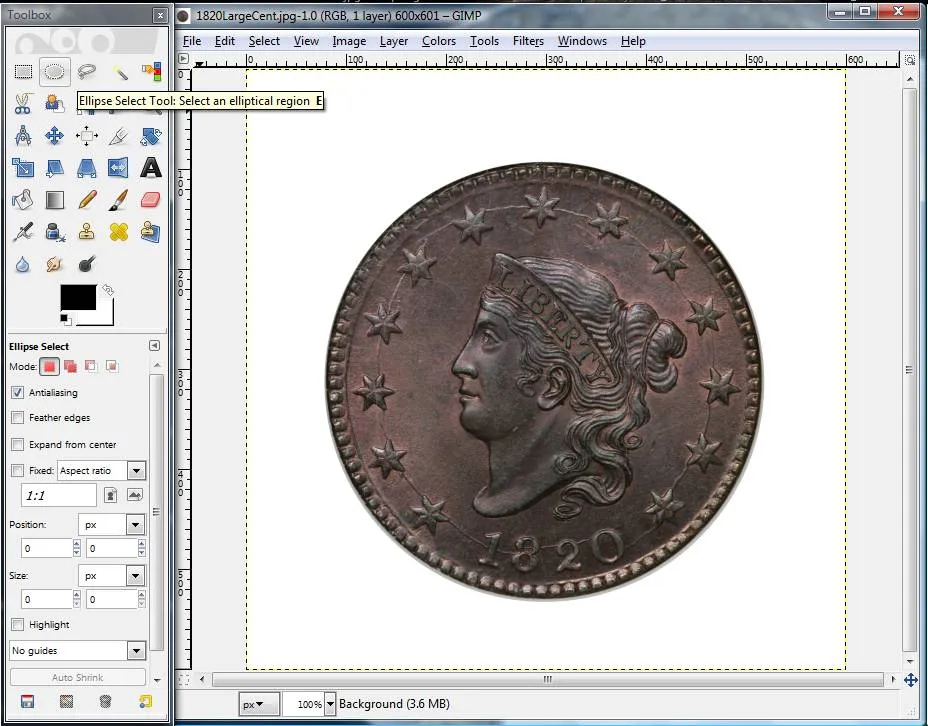
1. Open one of your coin pictures in GIMP. Once It's opened in GIMP, select the oval (ellipse) tool from the toolbox.
2. Once you have selected the oval tool, roughly select just the circular area of the coin by clicking your mouse and dragging an oval shaped selection area. It doesn't have to be exact because in the next step you can "refine" it to match the edges of the coin perfectly.
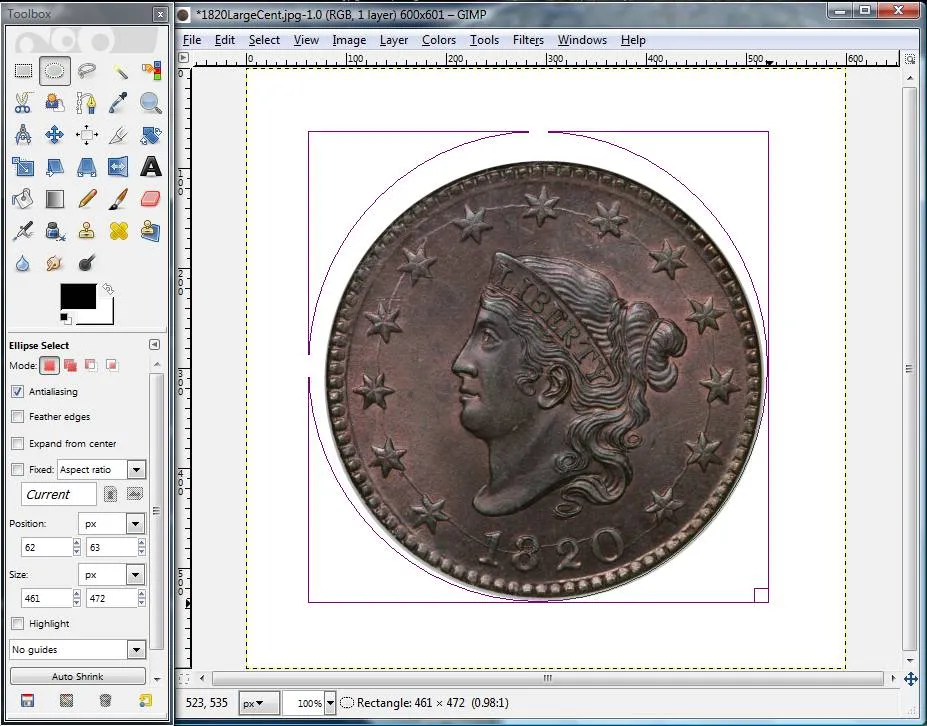
3. Now, after you have a rough oval selection, you can refine each of the four sides by using your mouse. Little boxes will appear when you hover inside of the selected box but near an edge. Just click and drag the oval to match the coin shape. Take note of the size of the oval you have selected in number of pixels. You can find the size by looking at the ruler along the top, or while you have the ellipse selection highlighted you can see the dimensions below the toolbox on the lower left. The total image size in this example is about 600 x 600 pixels, but the coin size itself is about 450 x 450 pixels (441 x 442 to be exact). This information will come in handy in a couple steps.

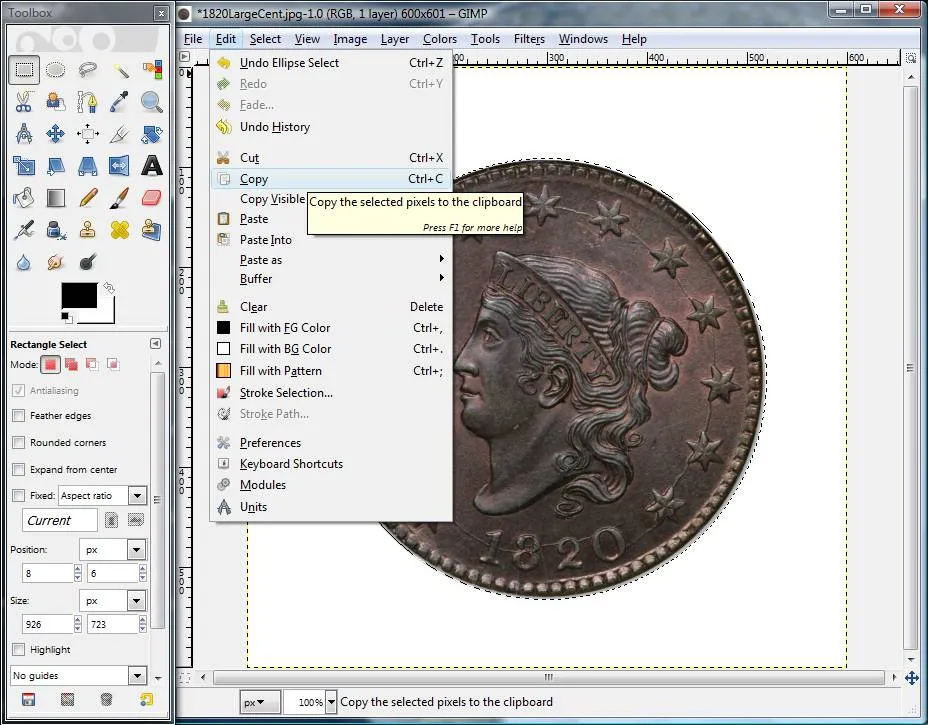
4. Now that you have the coin selected with the oval tool, go to "Copy" in the menu to copy it to the clipboard.
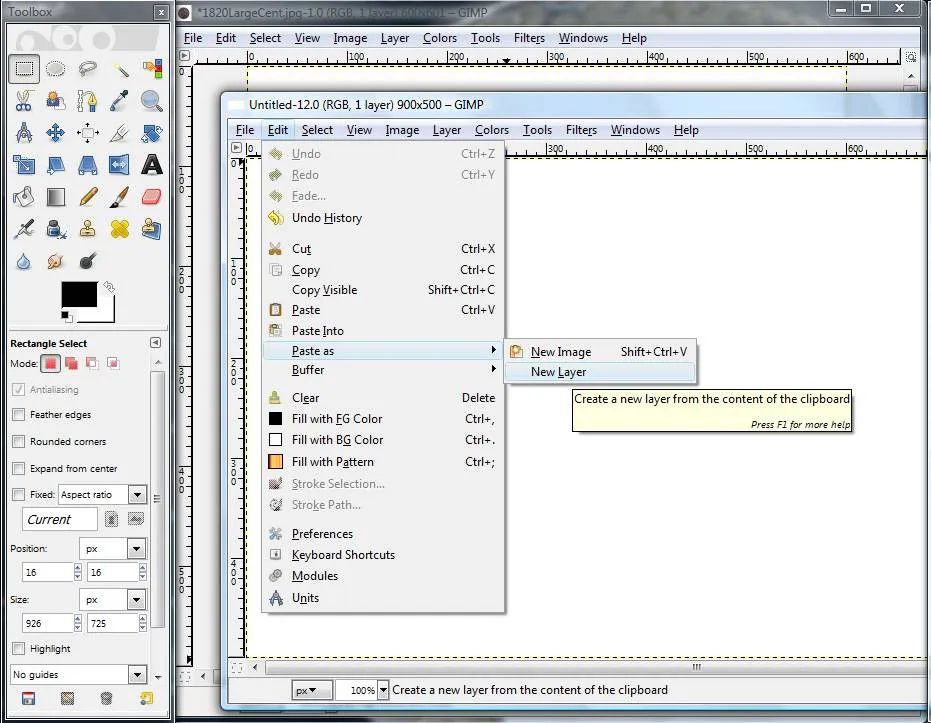
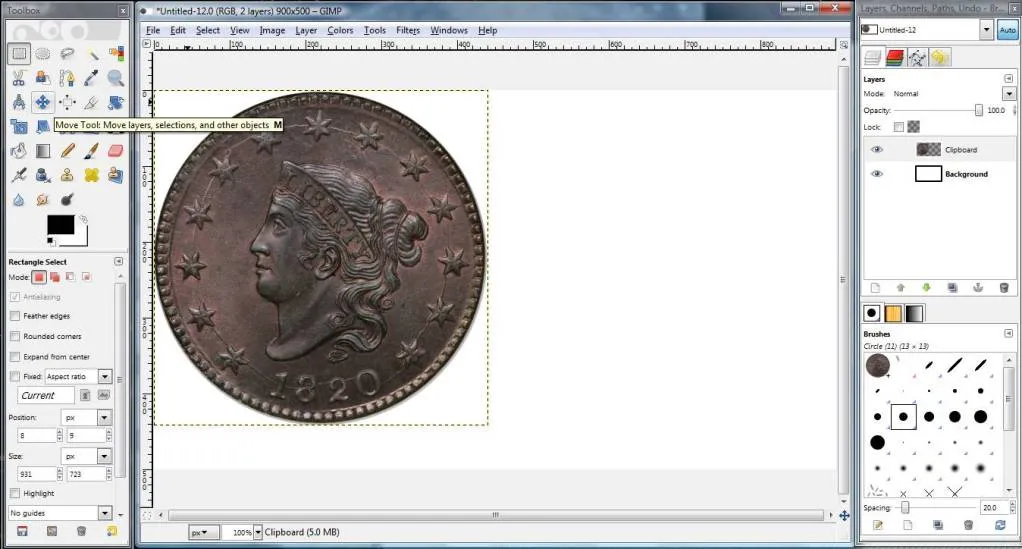
5. Now that the coin image is copied onto the clipboard, you want to create a new place to copy it. Go to the File menu and choose to create a new image. It will ask you how big to make the new image. Since you know how big one side of the coin is (about 450 pixels square) and since you want to put two pictures side by side, you can choose something like 900 wide x 500 height pixels.

6. The new file you created is now blank. So, you want to paste the image you have in memory into the new background. You do this by going to the menu called "Paste as New Layer".
7. Your coin should show up in the new image with a box around it. Notice that in your "Layers" view (on the right in my picture) you now see two layers (Background and Clipboard in my example). To move the obverse image of the coin around, click on the toolbox icon for the 4-way arrows and then click on which layer you want to move (Clipboard) and then you can click on the coin picture and move it around.
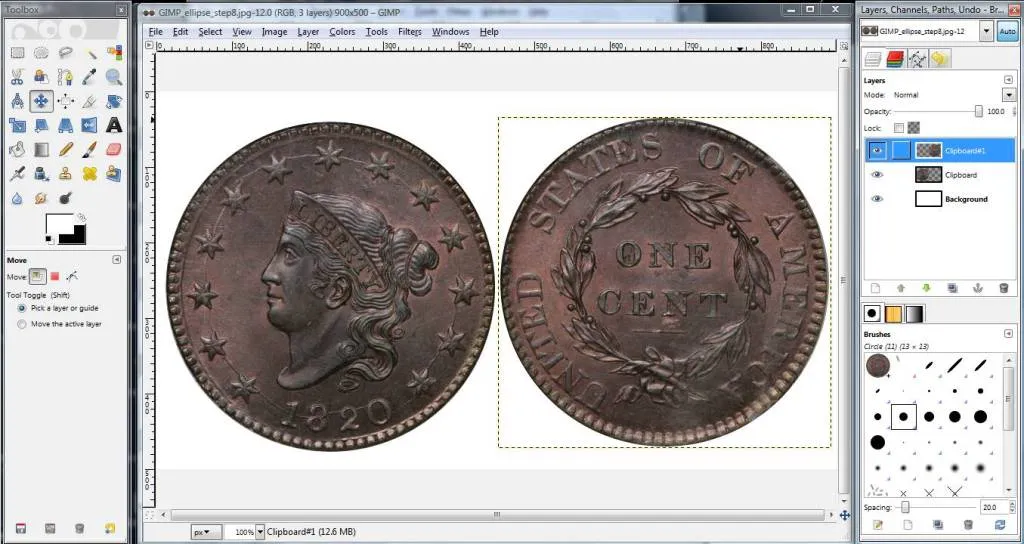
8. Now that you have positioned the Obverse, do the same process of steps 1-4 and 6-7 for the reverse. Now you should have both the obverse and reverse side-by-side in the picture. Notice that each time you paste a new layer it shows up separately on in the Layers box on the right. To move a layer, first you have to select the layer, then the 4-way arrow tool, and then you can click on the layer and move it.
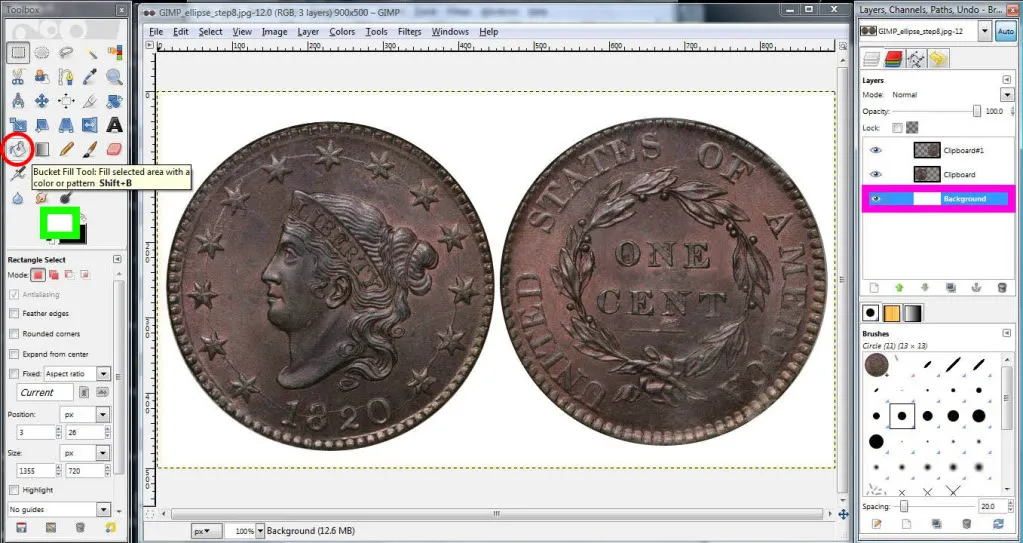
9. If you wish to change the color of the background, there are three steps to change the background color. First, you have to click the background layer on the menu (it is boxed in
bright pink in my attached picture so you can find it). Second, you want to choose the "paint bucket" tool. It is
circled in red on the left in my screen shot. Third, you want to change the background color you have selected. I put a
green rectangle around where you need to click. When you click on that box, a window will pop up and you can pick which color you want. Finally, when you have selected the background, have the paint bucket tool, and have picked a color, you can simply click anywhere in your coin image and the background will change to the color you chose.
10. Finally, you have your completed image, and you can save it as a JPEG or whatever other type of file you would like to.


