| Author |
 Replies: 55 / Views: 7,110 Replies: 55 / Views: 7,110 |
|
|
|
Valued Member
 United States
397 Posts |
Alright here is another pic of the 41 WLHD. I followed directions as close as I possibly could. I took several pics making slight lighting, contrast, brightness, and saturation adjustments. I was trying to get as close as possible to coin in hand. Still a little dark gray or pewter look. But hopefully improvements were made. 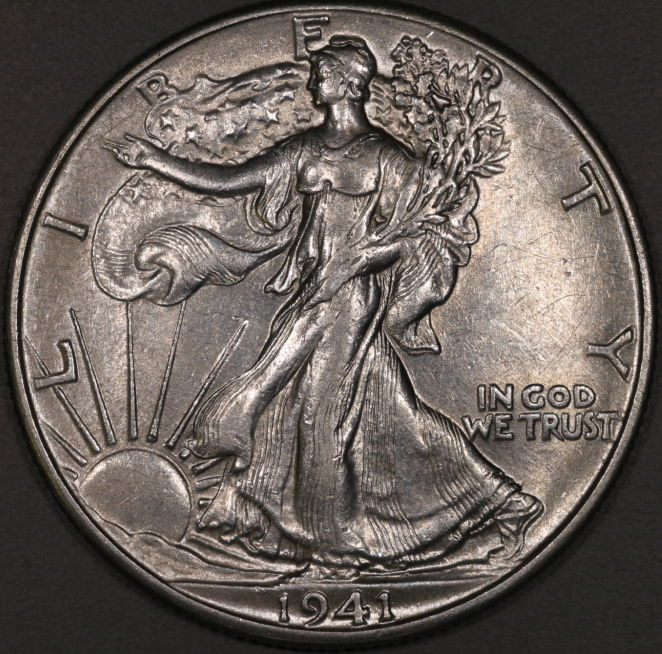 |
|
Pillar of the Community
 United States
4038 Posts |
It looks a bit red to me, and based on the color of the gray background the WB is shifted toward red. I took the liberty of adjusting the WB so that the background is grey (using the eyedropper in DPP), using the tone balance button to brighten up the mid-tones, setting black level to bring the background back where it was, and adding just a touch of sharpening as it did not seem like you did any after downsizing. Result below. Still looks grey but is a bit lighter, and maybe closer to color-correct:  Contact me for photographic equipment or visit my home page at: http://macrocoins.com |
|
Valued Member
United States
397 Posts |
rmpsrpms your adjustments certainly improved the photo. I was attempting to follow some of the various steps suggested in Ham's thread. It's obvious I have some work to do. I knew from the beginning photography was going to be a challenge for me.
Your are spot on when stating the coin is still bit grey. You are also correct about no downsizing was performed. What are the steps for downsizing? Jim
|
|
Pillar of the Community
United States
4038 Posts |
Jim...what colar are you looking for? Is it more luster you're trying for? It's tough to make a suggestion when I don't know what the coin looks like. Maybe describe what it is you're going for?
The image is downsized or it would be very large, more than double the size of the screen. I assume you're uploading to CCF for hosting? The downsizing must be done in that process. I don't trust such methods to do what I want so I downsize images myself using DPP "Batch" tool, then host the images from photobucket or my own web page.
Contact me for photographic equipment or visit my home page at: http://macrocoins.com |
|
Valued Member
United States
397 Posts |
Quote:
Jim...what colar are you looking for? Is it more luster you're trying for? It's tough to make a suggestion when I don't know what the coin looks like. Maybe describe what it is you're going for? More luster. I'm posting a pic I took with my small point and shoot. Lets see how this goes. 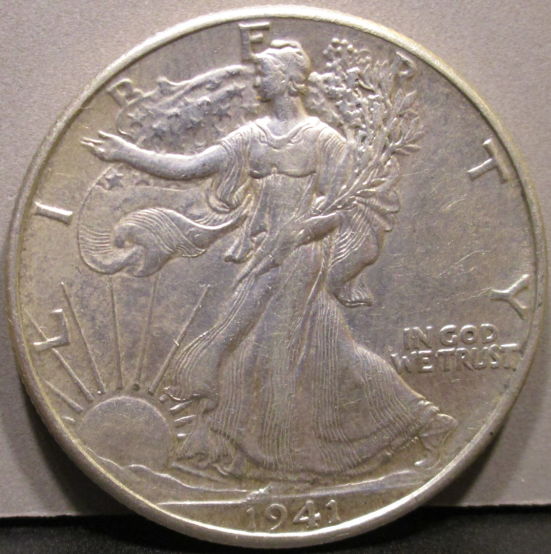 This pic is close, just a little dull. This pic is closer to in hand than anything I've previously posted. Edited by smoke1439
11/29/2015 6:08 pm
|
|
Valued Member
United States
397 Posts |
Why did the last pic I post show the 18% grey card border and the previous ones show the border black or dark gray? Just curious...Jim
Edited by smoke1439
11/29/2015 6:14 pm
|
|
New Member
United States
43 Posts |
Is this more or less what you are trying to get? If so, your underexposing by about a full stop. I made adustments in Photoshop using Levels and adjusting the midtone slider. 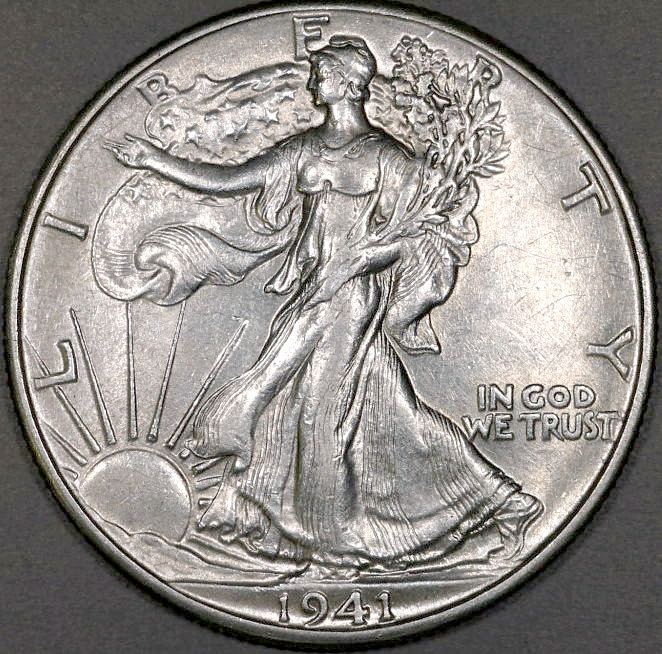 |
|
Valued Member
United States
397 Posts |
jtlee321 improvements are being made. However the original shot is off. I just don't think that much can be edited out. Please explain, "your underexposing by about a full stop". I know I must be putting everyone to the test. As I explained in the original post I know very little when it comes to photography. I have read the manual that came with the camera and many of these CCF threads. I am struggling with putting it all together. Again thanks for all the help.
|
|
Pillar of the Community
United States
4038 Posts |
Jim,
One thing you might consider is duplicating the lighting setup of what you consider to be the correct color and luster of the coin. Likely this is 90% coming down to lighting, and the discrepancy in the overall "look" of the coin is that you are not lighting it for the image the same as when you are viewing in-hand. You can't expect the coin to look the same while being lit by a couple of diffused Jansjos as it does when viewed with a fluorescent or single halogen! Another trick is to view through the viewfinder rather than on the computer to make sure your settings are not skewing the results. When viewed through the viewfinder, the coin should look exactly as it does in-hand. If it doesn't, you don't have a hope in the world of making it so with camera settings or post-processing...
Ray
|
|
Valued Member
United States
397 Posts |
Ray, that makes sense to me. I do believe most of this comes down to lighting. I will try the tip, looking at the coin through the viewfinder. I have been playing around with some different lighting, but haven't hit on anything yet. I'm getting burned out on shooting this coin. I will try everything an eventually it will come together. I am not a quitter. Thanks for your help, stay tuned.  Jim |
|
Valued Member
United States
397 Posts |
Hello everyone, Hope everyone had an enjoyable holiday season.Been awhile since I posted here. I was getting a bit frustrated with me. So I step away for a while and spent some time practicing. Here are a couple areas I need some guidance with. Quote:
Metering is the process of measuring the amount of light reflecting off the surface of your image, and then using that to set the camera's f-stop, shutter speed and ISO to create the image. DaveM Quote:
The image is downsized or it would be very large, more than double the size of the screen. I assume you're uploading to CCF for hosting? The downsizing must be done in that process. I don't trust such methods to do what I want so I downsize images myself using DPP "Batch" tool, then host the images from photobucket or my own web page. rmpsrmps Here are a couple of my latest pictures. 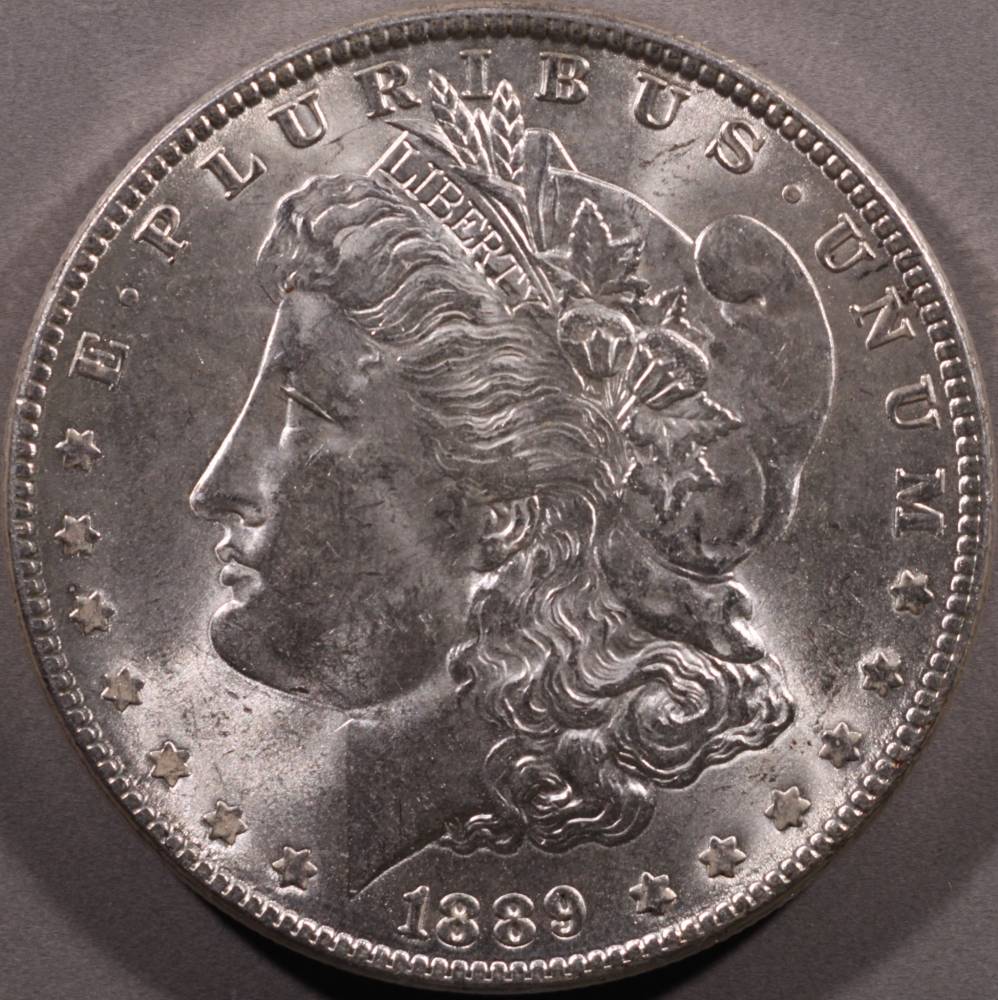 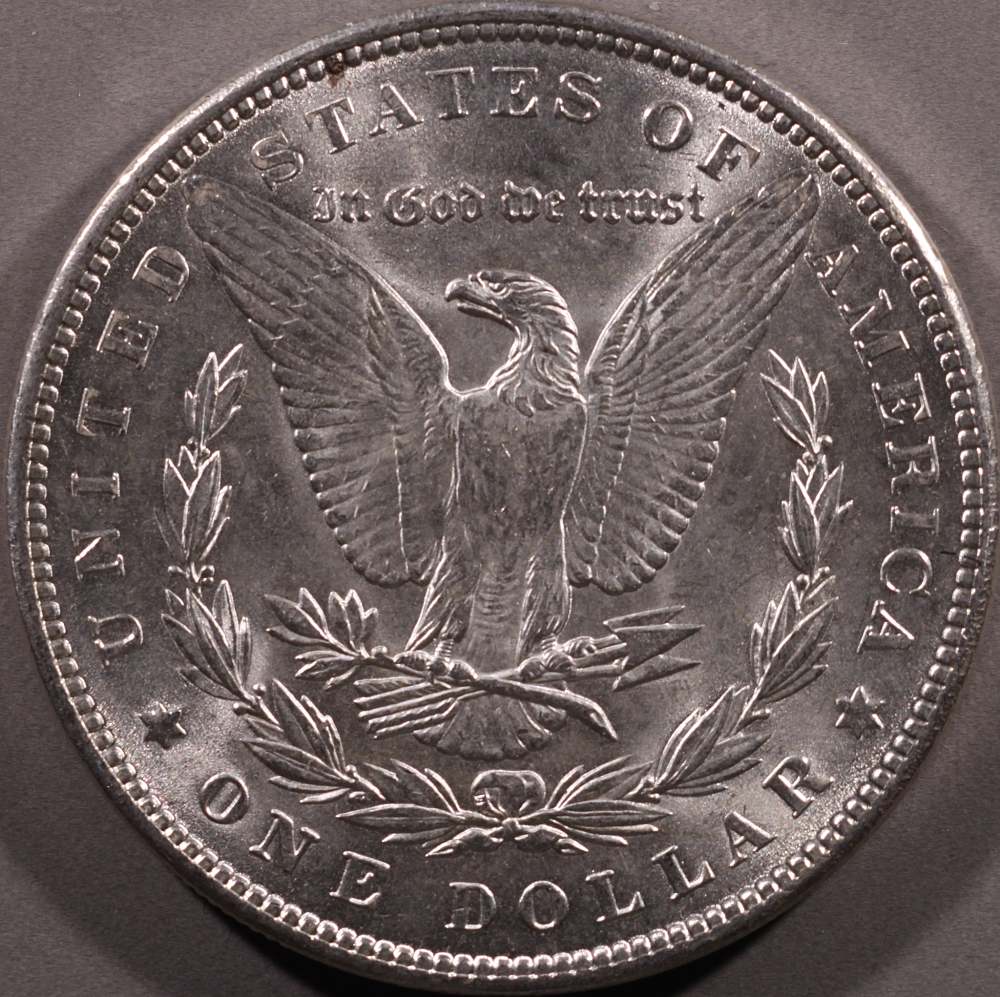 |
|
Valued Member
United States
67 Posts |
I'm not sure what the question is regarding metering, but I'm glad to clarify. I would be using manual settings on the camera, and setting exposure based on the lighting provided by your setup, rather than the auto settings then adjusted by exposure compensation or post processing.
It does seem that the general method espoused on this forum is to adjust from auto settings, and I don't want to get you confused by suggesting manual settings (which of course I believe is better) if that's not what you're prepared to do.
|
|
Pillar of the Community
United States
4038 Posts |
|
|
Valued Member
United States
67 Posts |
Let me compare manual to automatic.
For manual:
Set a gray card in your shooting frame and turn on your lights.
Set F/8, ISO 100, and adjust shutter speed so that meter measures to zero.
Write down this setting, it will be used for ALL coins
Put a coin in, focus, shoot
Put another coin in, focus, shoot
For automatic (correct me if I have this method wrong)
Put a coin in the shooting frame
Set f/8, ISO 100, and AV mode (you have now lied to your camera and told it that the coin is 18% gray when it is not)
Shoot
Examine image, see whether you think brightness is correct, and either adjust exposure compensation and re-shoot, or adjust in post
For another coin, restart at top of process
The flaw is having your camera map the image to an average 18% gray (which is what it does in auto) when you know it's not. You have the opportunity to actually show it an 18% gray card once, and only once unless you change your lighting. Since many coin images will be shot using the same lighting setup, you can save all these adjustments by setting the exposure manually, once.
Sure, a periodic exposure compensation may still be of use, but far less than if you start every shoot by forcing the coin to 18% gray.
|
|
Pillar of the Community
United States
4038 Posts |
Being an absolutist with regards to exposure in coin photography leads to some coins being very under-exposed and some being very over-exposed. Coins are not flat surfaces like the 18% gray card that can be scientifically exposure-calibrated. They have specular reflections that cause highlight issues, and crevices that cause shadowing issues. Small movement of lights in angle or position make a huge difference in whether a coin is exposed properly or not, yet make no difference at all to the exposure of a graycard calibration.
I suppose it's OK also for a fashion photographer to put an 18% gray card where his model's face is, dial in the exposure, and then take whatever he gets? I'm not sure how long he'd stay in business doing that.
|
| |
Replies: 55 / Views: 7,110 |


