Coin Community Family of Web Sites Join Thousands of Coin, Bullion, & Money Collectors
Vancouvers #1 Coin and Paper Money Dealer Shop for APMEX Bullion on eBay!Coin, Banknote and Medal Collectors's Online Mall Join Thousands of Coin, Bullion, & Money Collectors Specializing in Modern Numismatics 300,000 items to help build your collection! Royal Canadian Mint products, Canadian, Polish, American, and world coins and banknotes.


Username:
Password:
Save Password
Forgot your Password?


This page may contain links that result in small commissions to keep this free site up and running.

Welcome Guest! Registering and/or logging in will remove the anchor (bottom) ads. It's Free!

Photoxperimenting Setup

To participate in the forum you must log in or register.
Author Previous TopicReplies: 5 / Views: 1,219Next Topic  
Valued Member

United States
113 Posts
 Posted 08/25/2017  1:48 pm Show Profile   Bookmark this topic Add coinee to your friends list Get a Link to this Message Number of Subscribers
For a little while now I've been photographing coins on a jewelry tray with my cell phone - Samsung Note 4 - set on a microscope stand and for lighting, a diffused work drop light you get at a home center. A couple times I used a second work light that was not diffused. Here are a couple sample images.
CRH Proof 1978-S Jefferson
CRH 1961-D Lincoln

This setup is very quick to do but getting the lighting and focus right is hit or miss and the quality is hit or miss as well. But it was better than my original attempt using the Celestron Microscope on the stand. The biggest issue with that is it has built-in LED lighting that cannot be controlled and henceforth most photos are blown out and/or totally incorrect as far as color.

The latest experiment was a quick setup of my Nikon D5100 on a tripod and the coin setup on the jewelry tray. Both the camera and jewelry tray display pad were angled. Here are a couple photos of the setup.
Photoxperimenting-Setup

And here are images taken with it.
Photoxperimenting-Setup

I think they came out great. Is there any improvements that can be made? Is anything not right that I am not noticing?

Thanks!
Moderator
Learn More...
John1's Avatar
United States
56855 Posts
 Posted 08/25/2017  1:50 pm  Show Profile   Bookmark this reply Add John1 to your friends list Get a Link to this Reply
A bit more light maybe.
John1
Pillar of the Community
Mark1959's Avatar
7234 Posts
 Posted 08/25/2017  3:06 pm  Show Profile   Bookmark this reply Add Mark1959 to your friends list Get a Link to this Reply
Can you try taking some pictures of a 90% silver coin - see how the lighting effects the brightness of the silver.
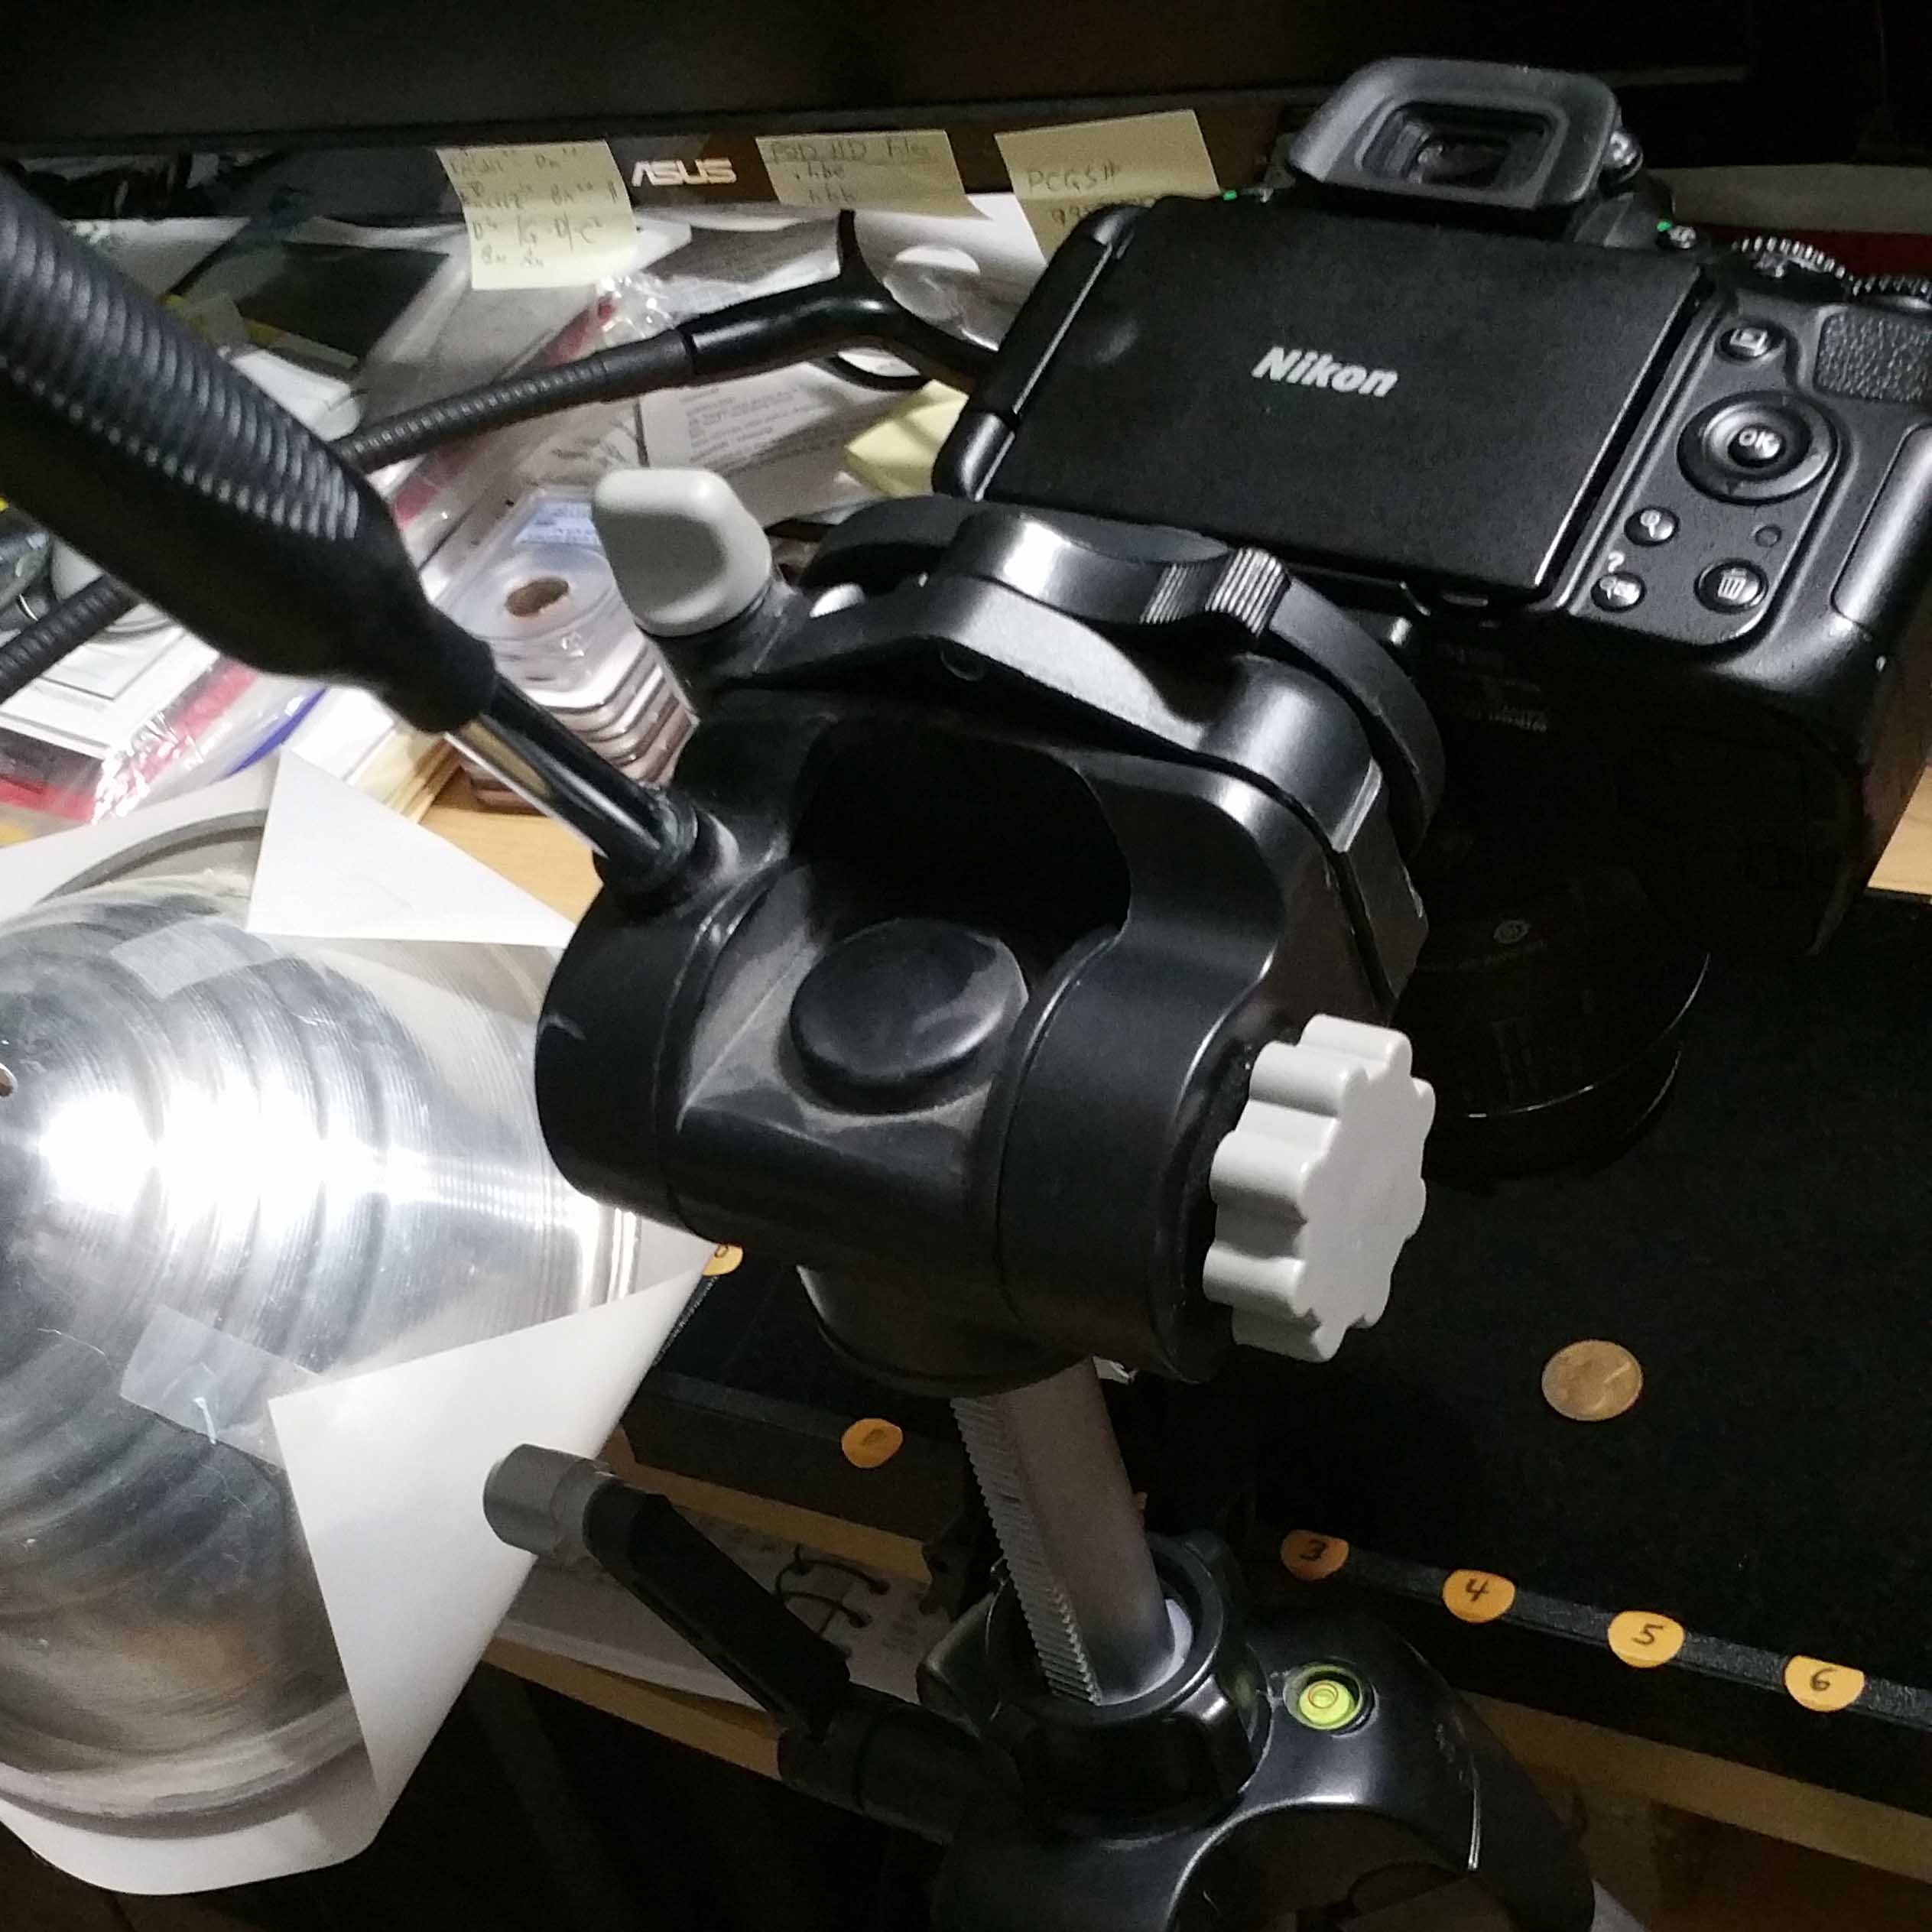
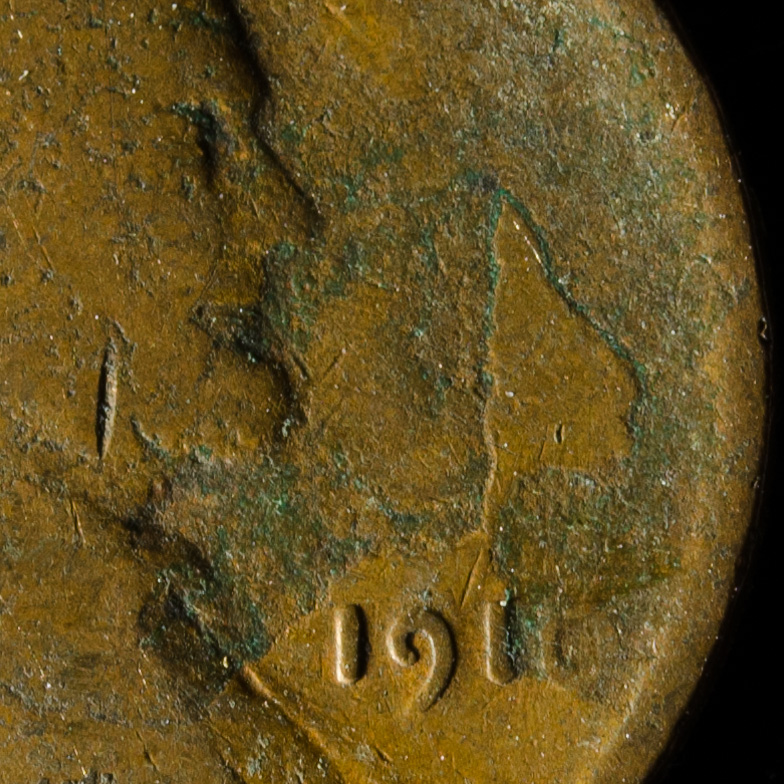
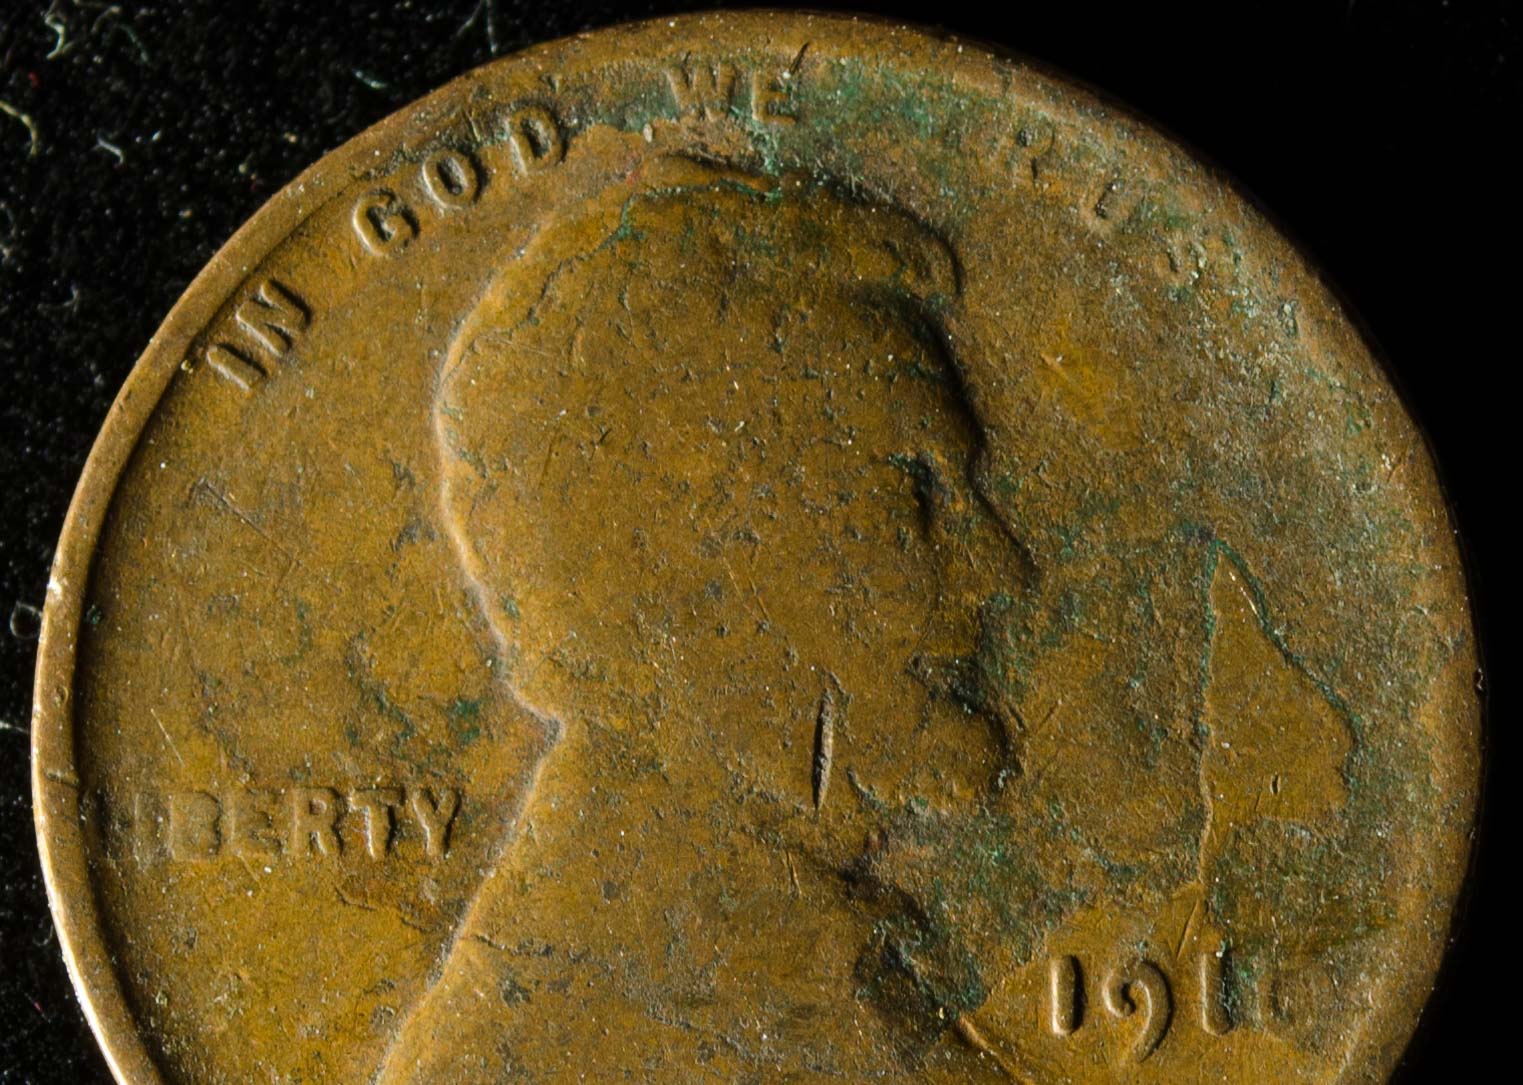
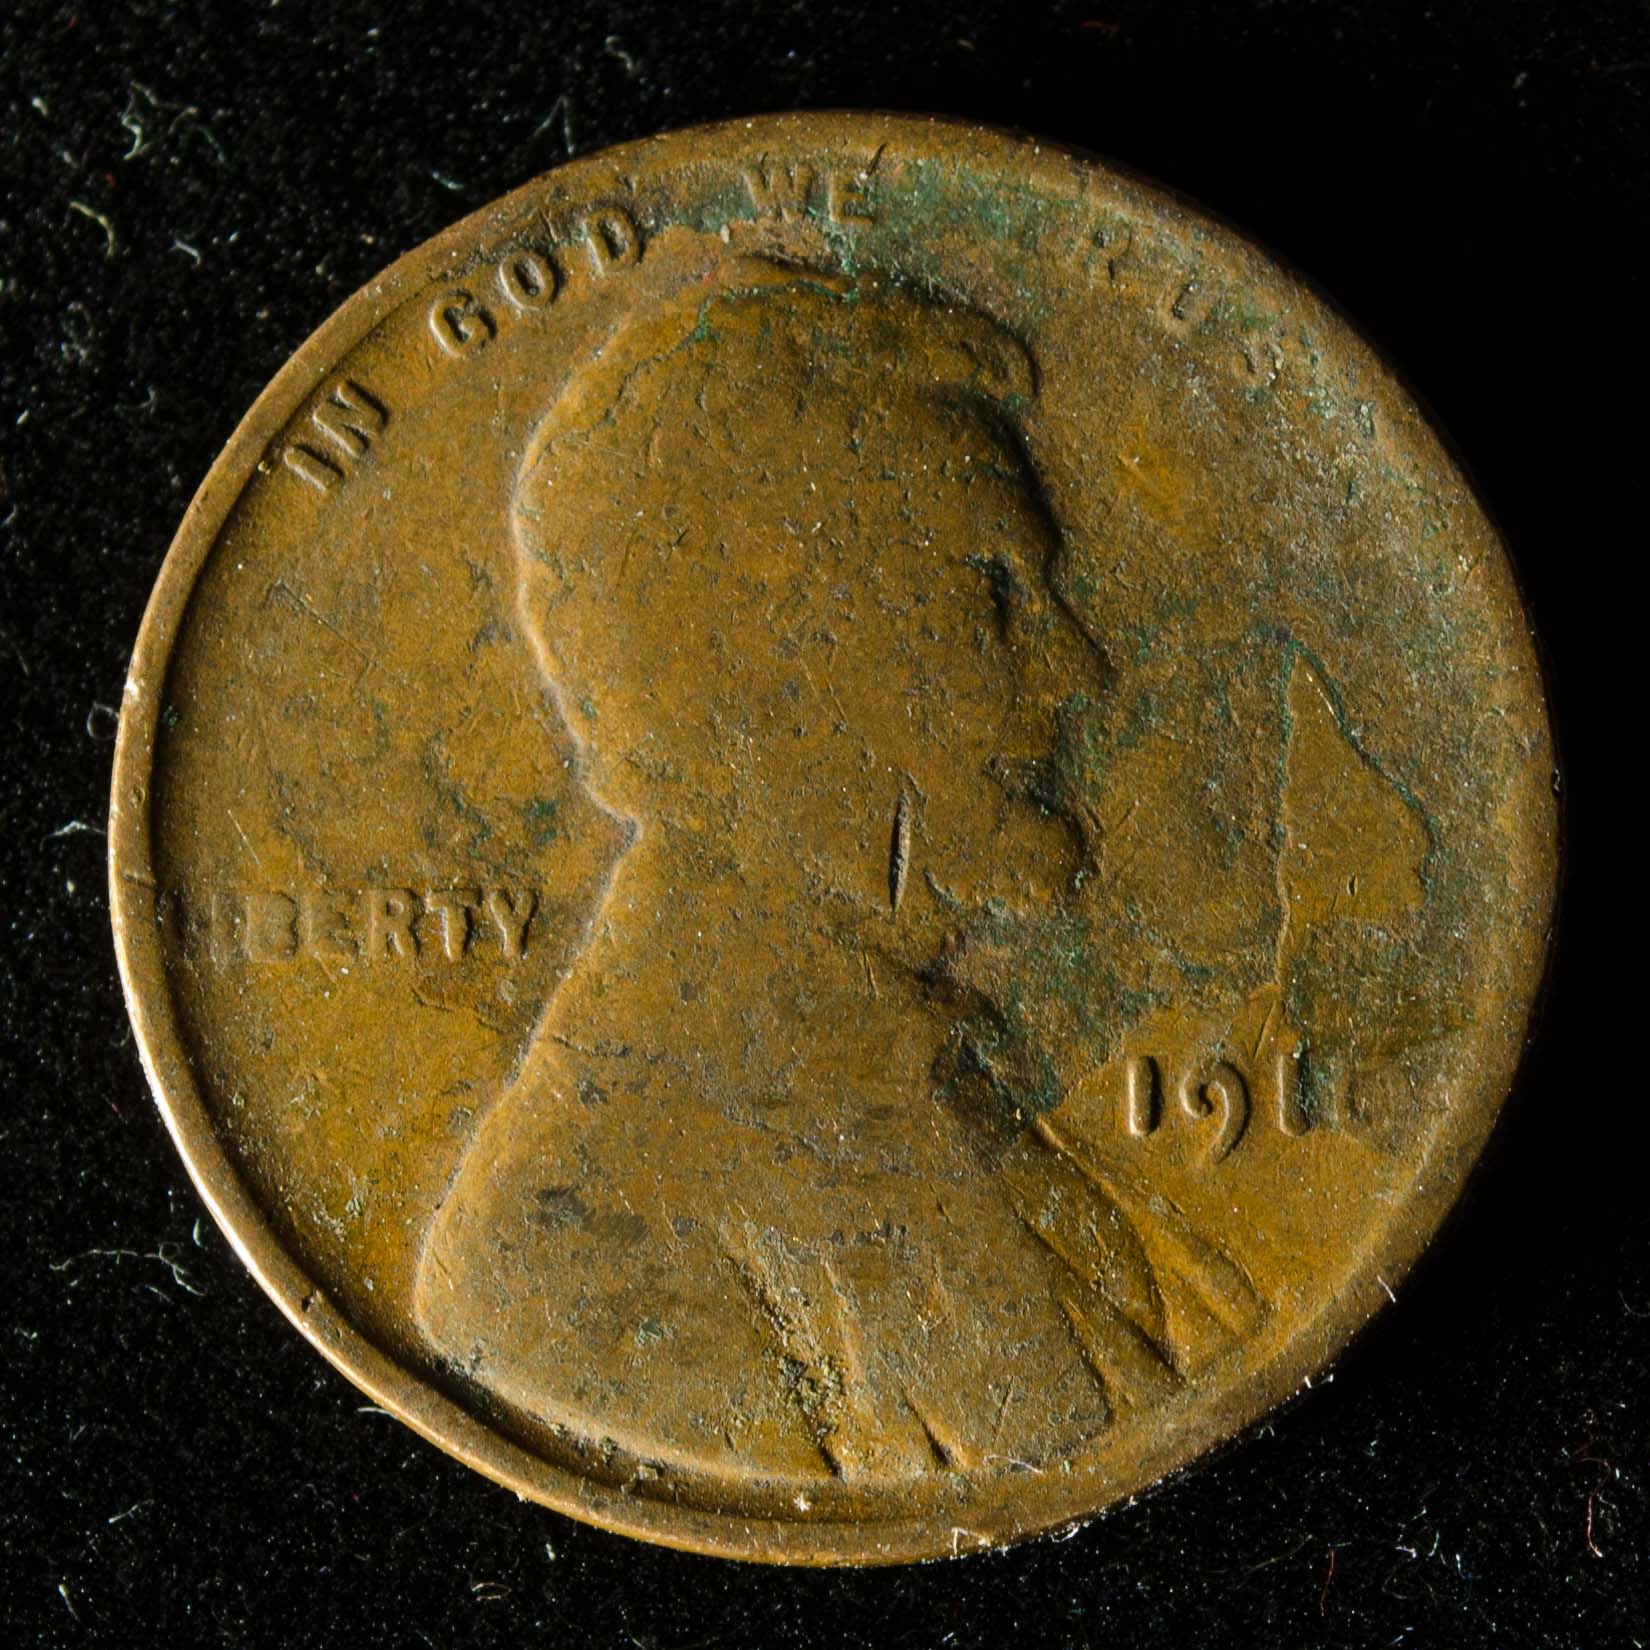
Like John said, a bit more lighting for your Lincoln Cent but otherwise nice, sharp pictures.
Edited by Mark1959
08/25/2017 3:07 pm
Pillar of the Community
Learn More...
United States
4038 Posts
 Posted 08/26/2017  11:46 am  Show Profile   Bookmark this reply Add rmpsrpms to your friends list Get a Link to this Reply
Your light is coming in at an extremely low angle. This low angle really emphasizes the 3D quality of the coin, and brings out the surface irregularities, dirt and dust, etc. This is of course a valid way to shoot if that's your goal, but if you are trying to get the so-called "in-hand look" the lights should be at as high an angle to the coin as possible.

Now, in this case, with the very odd raised area in the field above the date, this low angle lighting technique may be exactly what you wanted since it does show the area very well.

Edited to add: Hah, I was fooled by the lighting. The area on the field is not raised, but instead surrounded by gunk, correct? This is another aspect of this lighting type, it can fool you into seeing things incorrectly
Contact me for photographic equipment or visit my home page at:
http://macrocoins.com
Edited by rmpsrpms
08/26/2017 3:06 pm
Valued Member
United States
113 Posts
 Posted 08/26/2017  9:14 pm  Show Profile   Bookmark this reply Add coinee to your friends list Get a Link to this Reply
Thank all for the replies. I'll work on getting a silver photo. I guess a Morgan will work?

I'll try adding another diffused light to brighten things up.

As for the low angle light. I never really thought of where to put the light. I just moved it to where I thought it make the coin look best.

The coin photo was to show what I believe to be a delamination. That area above the date - I was calling it the island - really looks like it is the coin and not gunk making it look like that. The gunk is in the recessed areas from what I can tell. The 0 in 1910 is very faint which makes me think the planchet was missing material when it was struck. Just a thought. I'm not an expert.
Edited by coinee
08/26/2017 9:22 pm
Pillar of the Community
Learn More...
United States
4038 Posts
 Posted 08/26/2017  9:21 pm  Show Profile   Bookmark this reply Add rmpsrpms to your friends list Get a Link to this Reply
Aha...so that's not gunk on the coin, but a huge area of missing metal? So it was as I thought to start with. Interesting coin. Not sure what would have caused it.
Contact me for photographic equipment or visit my home page at:
http://macrocoins.com
  Previous TopicReplies: 5 / Views: 1,219Next Topic  

To participate in the forum you must log in or register.


Disclaimer: While a tremendous amount of effort goes into ensuring the accuracy of the information contained in this site, Coin Community assumes no liability for errors. Copyright 2005 - 2026 Coin Community Family- all rights reserved worldwide. Use of any images or content on this website without prior written permission of Coin Community or the original lender is strictly prohibited.
Contact Us  |  Advertise Here  |  Privacy Policy / Terms of Use

Coin Community Forum © 2005 - 2026 Coin Community Forums
It took 0.37 seconds to rattle this change. Forums