| Author |
 Replies: 90 / Views: 7,437 Replies: 90 / Views: 7,437 |
|
|
|
Pillar of the Community
United States
3229 Posts |
Great thread!  |
|
Pillar of the Community
 United States
1298 Posts |
|
|
Pillar of the Community
 United States
4038 Posts |
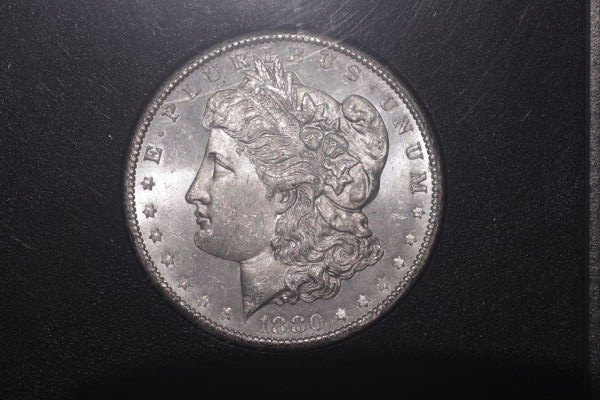
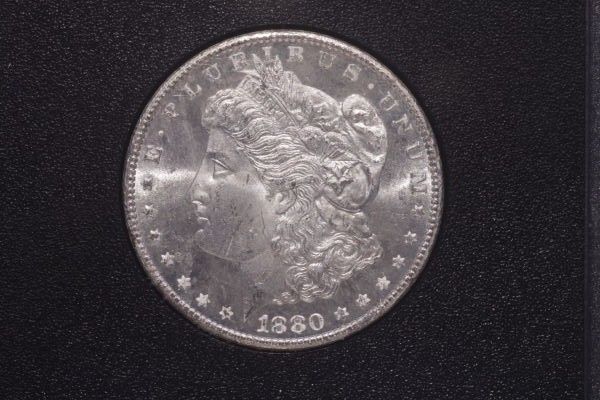
Ham...exactly what I was looking for. As you can see, going from "high" to "low" angle makes a huge difference in appearance of the coin. The high angle puts more light onto the coin and less on the holder, but doesn't show the luster as well. It's there, but it's starting to "spread out" rather than appearing in sharp bands. If you were at true 90-deg, the luster bands would spread evenly across the whole coin and thus disappear altogether! The low angle puts more light onto surface reflections and details, and shows the narrowest luster bands and the most surface detail, which is not always flattering.
Note that brightest luster band shows up on the 75-deg shot, but you've lost a lot of the subtle shadow detail around the devices by 75-deg. I would personally recommend you to find an angle between your 90-deg and 75-deg shots that narrows-up the luster bands a little but still maintains the shadow detail as much as possible. Subtle changes of a couple of degrees make a big difference! Once you have an angle that gives you what you are looking for, then add another light and try moving the two around to optimize the overall light vs shadow tradeoff.
|
|
Pillar of the Community
United States
4038 Posts |
Oh, BTW...The "90-deg" shot looks really good to me! It may be that just keeping that angle, moving the light to 10:30, and then adding a second at 1:30 would be a great starting point...Ray
Contact me for photographic equipment or visit my home page at: http://macrocoins.com |
|
Pillar of the Community
United States
4132 Posts |
To add to that, you'll notice that the highest angles that you start getting glare on the holder (there's always a trade-off). If you want to use high-angle lighting, but want to avoid the glare, you'll want to look into Ray's smile directors.
Ray, I think you could package and sell smile direction kits. I imagine people calling into the support line and can hear the operator in my head - "Thank you for calling Smile Industries - how may I direct your smile?"
|
|
Pillar of the Community
United States
1298 Posts |
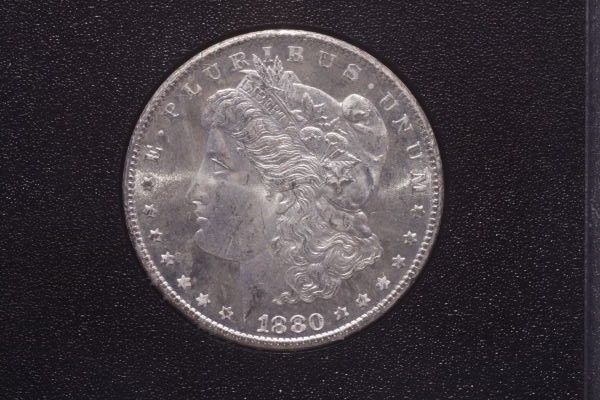
I think I am getting closer (with all the help) to what I want to see. I took a shot of the setup of the last photo. The camera is the Canon T1i attached to a Vivitar Bellows with a 75mm lens. And of course Ray's microscope stand setup. The glare you see on the setup photo is from the window, and isn't a factor when shooting. 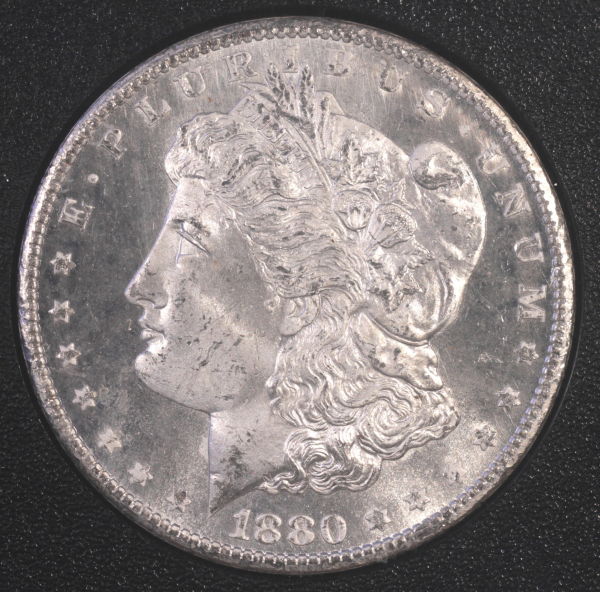 Photo settings are f8, .3sec., ISO 200.  |
|
Pillar of the Community
United States
4132 Posts |
The contrast in your images seems to vary quite a bit, so I'm wondering where in the workflow that is happening. Basically, your black level is too high sometimes, which makes the image washed out and less punchy. I don't think it's really an exposure problem because it's not like your highlights are getting blown way out.
For consistency, I would stick with a single ISO and aperture setting while experimenting to minimize the variables. No reason not to use ISO 100 and go for minimum noise since you're on a fixed stand. Not sure what lens it is, but you may want to open it up wider than f/8; supposedly a notch or two down from the widest setting gets the best performance on most lenses. Then put the camera in Av mode and let the metering determine the shutter speed.
|
|
Pillar of the Community
United States
1298 Posts |
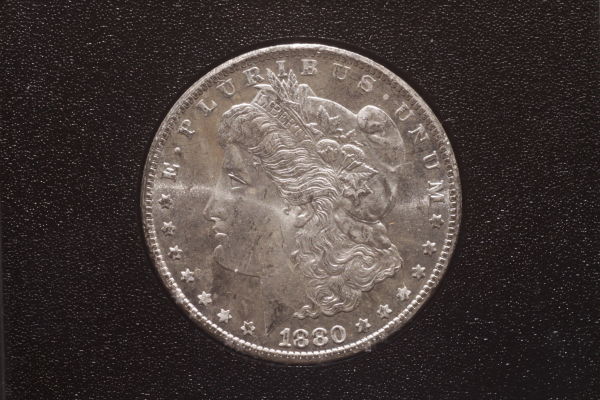
OK, I have moved the aperture down (2) stops to f4, changed the ISO to 100, and left the camera setting at Av. Shutter speed was 1/4 sec. Took this shot and did some PP. I don't have the best eyes, maybe that is my problem? It seems to look better. 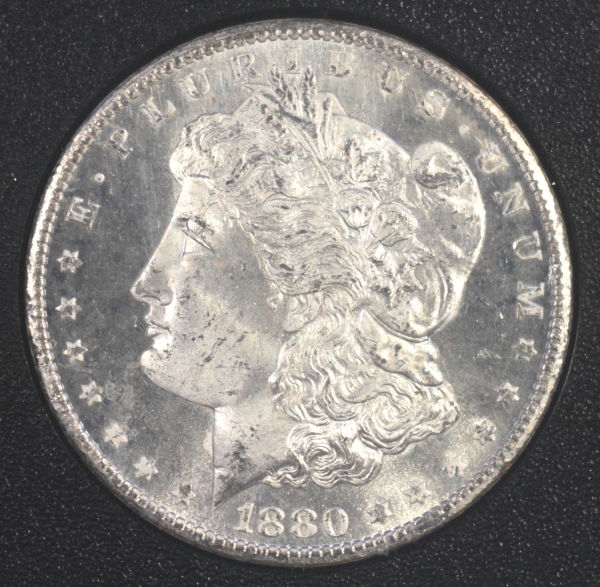 |
|
Pillar of the Community
United States
1298 Posts |
One more thing, I did a custom white balance before the last shot.
|
|
Pillar of the Community
United States
8518 Posts |
Personally, I would black out that window so I could get consistent and even lighting.
Oregon coin geek.....*** GO BEAVS ! ! ! ***
|
|
Pillar of the Community
United States
1298 Posts |
One more shot for today. I left this one alone--no PP. I'm not familiar with how to add brightness, contrast, sharpness, etc. I think that is another reason why the examples vary so much. When processing, where do you start? 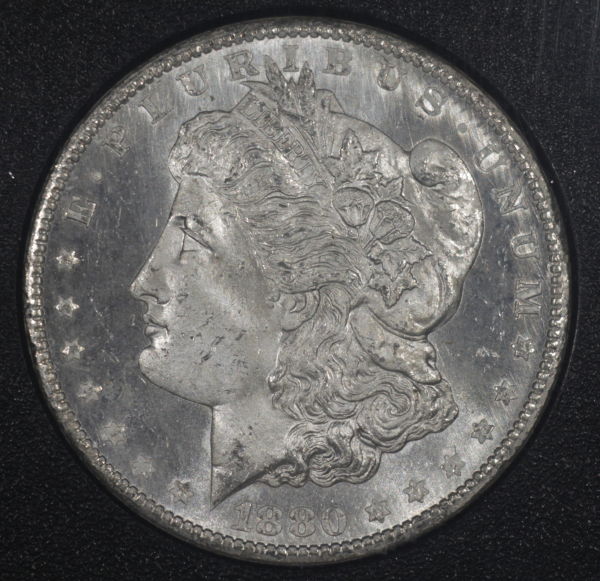 |
|
Pillar of the Community
United States
4038 Posts |
Ham...looking better, but your fields are still quite dark in front of Liberty's face and behind her cap, yet bright at tiara and near the date, indicating your lights are not quite at the right clock positions. I don't have a lot of experience with Morgans, but for coins in general the darkness in the fields at left and right and bright top and bottom looks unnatural. I'd recommend moving the light positions around until the resulting luster bars show up in the fields on left and right. My suggestion is 10 and 1. This will create a bar from behind the cap toward E of EPU, and another from chin to you of UNUM.
Contact me for photographic equipment or visit my home page at: http://macrocoins.com |
|
Pillar of the Community
United States
4132 Posts |
Ham, what software are you using to process the images? Anything? Are you shooting JPEGs or RAW?
|
|
Pillar of the Community
United States
1298 Posts |
Couldn't stand it, had to shoot one more. Captain, I'm using the software that came with the camera (Canon T1i). I believe it's just a simple PP software, JPG image. 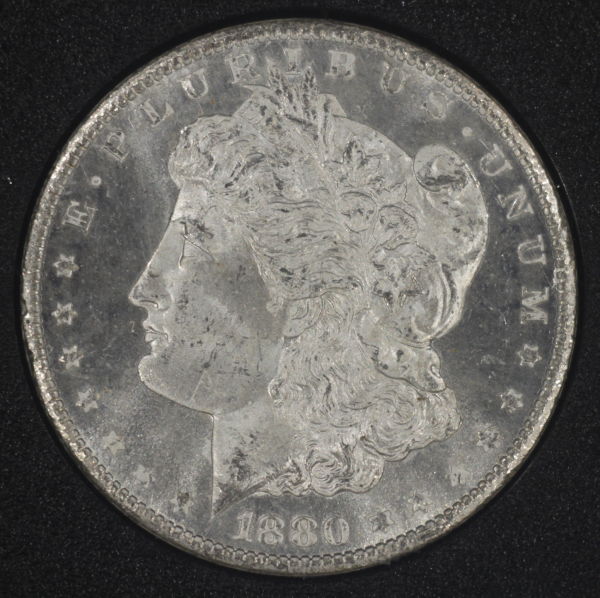 . For this shot, I used (4) Jansjo's positioned roughly at 10, 2, 4, & 6 o'clock. |
|
Pillar of the Community
United States
1298 Posts |
Sorry, part of the post of left off. I used (4) Jansjo's at 10, 2, 4, & 6 o'clock roughly.
|
| |
Replies: 90 / Views: 7,437 |