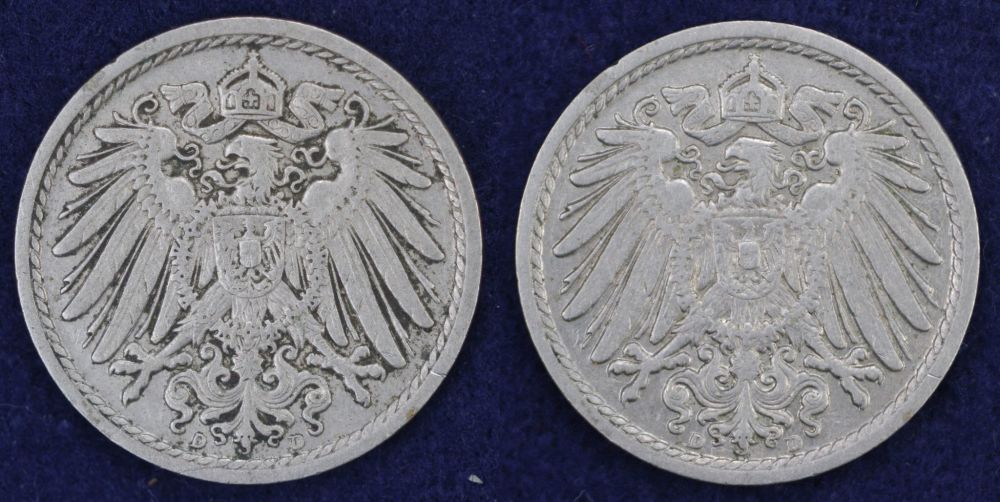
Part of the answer is photography. You'll notice that the background is a different color.
I'm just getting started at coin conservancy, and have already learned that I need to keep notes on my camera settings, or the before and after pics will not accurately depict my progress. (Or destruction.)
For conservancy, my approach is to remove all that is not coin and patina. Grease, grime and green. And it was the green that prompted me to start this exercise. I want to prevent further damage to the coin, and possibly make it more presentable.
The distinction is understandable with copper and silver coins, but I'm not sure how I will handle rust on steel based coins.
My LCS has a pail of foreign coins that he sells cheaply, and this has been my main source so far. I refer to it as the dust bucket.
Note that I would not be doing this with high grade coins because I'm not sure how much damage I would do.
My first step is the acetone. Full immersion, with swishing. Set out to dry.
Then with a small soft bristled paint brush, I coat the surface with something called "COIN CARE."
I don't know what's in it, and I don't recommend it. My
LSC dealer gave me some, and I intend to use it up. After which, I will order some Verdi-Care.
After a good soak, I use the soft bristled brush to remove some of the gunk while in the next acetone bath. I note the progress and repeat. After several baths, I may have to use "the stick." Basically, it's a sharpened tooth pick, wetted with cleaner or acetone, and used to remove the remaining waxy residue. I've not found the stick liable to scratch the coin, but I wipe it off frequently, as there can be scratchy stuff in the grime.
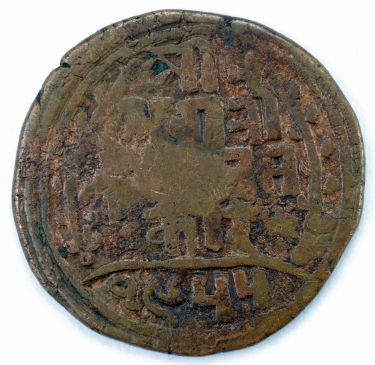
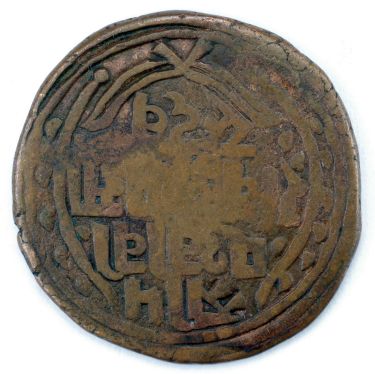
Here is the next one I tried
For this exercise, my most expensive coin cost seventeen cents.
I expect to learn as I go. I'll stop if I see damage.
My intent is not to deceive, but show a coin to its best advantage.
And as always, your thoughts and ideas are appreciated.