Might be total newb question... I am still missing pieces but just gathering information
So for full coin
Jefferson nickels and Lincoln cents I would use the
Quote:
- Dime to Nickel shots at 1:1.2 to 1:1.5...medium bellows lenses such as 75EL, 75TT or 75ARD1, or short bellows lenses such as 63EL, 67RS, 60E36, etc. Intrepid folks may consider the 105PN, 74SP, or 105AEL
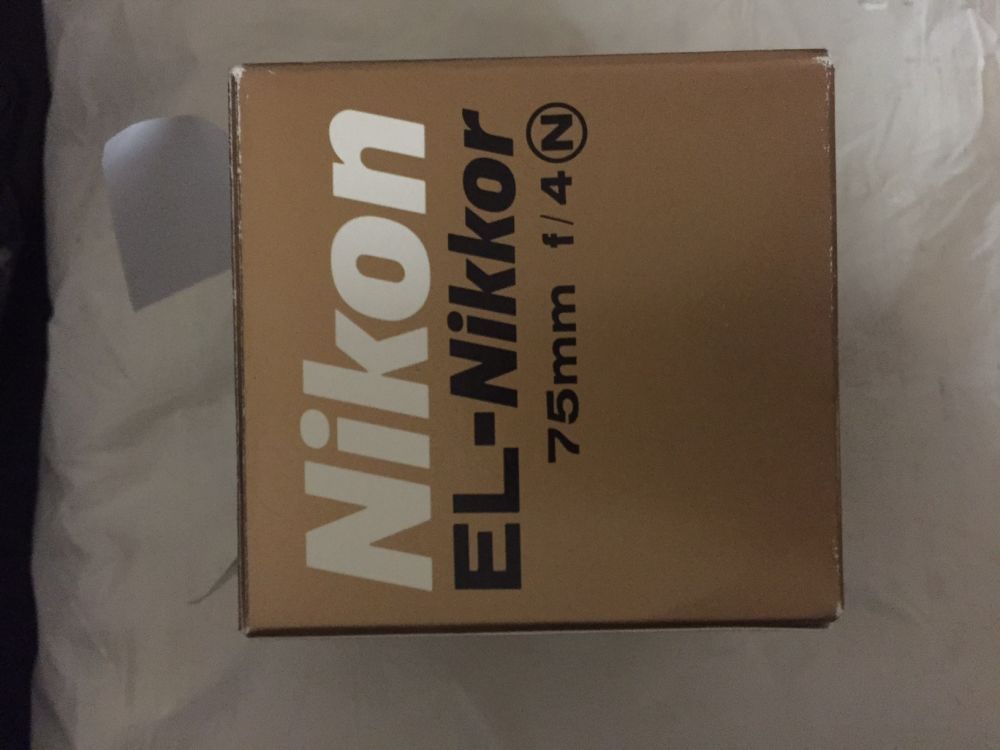
Nikon EL-Nikkor 75mm f/4 Made in Japan, No. 477388 ?
a. Attach the focusing helicoid to EOS adapter
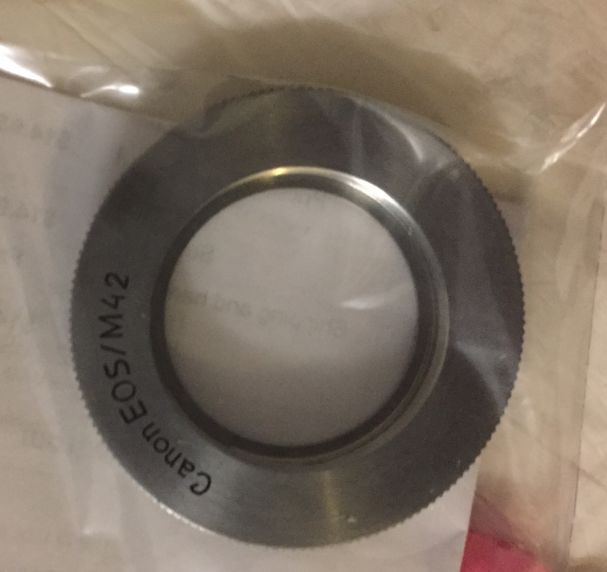
b. Attach M39-M42 adapter to Nikon lens
c. Attach lens to helicoid
d. Attach the whole lens assembly to the camera
e. Set lens aperture to f4
f. Add extensions as needed between helicoid and lens
g. Set aperture to f22
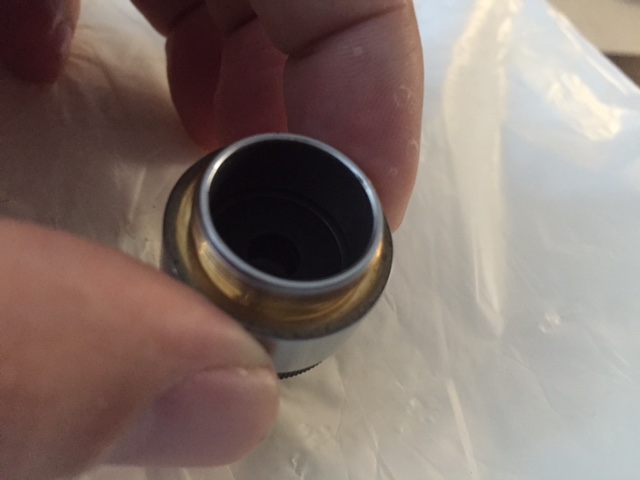
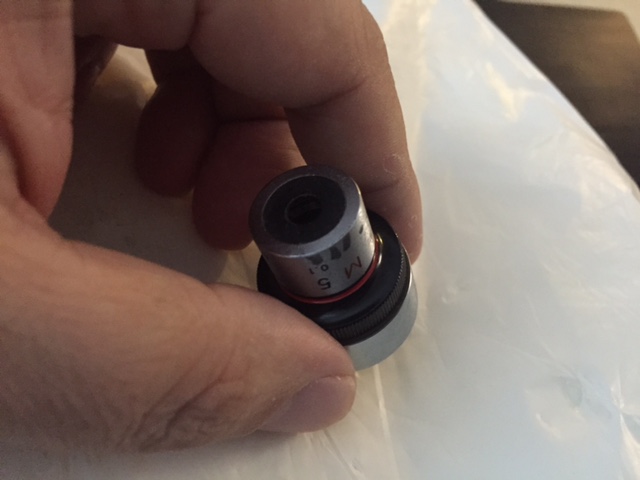
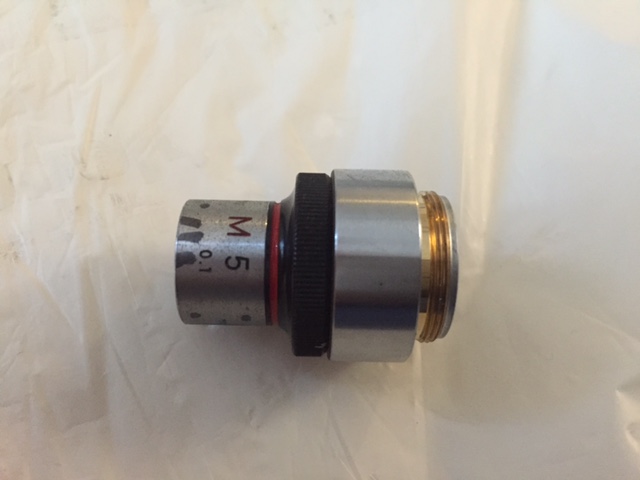
And how do you attach the microscope objective does that just replace where the lens went I assume?
Below are the step I will be following
Quote:
collection of steps by rmpsrpms From the >$400
Here's the sequence of steps I would suggest to set up and get used to this equipment, at least the 75mm lens. The microscope objective will take some additional steps, as will photo editing, but this will get you started...
1. Install the software. EOS Utility and Digital Photo Professional.
2. Hook up the camera and make sure the software communicates with it... check:
a) That the "control camera" part of utility comes up (this is what's called the Zoom Browser)
b) That the camera will go into Live View (make sure camera knob is on Av)
c) There is another thread SD was authoring where I listed basic camera setup steps. Follow that
3. Attach the focusing helicoid to EOS adapter
4. Attach M39-M42 adapter to Nikon lens
5. Attach lens to helicoid
6. Turn off camera.
7. Attach the whole lens assembly to the camera
8. Set lens aperture to f4
9. Look through the viewfinder and verify you can see an image (at infinity), probably a bit fuzzy
10. Add extensions as needed between helicoid and lens to frame different size coins. Total extensions will be between 0 and 75mm to go from infinity to 1:1
At this point you can try using the camera somewhat normally, handheld. Get a feel for the amount of extension you need to frame different size coins. You can even use it as a normal walkaround camera for bugs, flowers, even stuff at infinity with the right extensions (maybe just the helicoid). Make notes on the extension lengths and working distances you need for different coin sizes. This will help you in setting up the camera later on tripod. For each setting of coin size, try to set the focus helicoid to the center of its range. This will give you some +/- adjustability.
After you're comfortable with how it all works:
11. Mount camera on tripod
12. Adjust extension lengths and working distance / tripod height per your notes for the coin size you want to shoot
13. Plug in the USB
14. Turn on camera
15. Turn on Live View using the EOS Utility / Zoom Browser
16. Turn on your lights
17. Set aperture to f22
18. Put mirror where coin goes.
19. Adjust tripod so camera is looking straight back to the center of the lens
20. Set aperture to f5.6 if you're shooting Dimes/Cents/Nickels, or f8 if you're shooting Quarters/Halves/Dollars
21. Remove mirror and place coin
22. Coarse focus with the focus helicoid, adjusting tripod again if needed
23. Move coin until it is framed correctly in the Live View screen
24. Adjust your lighting
25. Turn on Zoom View (magnfier icon)
26. Fine-tune focus with the helicoid
27. Snap the shot
Here's a list of what I would recommend versus magnification:
- Full slab shots or large medals below 1:4...Better dedicated macro lenses such as Canon 100mm, Nikon 105mm Micro, Tamron 150mm or 180mm, etc or very long bellows lenses such as Nikon 150EL, 135EL, or even 120AMED or 120ARD
- Quarter to Dollar shots at 1:1.5 to 1:2.5...Better dedicated macros, or long bellows lenses such as Nikon 135B, 105B, 105EL or 80EL, Rodenstock 105RR/RS or 80RR/RS, Tominon 105TT, or medium bellows lenses such as 75EL, 75TT, 75ARD1 stopped down to f8
- Dime to Nickel shots at 1:1.2 to 1:1.5...medium bellows lenses such as 75EL, 75TT or 75ARD1, or short bellows lenses such as 63EL, 67RS, 60E36, etc. Intrepid folks may consider the 105PN, 74SP, or 105AEL
- Detail shots from 2:1 to 1:1...short bellows lenses such as 35RE, 35TT, 35MP, or any of the short to medium bellows lenses above. The intrepid can try the lenses above, and add to the list the 95PN, 65MN, etc. Note the best lens available for 2:1 is the 35MP
- Detail shots at 3:1 and above...microscope objectives, or very short macro lenses such as 17TT, 20MP, or similar.
BU copper is tough, though that's mostly all I shoot. Are you diffusing the lights a bit? The distance of lights from the coin is super critical for all coins, maybe more so for copper. As an engineer, when in doubt, I will identify all my variables and do a sweep across each one, and identify the best value for each. The lighting variables you can vary are:
height above coin. I find that 60mm is too low, 75-100 is about right, 120mm is too high. Try moving your lights up and down and see what works best.
clock position
angle to horizontal
size (diffusion)
reflectors
number of lights (2 is std, some use 3 or 4)