| Author |
 Replies: 13 / Views: 2,459 Replies: 13 / Views: 2,459 |
|
|
Valued Member
United Arab Emirates
283 Posts |
Hello guys,
The title says it, how do people picture the obverse and the reverse of the coin and put the 2 pictures in a single picture.
There are some ways that I know of but are slow like Photoshop.
I was wondering if there is a very fast way of doing it.
Because I have many worthless coins that are not worth the time of editing their pictures.
If there is an app on iPhone it will be better.
|
|
|
|
Pillar of the Community
United Kingdom
856 Posts |
Not sure Pheroow. Personally I just cut and paste using Microsoft Paint. Very basic and not fast, but does the job and gets faster with practice. Though in this one you can see the join! 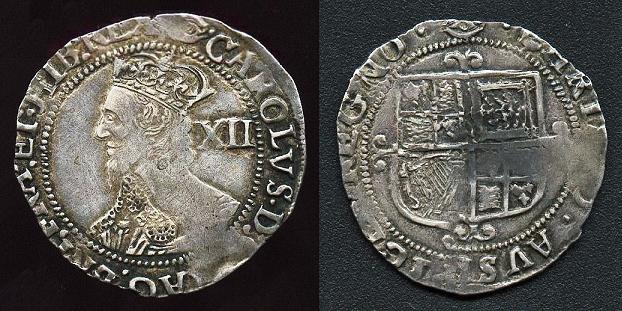 However my daughter has something called 'Add Me' on her (android) phone that allows you to take one photo and superimpose another. Handy if you want two people in a photo, but there's only the two of you to take the shots! Takes the same time it would take to photograph a scene twice. Surely there must be something similar for an iPhone? Edited by Tom Goodheart
07/13/2013 10:49 am
|
|
Pillar of the Community
Canada
4227 Posts |
|
|
Pillar of the Community
United Kingdom
856 Posts |
Quote:Here's a good thread for instructions: http://www.coincommunity.com/forum/..&whichpage=2There's no fast way I know of, but believe me, it gets a lot faster with practice and the results are nice. Ah, that works fine with coins that are round. Unfortunately, made from hand made flans, none of mine really are! I have to take a large original image of the coin and use Paint to draw around it by hand. Fortunately I don't have many to do. And it means I can get images like this which would be difficult to achieve by just cutting a circle: 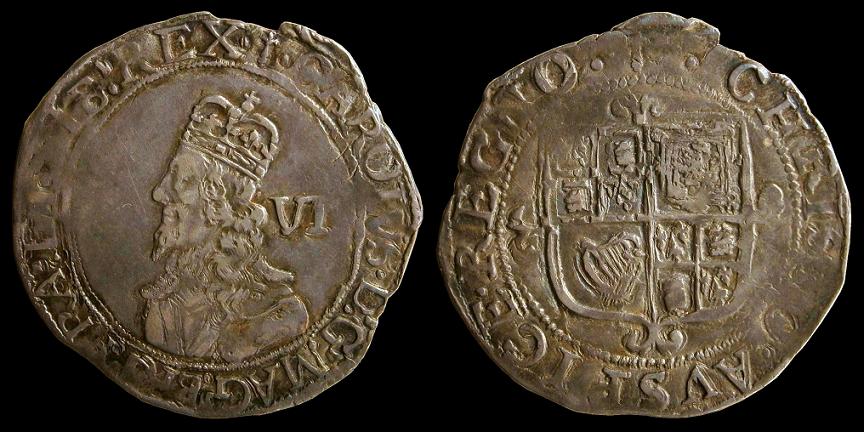 |
|
Moderator
 United States
23522 Posts |
If you stand the coin up off the background (with something like one of those pizza-box stands or a wooden dowel topped with a small round piece of cork, you can make the background totally fade into obscurity. When you then shoot just that background alone with the same focus point and use it in the composite image, you can crop to whatever shape you like and it should blend seamlessly.
|
|
Pillar of the Community
United States
807 Posts |
I do most of my image work in a free program called " Irfanview". It's mostly a viewer, but it has surprisingly powerful editing tools. For example, the "Paint Dialog" includes a tool to take any straight line in the image, & rotate the whole image so that that line is either horizontal or vertical. It has a "panorama" function where you can very quickly & easily take two photos & set them up side-by-side horizontally or vertically. |
|
Valued Member
United States
213 Posts |
I personally use Photoshop, but the easiest most affordable way would be Paint. If your using Mac there are many free ways to do so aswell.
|
|
Valued Member
 United Arab Emirates
283 Posts |
I really appreciate all the replies.
Really helpful.
Seems there really is no fast way.
|
|
Pillar of the Community
United States
2661 Posts |
I use a free program called Photoscape. You can easily crop photos and to combine the 2 pics is as simple as drag and drop.
|
|
Pillar of the Community
United States
9792 Posts |
Open both photos, (both cropped to the same size) make the first one canvas size 200% in horizontal width, select second image, select all copy, close, paste clipboard into first image, may have to move them around to get them evenly lined up. I use Photoshop myself, and created an action to automate much of this. But I would imagine it is the same in almost all image programs. You could create a third image (blank twice as large as each coin photo and copy both obverse, and reverse images into it. I do this also, making the background the color I want, I also make it a bit oversized to allow for text headers to placed into it. Use that for ebay all the time as I can stay under my limit for extra photo added and avoid charges by them for auctions. "Buy the Book Before You Buy the Coin" - Aaron R. Feldman - "And read it" - Me 2013! ANA Life Member #3288 in good standing since 1981, ANS, Early American Coppers Member (EAC), Colonial Coin Collectors Club member (C4), Conder Token Collector Club member (CTCC), Civil War Token Society (CWTS) member, Liberty Seated Collectors Club (LSCC) & Numismatic Bibliomania Society member (NBS), USMex, Member in good standing, 2¢ variety collector. See my want page: http://goccf.com/t/140440 |
|
Pillar of the Community
United States
507 Posts |
I crop both images to the same size. For example, 800x800 pixels or 1100x1100 pixels. Then I create a new picture or canvas to hold two side by side, 800x1600 or 1100x2200. Then I cut and paste to each side. It takes a few steps and is not automatic. But it really only takes 10-20 seconds when I am processing several and once I get into the flow. For me the key is to crop both sides to the same dimensions. If I were to crop one side to 1050x1025 and the other side to 1060x1040 it would not go so quickly.  |
|
Pillar of the Community
United States
1839 Posts |
Man I wish this thread had come up a while ago. I've been cutting my coins down the middle and photographing both at the same time. I could have saved a lot on the glue I've been using to put them back together.
|
|
Rest in Peace
United States
7075 Posts |
|
|
Pillar of the Community
Canada
1161 Posts |
westcoin said Quote:You could create a third image (blank twice as large as each coin photo and copy both obverse, and reverse images into it. I do this also, making the background the color I want, I also make it a bit over sized to allow for text headers to placed into it. Use that for ebay all the time as I can stay under my limit for extra photo added and avoid charges by them for auctions. Just a bit of info in case you did not know. When making a ebay auction...you can easily post as many pictures in to the body of your listing as you want to. Much easier then trying to get a few good shots into the listing title and it does not cost you a dime. Quick way to do it is...up load your pics to a hosting website (I use photobucket). When the pictures are uploaded to Photobucket it will give you a HTML link for each picture. Now...when creating the body of your listing on ebay and you come to where you want to insert pictures...just click on the HTML button above the Font style and Font size drop downs. Scroll down to the end of your HTML listing and insert go back to Photobucket. Click on the HTML link to the right of the picture you want to insert to copy it. Go back to your listing and paste in the HTML link for the picture. Repeat this for each picture you want to insert. After you have all the pictures that you want inserted...Click on the "Standard" button next to the HTML button for your ebay listing. It will convert the HTML link into the Picture and your set. You can move the pictures as needed now by clicking and dragging them. You can also center them by highlighting them and click the Centering button. That is just he basics. There is quite a bit more you can do but I'm not a HTML Expert and I just stick with the basics. Give it a try...it will save you some money and also give the buyer nice pictures to view when looking over your listing. |
| |
Replies: 13 / Views: 2,459 |
|


