| Author |
 Replies: 45 / Views: 9,694 Replies: 45 / Views: 9,694 |
|
Pillar of the Community
Canada
1988 Posts |
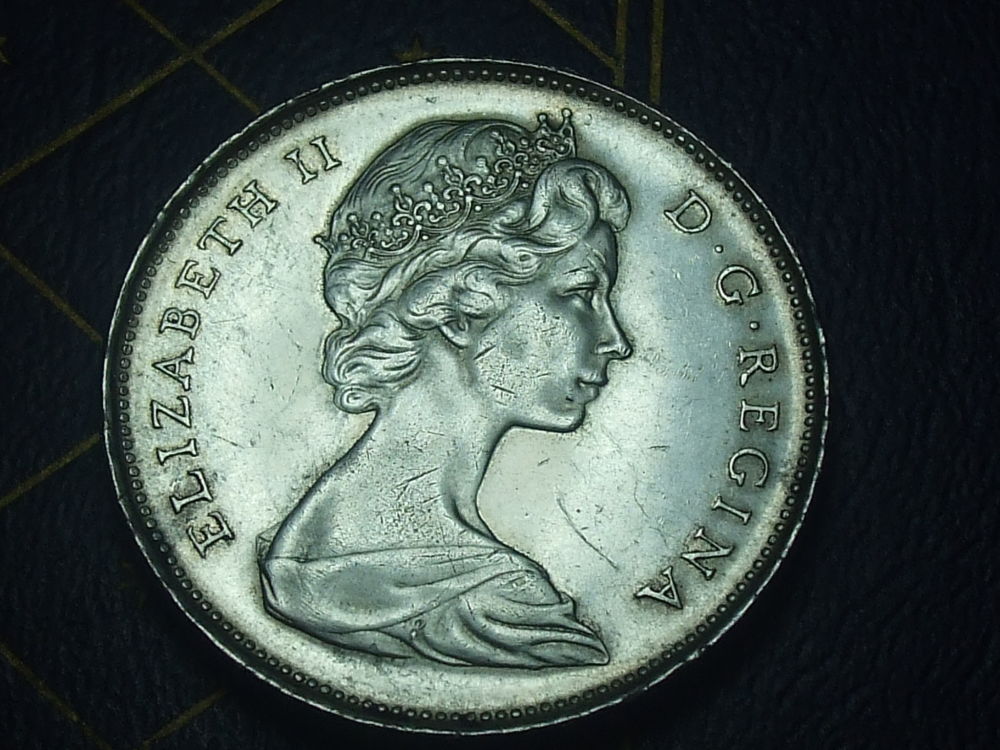
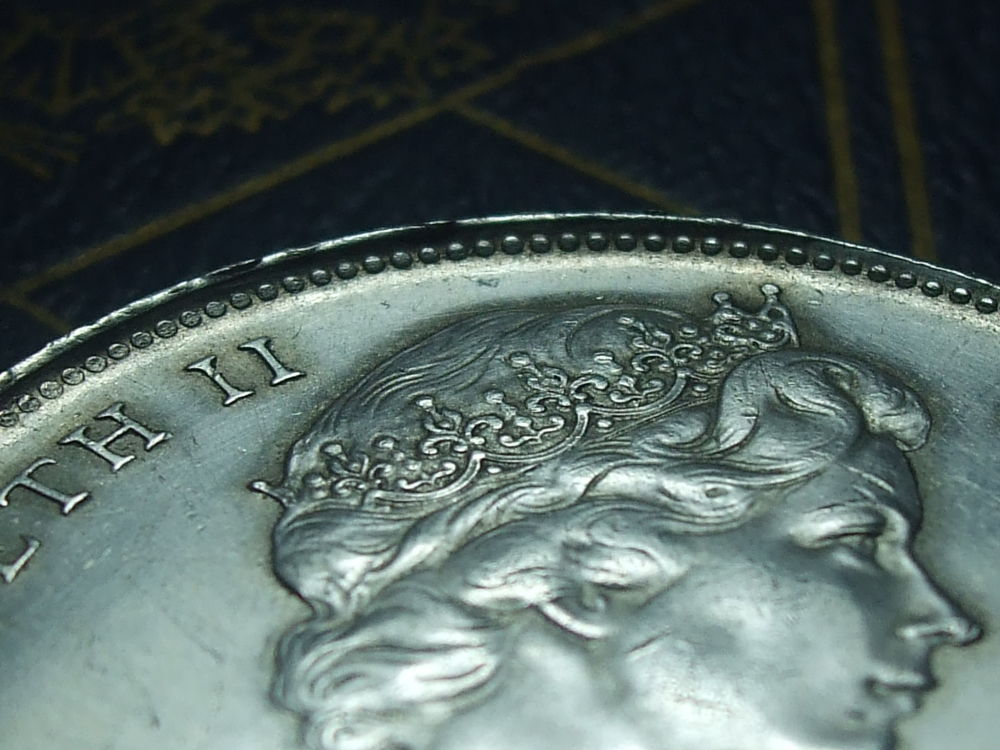
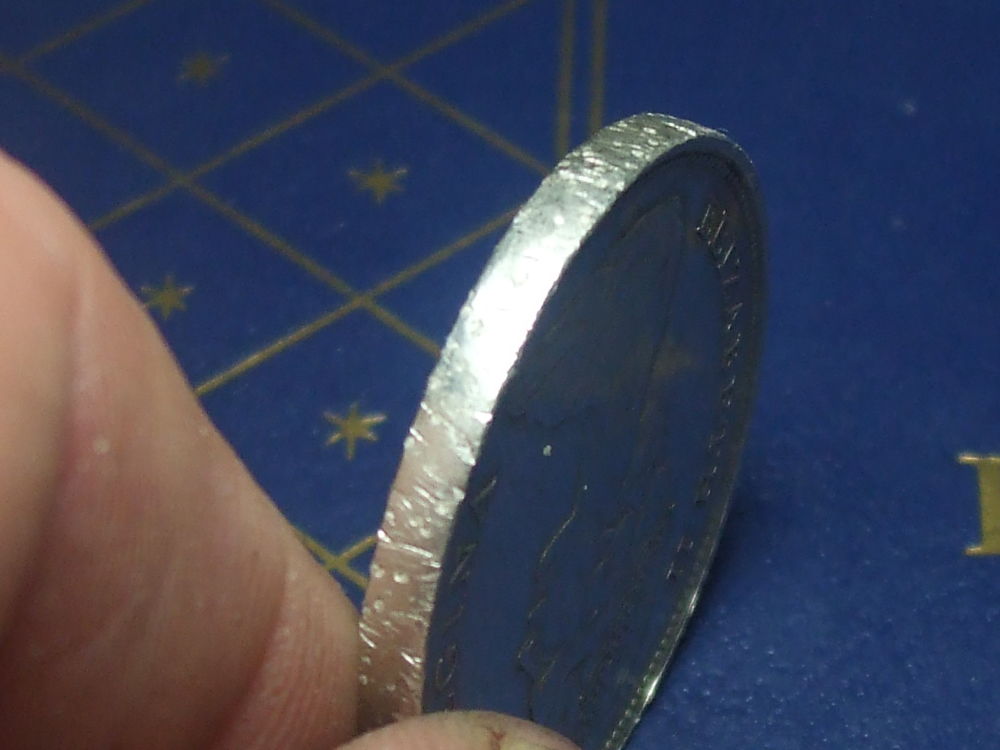
its true! I'm gonna hammer and hammer this coin until it is a ring! I'm sorry but its something I have to do, you see a few years back I made one from a 50 cent piece but because I have large hands (size 18.5 ring) it was a very tight fit on my pinky! so I have decided to make one from a silver dollar. but I make mine differently than the more common forming over a mandrel. I hammer the edge (thousands of times) until it mushrooms the edge to the size I need then I cut out the center and smooth it all out leaving the design of both the obverse and reverse on the inside of the ring, i decided I would take before, during and after photos this time for now the only tools I need are this small tack hammer and a small steel plate to act as an anvil but please be patient as I only work on this as I get the time and I will take many hours to finish . here is the 1st of many stages  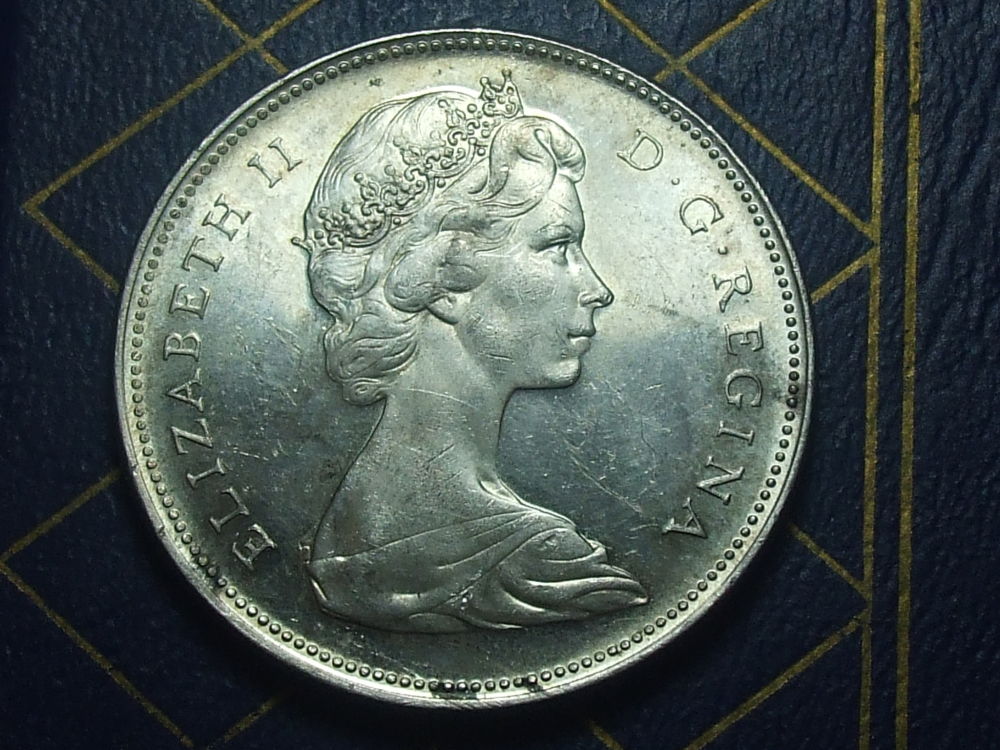 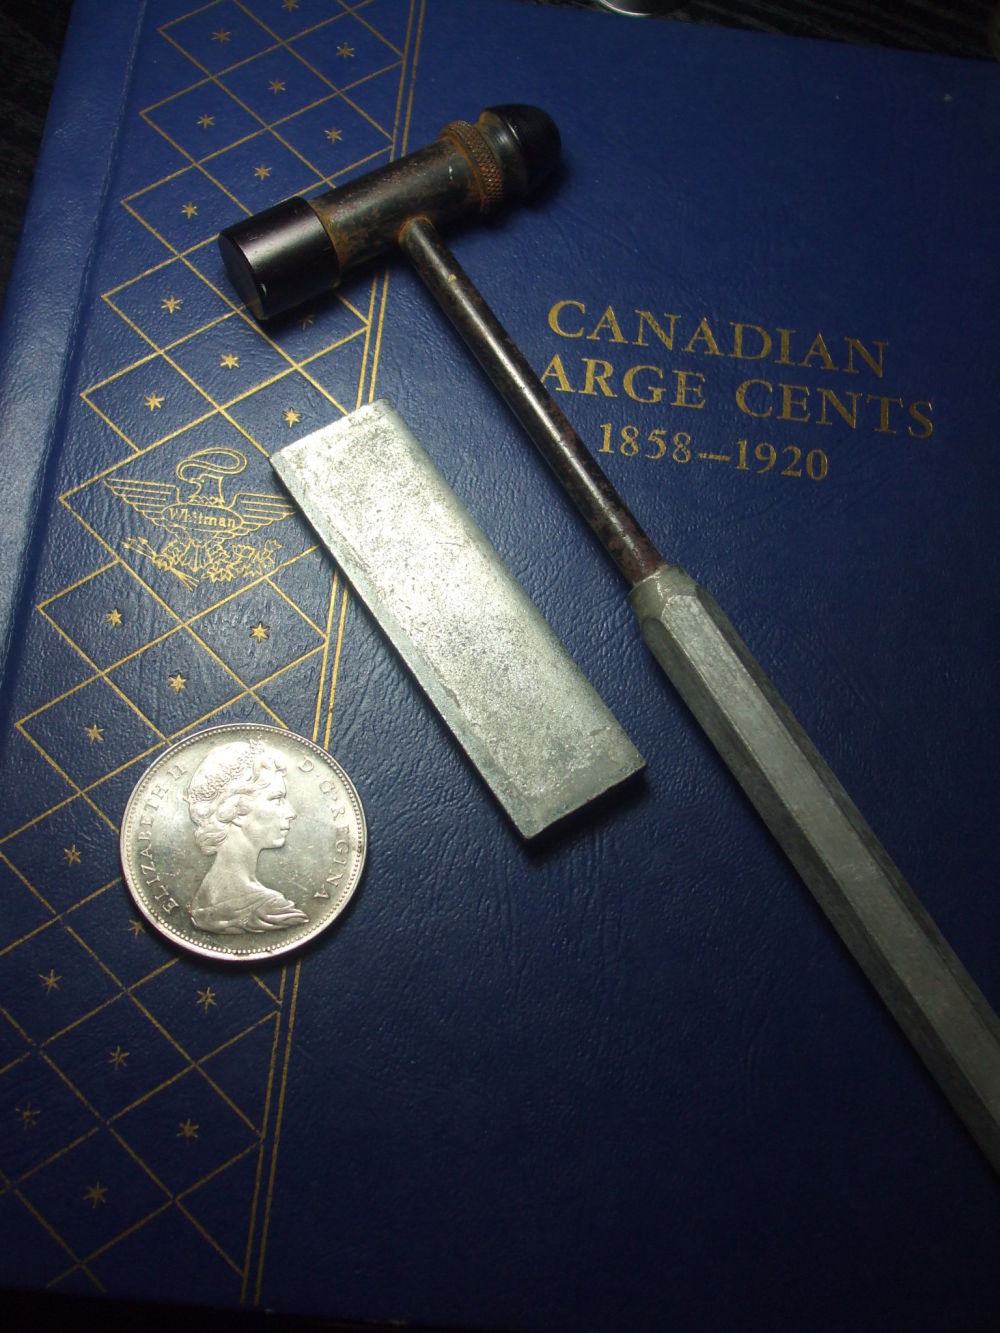 |
|
|
|
Pillar of the Community
 Canada
9879 Posts |
"Dipping" is not considered cleaning...
-from PCGS website
|
|
Valued Member
United States
113 Posts |
|
|
Pillar of the Community
Canada
1051 Posts |
AFAIK it's illegal to deface Canadian coinage. That's why we nickel hoarders have to ship our stuff south of the border so the Americans can melt them ;)
|
|
Valued Member
United States
486 Posts |
I've done both methods a few times! very fun.
|
|
Pillar of the Community
Canada
2632 Posts |
Are you going to walk us through with pics from start to finish?
I gotta try this one of these days..I dont have a coin ring yet.
|
|
Pillar of the Community
United States
6478 Posts |
That sounds fun!  |
|
Pillar of the Community
United States
1005 Posts |
I did this before with a silver quarter to make a ring, I did it the exact same way you describe too, with a tiny hammer hitting softly thousands of times around the rim. Takes lots of patience but the end result can be very pleasing.
|
|
Valued Member
Canada
234 Posts |
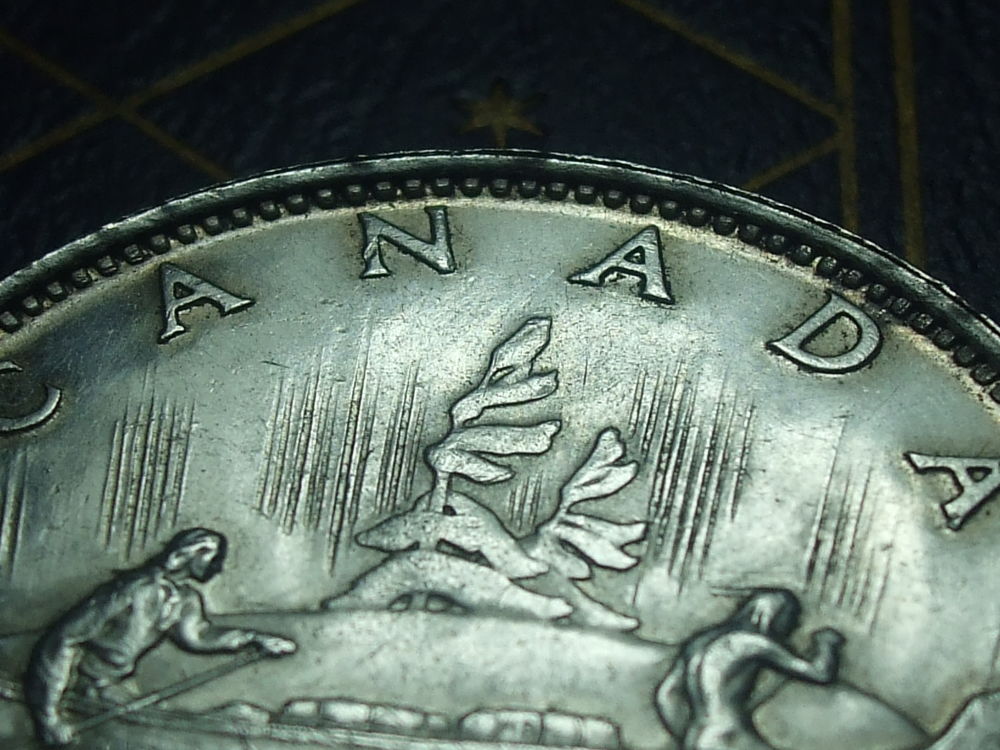
Good luck, at least it's not a 66' small beads variety.
|
|
New Member
Canada
19 Posts |
The use of a hammer is a good idea I've heard of doing this with the back side of a spoon. Apparently it can take 2-3 years and a couple spoons.
|
|
Pillar of the Community
United States
1005 Posts |
I tried with a large soup spoon, but was just too impatient. I think it would take about a whole day of firm hits with a heavy spoon to get you there; with a small hammer I think it maybe took me ~4 hours of light tapping to get where I wanted to be with a quarter.
The danger is if you hit too hard or don't rotate frequently enough, the coin will warp too much and you have to start over.
|
|
Pillar of the Community
 Canada
1988 Posts |
Quote:
The danger is if you hit too hard or don't rotate frequently enough, the coin will warp too much and you have to start over. i had the last one warp but I was able to straighten it, you see what I do for a living involves manipulating different metals Edited by gidjit
07/13/2015 6:43 pm
|
|
Pillar of the Community
Canada
3049 Posts |
I used to do something similar in shops class when I was a kid with silver quarters... but I just used a piece of flat iron and sat at the back of the class near the anvil while the teacher talked I just banged away and flattented out the edge... but I never though of how to get both the obverse and reverse to be on the inside.. I'm intrigued
|
|
Pillar of the Community
Canada
1988 Posts |
|
|
Pillar of the Community
Canada
535 Posts |
Good luck with it. I will stick to punching the center and forming on a mandrel. That way I keep the coin design on both sides of the ring.
|
|
Pillar of the Community
Canada
576 Posts |
Here are a few of my earlier coin rings.
See my post on US Classic Coins.
See posting: Damaged half dollars made new again
USA coins are 90%, closer to sterling silver
good luck,
Liverpool
|
| |
Replies: 45 / Views: 9,694 |