| Author |
 Replies: 23 / Views: 3,877 Replies: 23 / Views: 3,877 |
|
Pillar of the Community
United States
1277 Posts |
I have been putting together a set of beat up, holed, corroded large cents lately trying to get as many of the Red Book varieties as I can. Since many of the coins are deformed and/or different diameters, I cannot think of a good way of displaying the collection. Right now, I just have them in 2x2s. If you all have any ideas for displaying please let me know! The only thing I can think of is trying to make imitation capital plastics holders. Instead of the hard plastic for the middle of the sandwich I would use some sort of foam. Any ideas there? What chemicals in the foam should I avoid? Making these things isn't gonna be easy, but I'm a perfectionist and have access to a machine shop, as a graduate student, so I am confident I can do a good job. Thanks! |
|
|
|
Pillar of the Community
United States
711 Posts |
Not sure what they use in the Capitol Holders, but I have thought about this myself. I would use the same foam material they use in the air-tite containers. Not sure what that is though. If you are feeling adventurous, take a look at this link and you should be able to identify just about any plastic with only a cup of water and a source of flame. Maybe you can figure out what material is what and go from there. http://www.consultekusa.com/pdf/Tec...chart%20.pdfI do know that you can get small sheet pieces to experiment at the major supply retailers online. McMaster Carr, MSC, Grainger, Uline, etc. |
|
Rest in Peace
United States
7075 Posts |
There are some really nice display cases that look like they would hold those less-than-perfect coins. Scroll down to the Old Time Slanted Front Display Case. https://usadisplay.net/classicsite/coin.htmThere are probably other similar options at Wizard or Littleton. |
|
Bedrock of the Community
United States
20753 Posts |
Try some hobby type stores for sheets of clear plastic. If your good you could cut of drill out the size of the coins on one sheet. Then take another sheet for the bottom and one for the top and drill holes in the corners and use screws or nuts and bolts to close. Naturally if you made the holes approximate, the coins will fit a bit loose but so what. You not going to be shaking the thing.
IF you good you could make several such sheets and using small hobby type hinges, you could make a book of them.
Or just use those 20 pocket plastic sheets for 2x2's only don't put 2x2's in them. Just put the coins in the pockets and tape shut.
|
|
Valued Member
United States
303 Posts |
I would think acrylic sheet could easily be made into a nice capital style holder, especially with access to a machine shop. I would drill the coin holes a little on the small side and sand to fit...
|
|
Bedrock of the Community
United States
10038 Posts |
Been there - done that - years ago (70s) 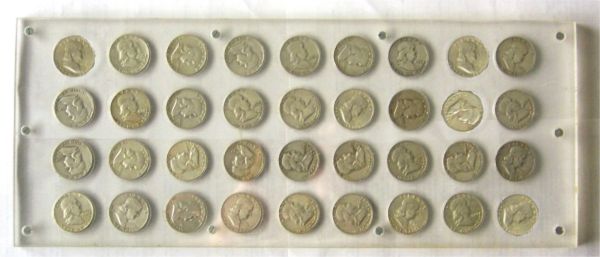 Made one for Canadian nickels awhile ago. I used a typical wood cutting spade bit with as close a diameter as I could get. If I did it with a spade bit again, I would likely modify the bit by grinding it to a closer size to the coin. The Franklin holder has 1 mm thick plexi sheet in the middle with holes drilled for the halves. The covers are 2.6 mm. Tap and die used with flat head screws to hold it together. The Canadian nickel one is three sheets of 3 mil. I want to make more. But I am thinking the 1 mm is best for middle and the 3mm for both sides. I also am thinking of getting the cylindrical diamond hole-making "drill bits" off of ebay as they make them in 1mm increments and these would likely fit the coins well. Remember the plastic will expand as being drilled from the heat, and will slightly contract afterwards. Having access to a laser cutter would be fantastic! My eventual goal is to make "album pages" so I can have Dansco-like albums that won't tarnish the coins over time. |
|
Bedrock of the Community
United States
10038 Posts |
BTW - drill slowly or crack the plastic!
How much squash could a Sasquatch squash if a Sasquatch would squash squash? Download and read: Grading the graders Costly TPG ineptitude and No FG Kennedy halveshttps://ln5.sync.com/dl/7ca91bdd0/w...i3b-rbj9fir2 |
|
Pillar of the Community
 United States
1277 Posts |
|
|
Moderator
 United States
34423 Posts |
Super job on the display/holder! Now you just have to fill those last seven pesky holes.  "If you climb a good tree, you get a push."
-----Ghanaian proverb
"The danger we all now face is distinguishing between what is authentic and what is performed."
-----King Adz
|
|
Pillar of the Community
United States
1695 Posts |
|
|
Valued Member
United States
303 Posts |
|
|
Valued Member
United States
424 Posts |
This looks great. I am constantly amazed at how other people can come up with such great soultions to their problems.
As I was reading through this thread I was wondering if a 3-D printer would work or am I up in the night?
|
|
Pillar of the Community
United States
711 Posts |
As a guy who designs and makes plastic parts professionally, very nice job.
3D printing wouldn't work, you would never get the desired clarity.
I love extruders and extrusion like coins (or the Buckeyes) and 3D printing / extruders are more hype than anything.
Never cost effective for any type of scale other than a rapid prototype.
Never as mechanically sound as a conventionally produced part.
3D printers are best for custom parts where there is no market demand to scale up and reduce costs.
That being said, I'd love to build one someday, but don't see the need. Would rather put time and money into a small CNC / laser cutter as I could see me making parts at home with that.
Last note, the OP mentioned drilling slowly to avoid cracking. That will help big time. Also helps with minimizing heat build up and melting the plastic in the hole.
If you haven't, try reversing your drill next time.
I don't drill much plastic other than flower pots and the like for drainage, but the reverse drill always makes a cleaner cut and nicer holes.
I think it is because the reverse drill ejects the chips instead of melting them while drilling into the hole.
Again though, very impressed.
I would have assumed you bought that display it is so nice.
|
|
Bedrock of the Community
United States
10038 Posts |
This is a simply stunning display. Nice job! Would you mind sharing your techniques such as plastic thicknesses, is the layer holding the coin sandwiched between sheets of similar thickeness? Did you tap the screw holes or use nuts on the back, and are your labels from a label maker and positioned onto the plastic?
@BuckeyeCoinGuy Thanks for the tip on the backwards drilling. The problem is trying to find a perfect sized drill bit for something as large as a half dollar. I have to use an adjustable bit and will try to reverse it, but the cutting edges (two of them) appear to be just small knife blades instead of slanted, sharpened edges.
|
|
Pillar of the Community
United States
711 Posts |
Doesn't sound like it will help much with that cutting design.
I used to buy a bunch of custom designed router bits for plastic and that would be the next step, custom made drill bits.
More power to you if you grind them yourself. I DIY, but not at that level.
Ejecting the plastic chips to avoid melting is the key to a good cut per the machine shop that designed my bits.
Great coin board though.
|
|
Pillar of the Community
United States
1277 Posts |
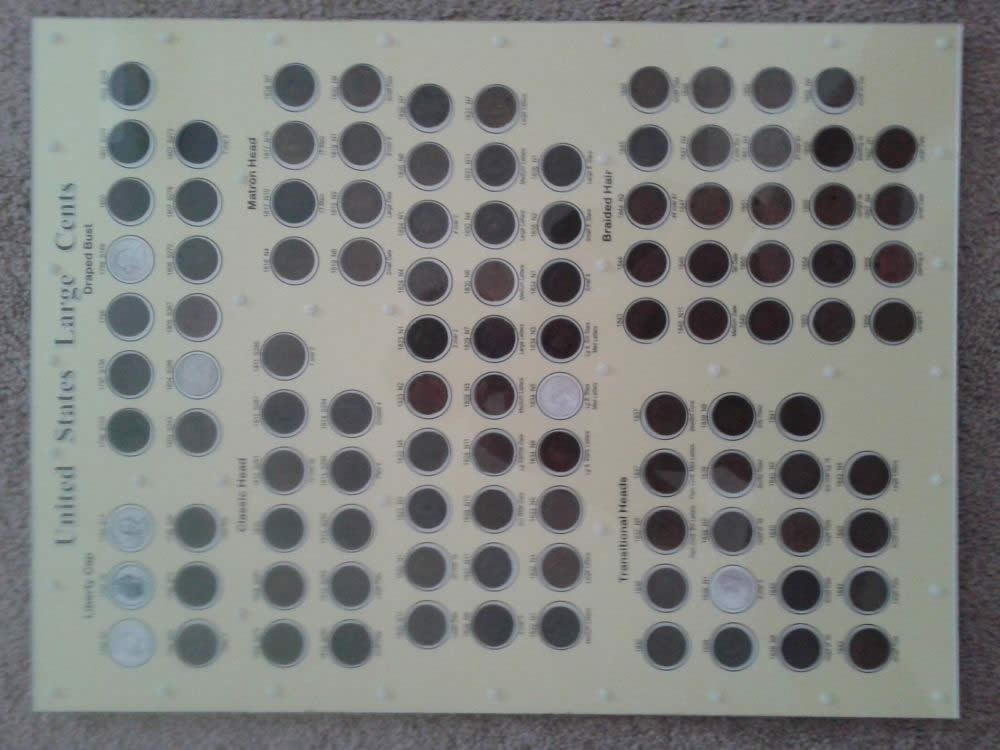
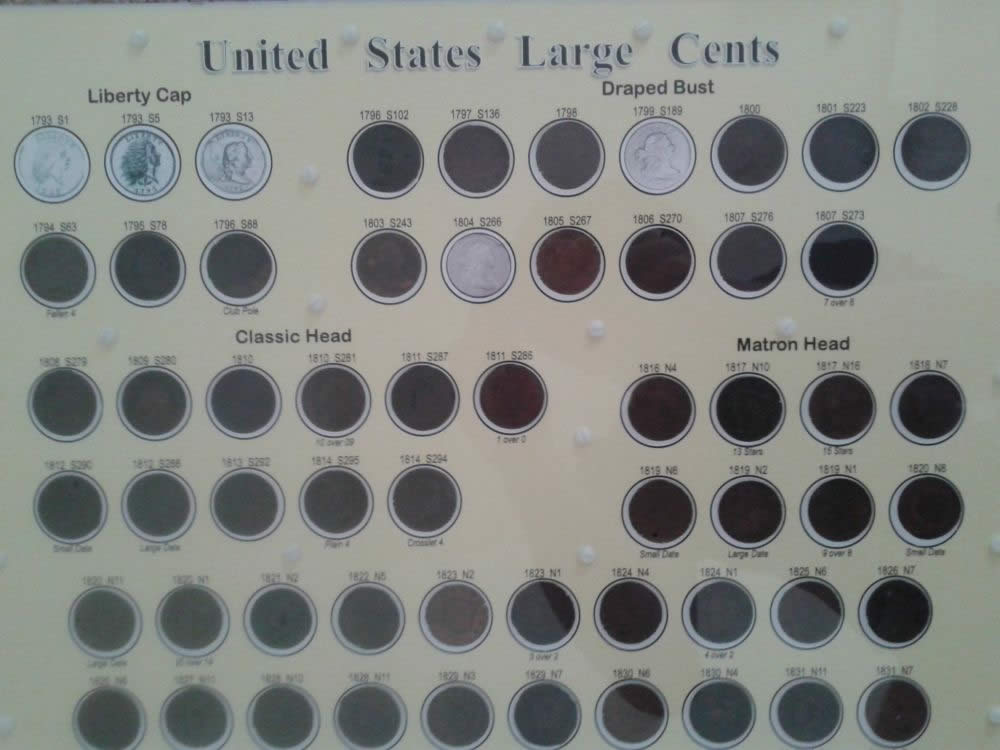
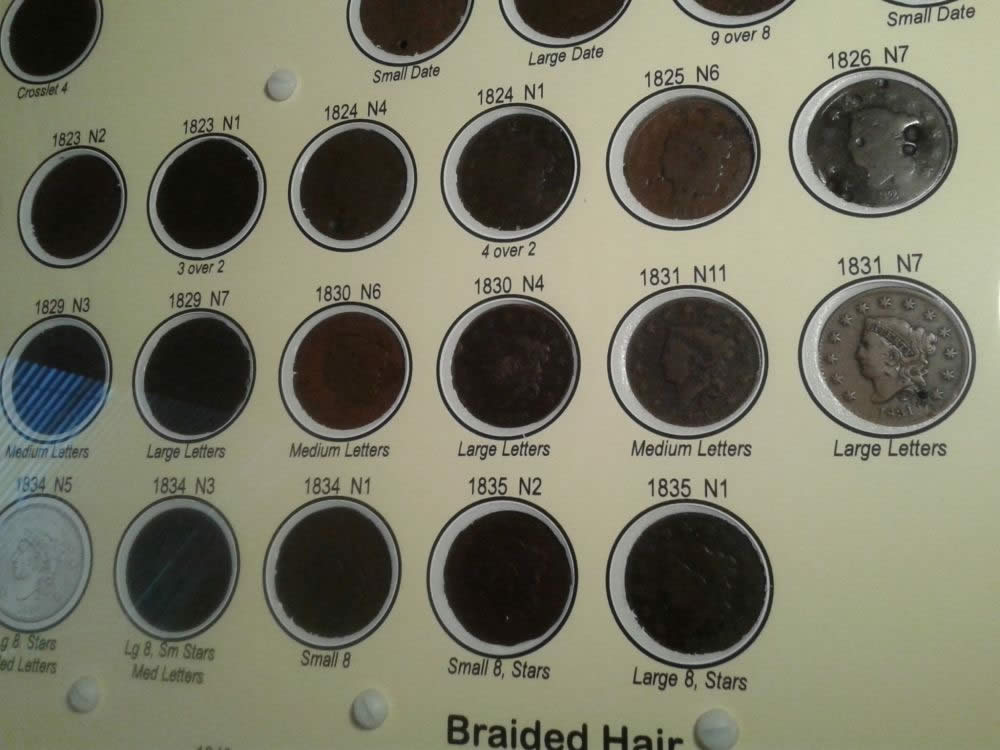
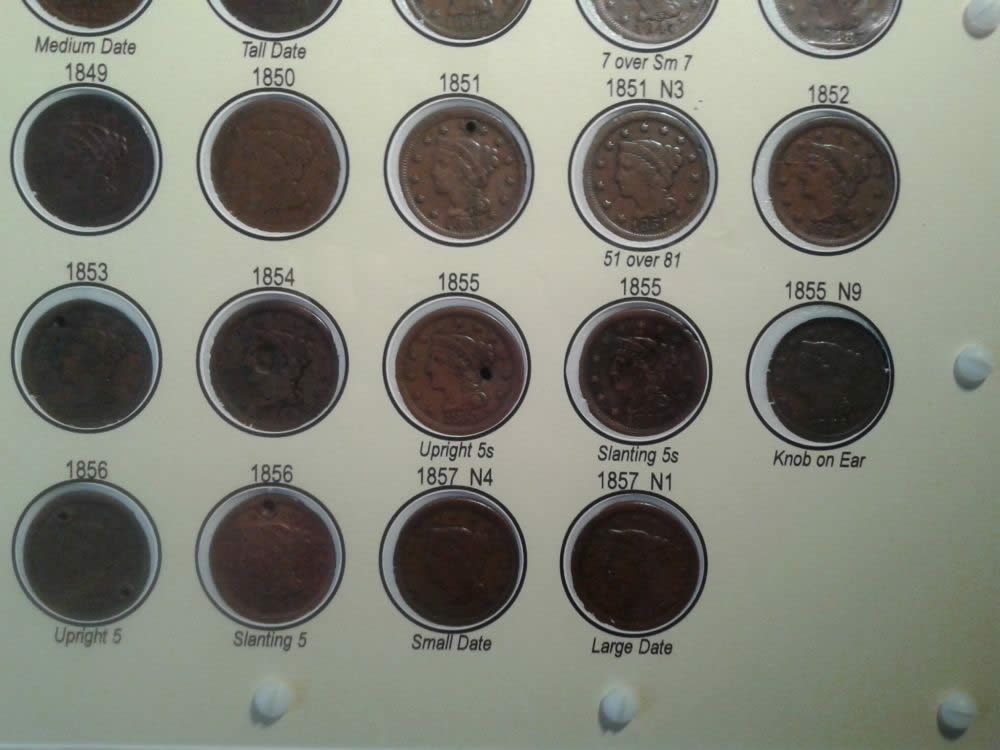
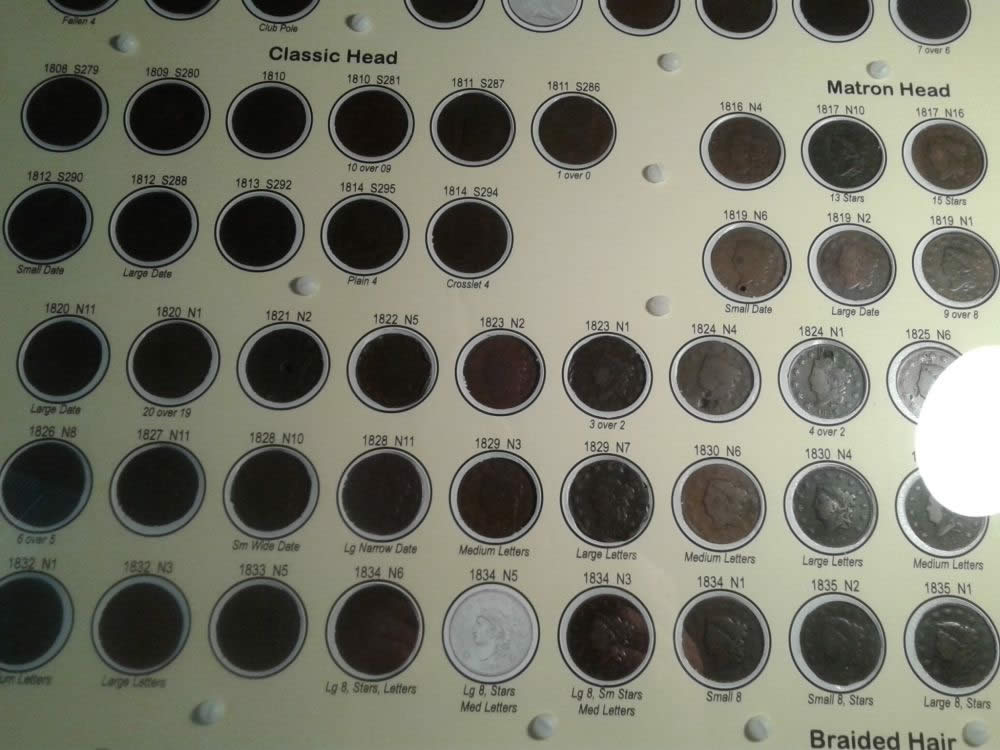
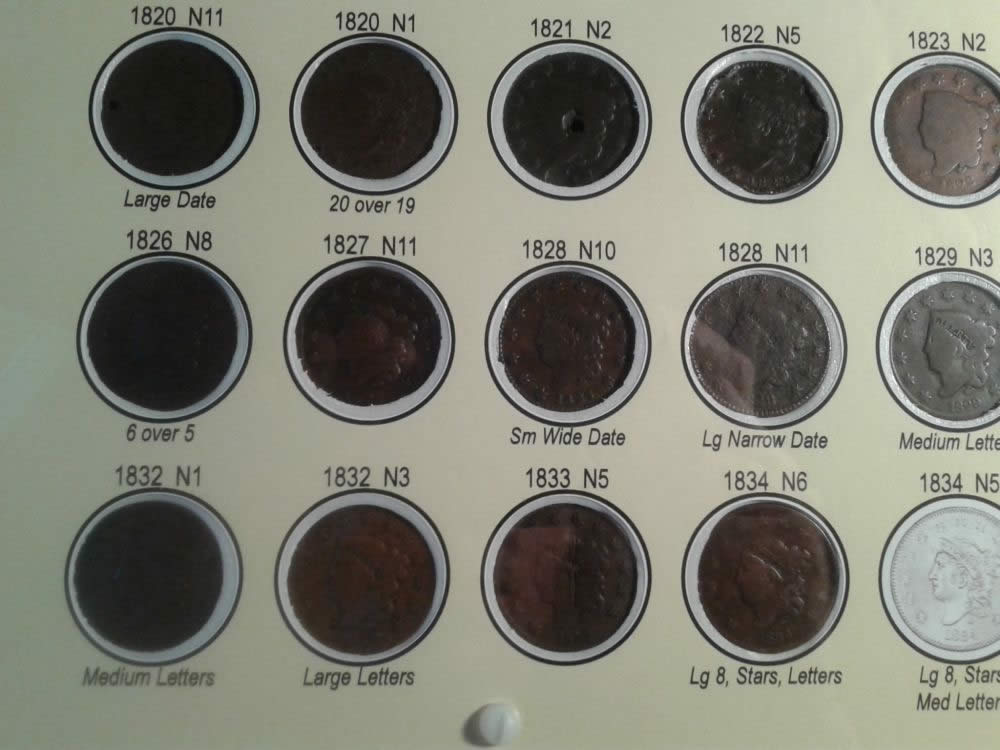
The sandwich includes the outer 2 acrylic sheets, the center foam sheet, and "posters" for the obverse and reverse. A side view is shown below. The acrylic sheets are 18" x 24". Since they are relatively large, I wanted to make sure the assembly didn't bow, so I chose the back sheet to be 0.25" thick. The front sheet is 0.09" thick. The foam is volara, which is the same material that is used for foam rings in capsules. Rolls of this foam can be purchased in different colors. This is 1/8" thick white. The posters were printed out on a campus plotter and show the date, variety, and die pairing that I could identify. The posters also show black and whites of the coins I don't plan on adding to this collection lol. The best way to drill the holes for me was to progress up in drill bit size from 1/16" to the tapped hole size, and then for the top, the through hole size. I used a drill press and lubricated the bit often with soapy water. I taped the plastic itself with masking tape on both sizes prior to drilling to reduce surface tractions. The back sheet was then tapped for 8-32 screws. I used an x-acto blade compass cutter to cut out the circles on both sheets of paper and through the foam. The coins fit in the foam circles snugly. All and all, it took a long time to make but was an enjoyable and rewarding process. 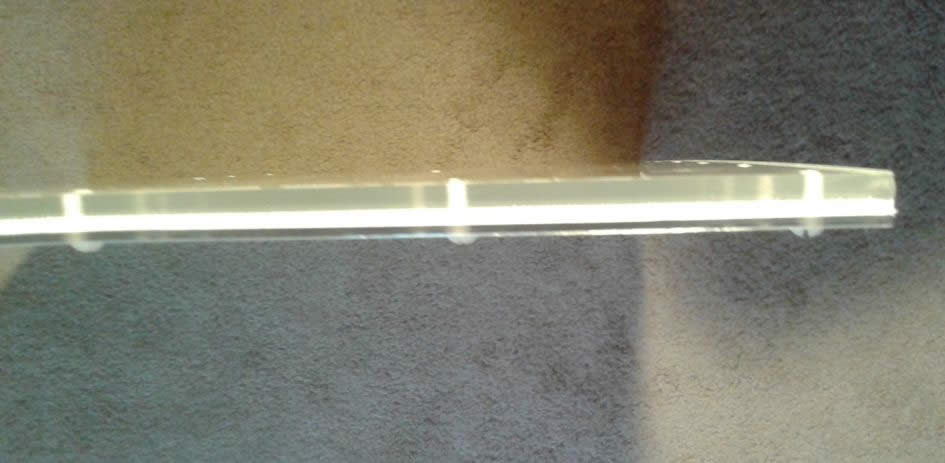  |
| |
Replies: 23 / Views: 3,877 |