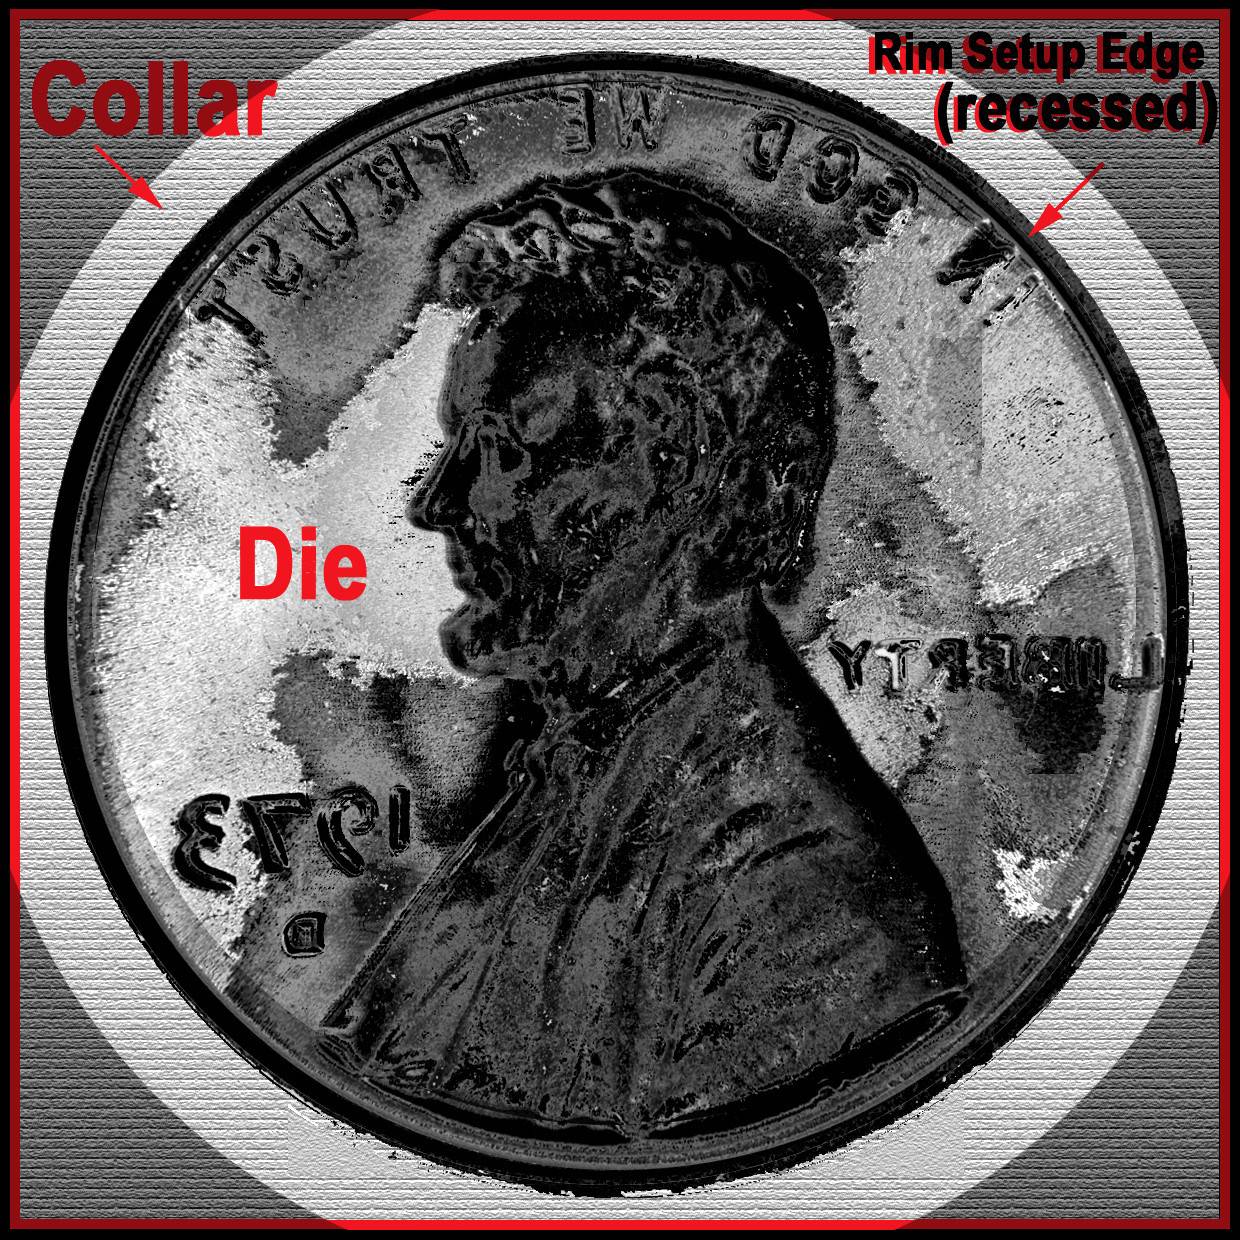
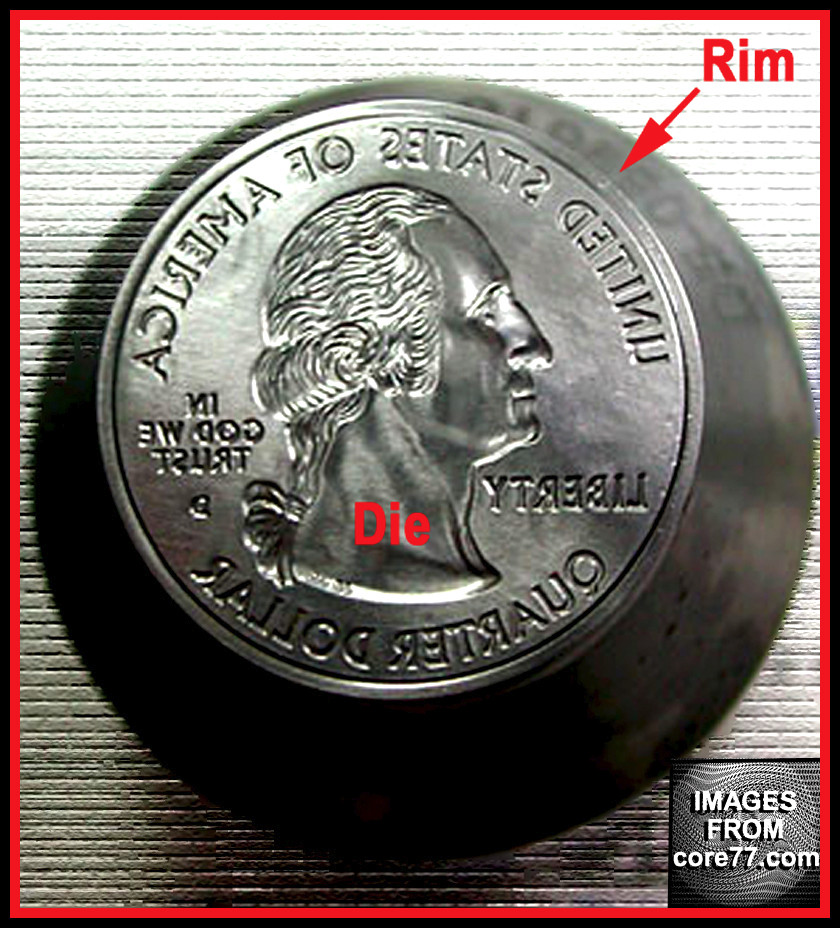
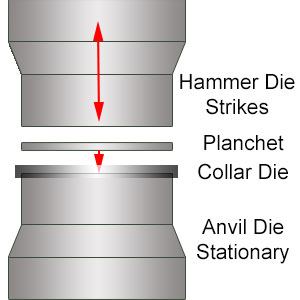
I give up trying to locate a matching die, with rim
Cud and MAD coin images for overlays. When I find the one, I can't find the other and when find the other I can't find the one. Feel like I'm stuck in the Matrix's. So I'm going back to basics I learned in first grade. Where I once got two star stickers for drawing circles.
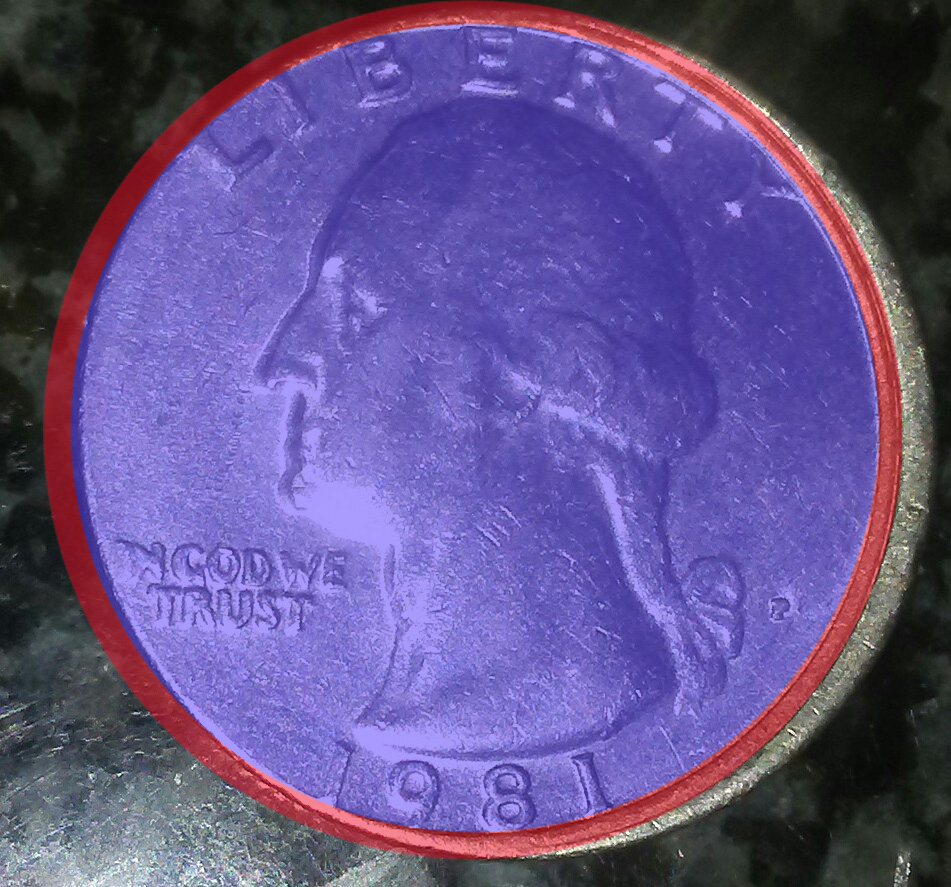
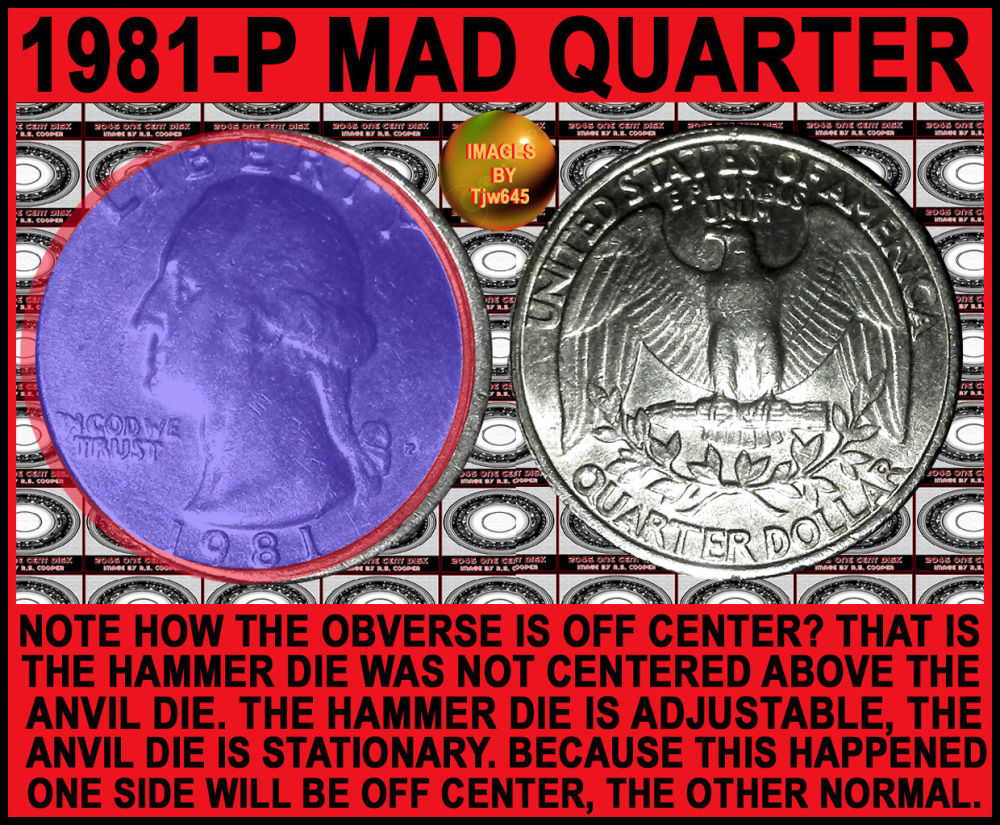
Note the following examples are from Tjw645 (@ccf) 1981P quarter with misaligned die strike. Also Coop's example of it showing both sides. We didn't get confirmation about the reeding all the way round, but didn't seem to be out of round.
Original image
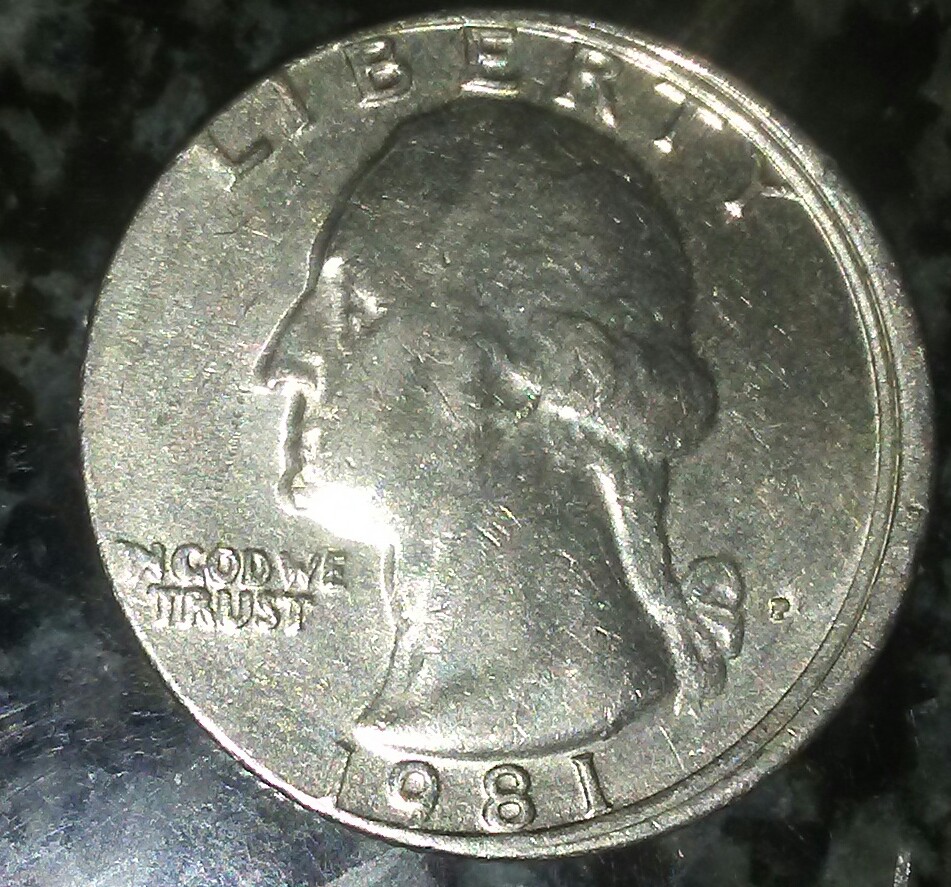
There is no rim
Cud present, but thought the MAD would suffice in helping me make my point of where I focus my attention if one had been present on a MAD. Also to help illustrate what I mean by containment breach to one of the three die sides needed to create a normal design rim.
The blue shade represents the inner die face thats surrounded by the dies design rim.
The red shade represents the design rim located on the die face perimeter. See die images posted earlier to see the actual recessed perimeter that would form the design rim I'm noting here as the red zone.
When I say a rim
Cud should include or be present in the design rim means it should rise above the actual design rim reflected as the red zone.
Anything thats raised outside of the red zone including false rims, gutter or folded pushed in material is not (always) representing an issue on or with the die itself. We have to take in account the whole die, which includes one side of the design rim is misaligned over the planchet during the strike.
Containment seems present by the reverse and collar dies, but partially missing on the East side of this obverse strike. Wish we had gotten confirmation about if the reeding went all the way round on this example, but I'm using it as a misaligned die strike example for now. Thanks, Doug.
Note I may scrap this post after submit as it seems kind of large. Can't tell until I click post.








 First Page


 Posted 01/19/2017 10:48 am